/jamf: A Slack app to simplify Mac lookups and troubleshooting

I thoroughly enjoyed presenting at JNUC 2019 – my first presentation outside of Australia. I was an emotional wreck in the lead up to it, but I genuinely enjoyed the experience and was nowhere near as nervous as I thought I would be. It was also great to know that there are macadmins out there that find my Slack app interesting and potentially useful.

I talked about /jamf, a Slack app I created that integrates with Jamf Pro Classic API, in a quest to simplify Mac look ups for the level 1 and 2 techs in my team.

The app effectively lets you run a Jamf Pro ‘advanced computer’ search via Slack, and lets me pick and choose what attributes I want the techs to consider, and allows me to easily qualify those attributes.

This is an example of the app in action:

The app uses the following components:
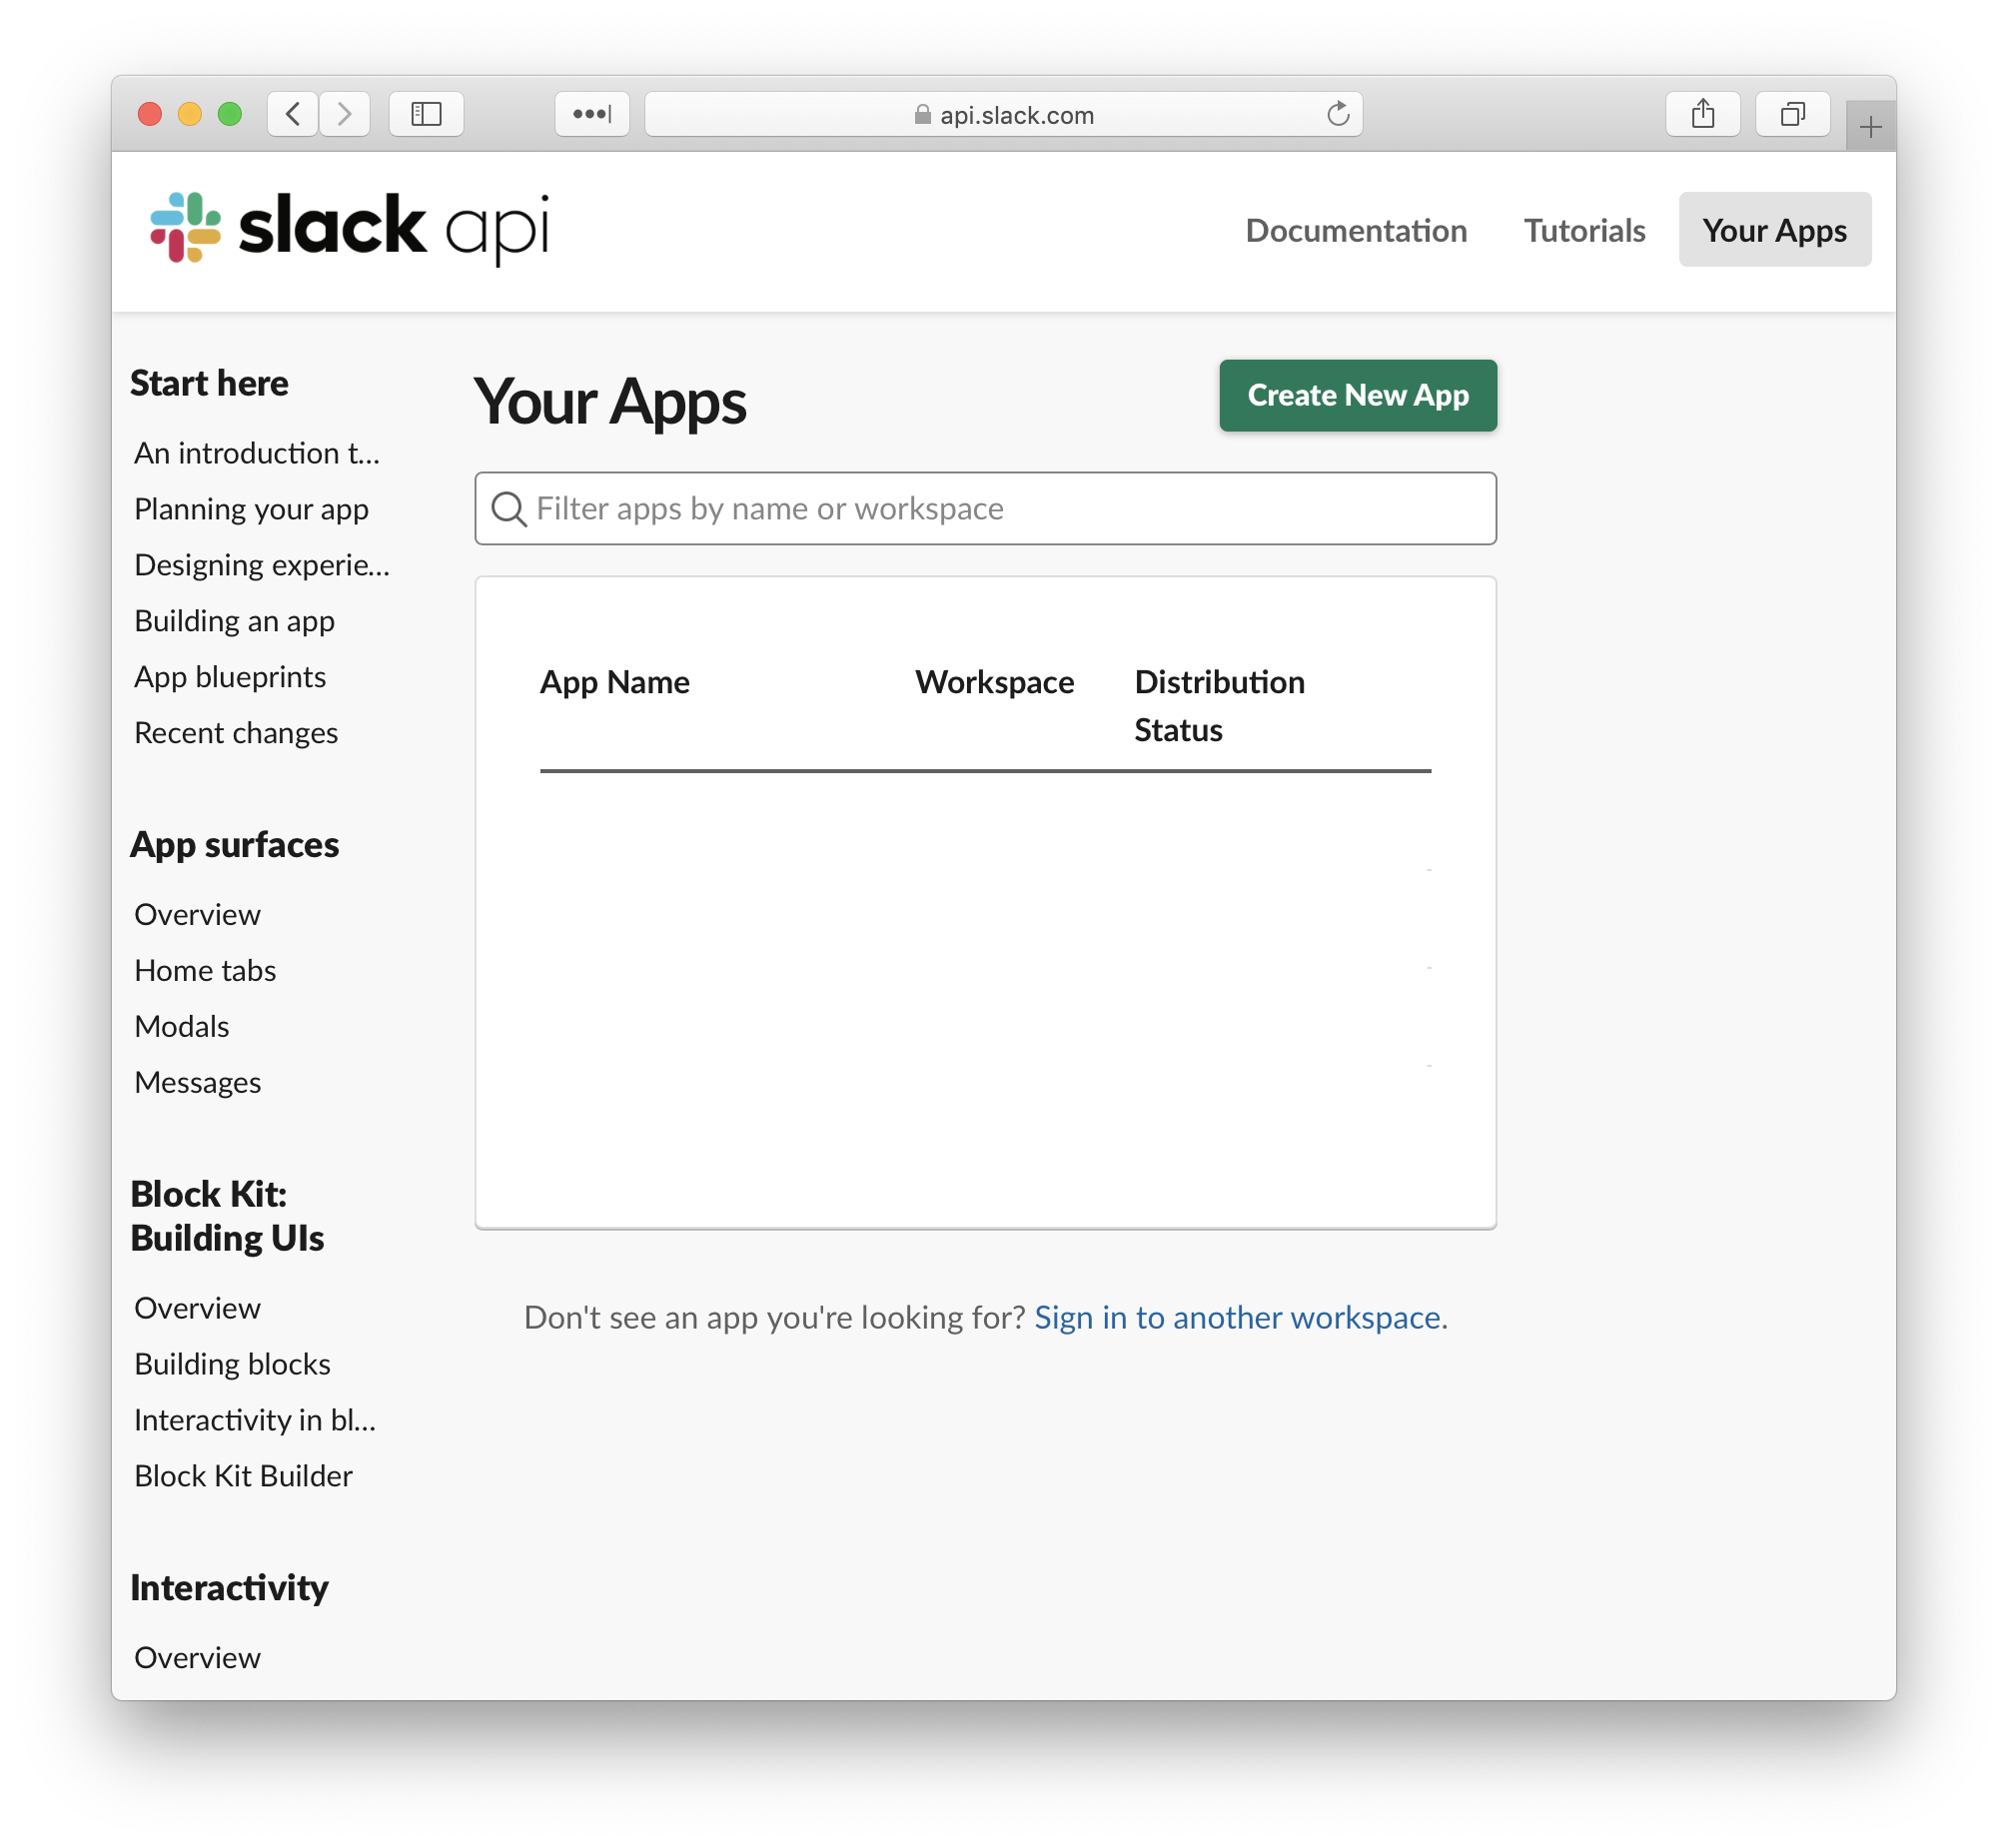
  • 1 Slack workspace
  • 1 Jamf Pro account with read-only rights to the computer objects
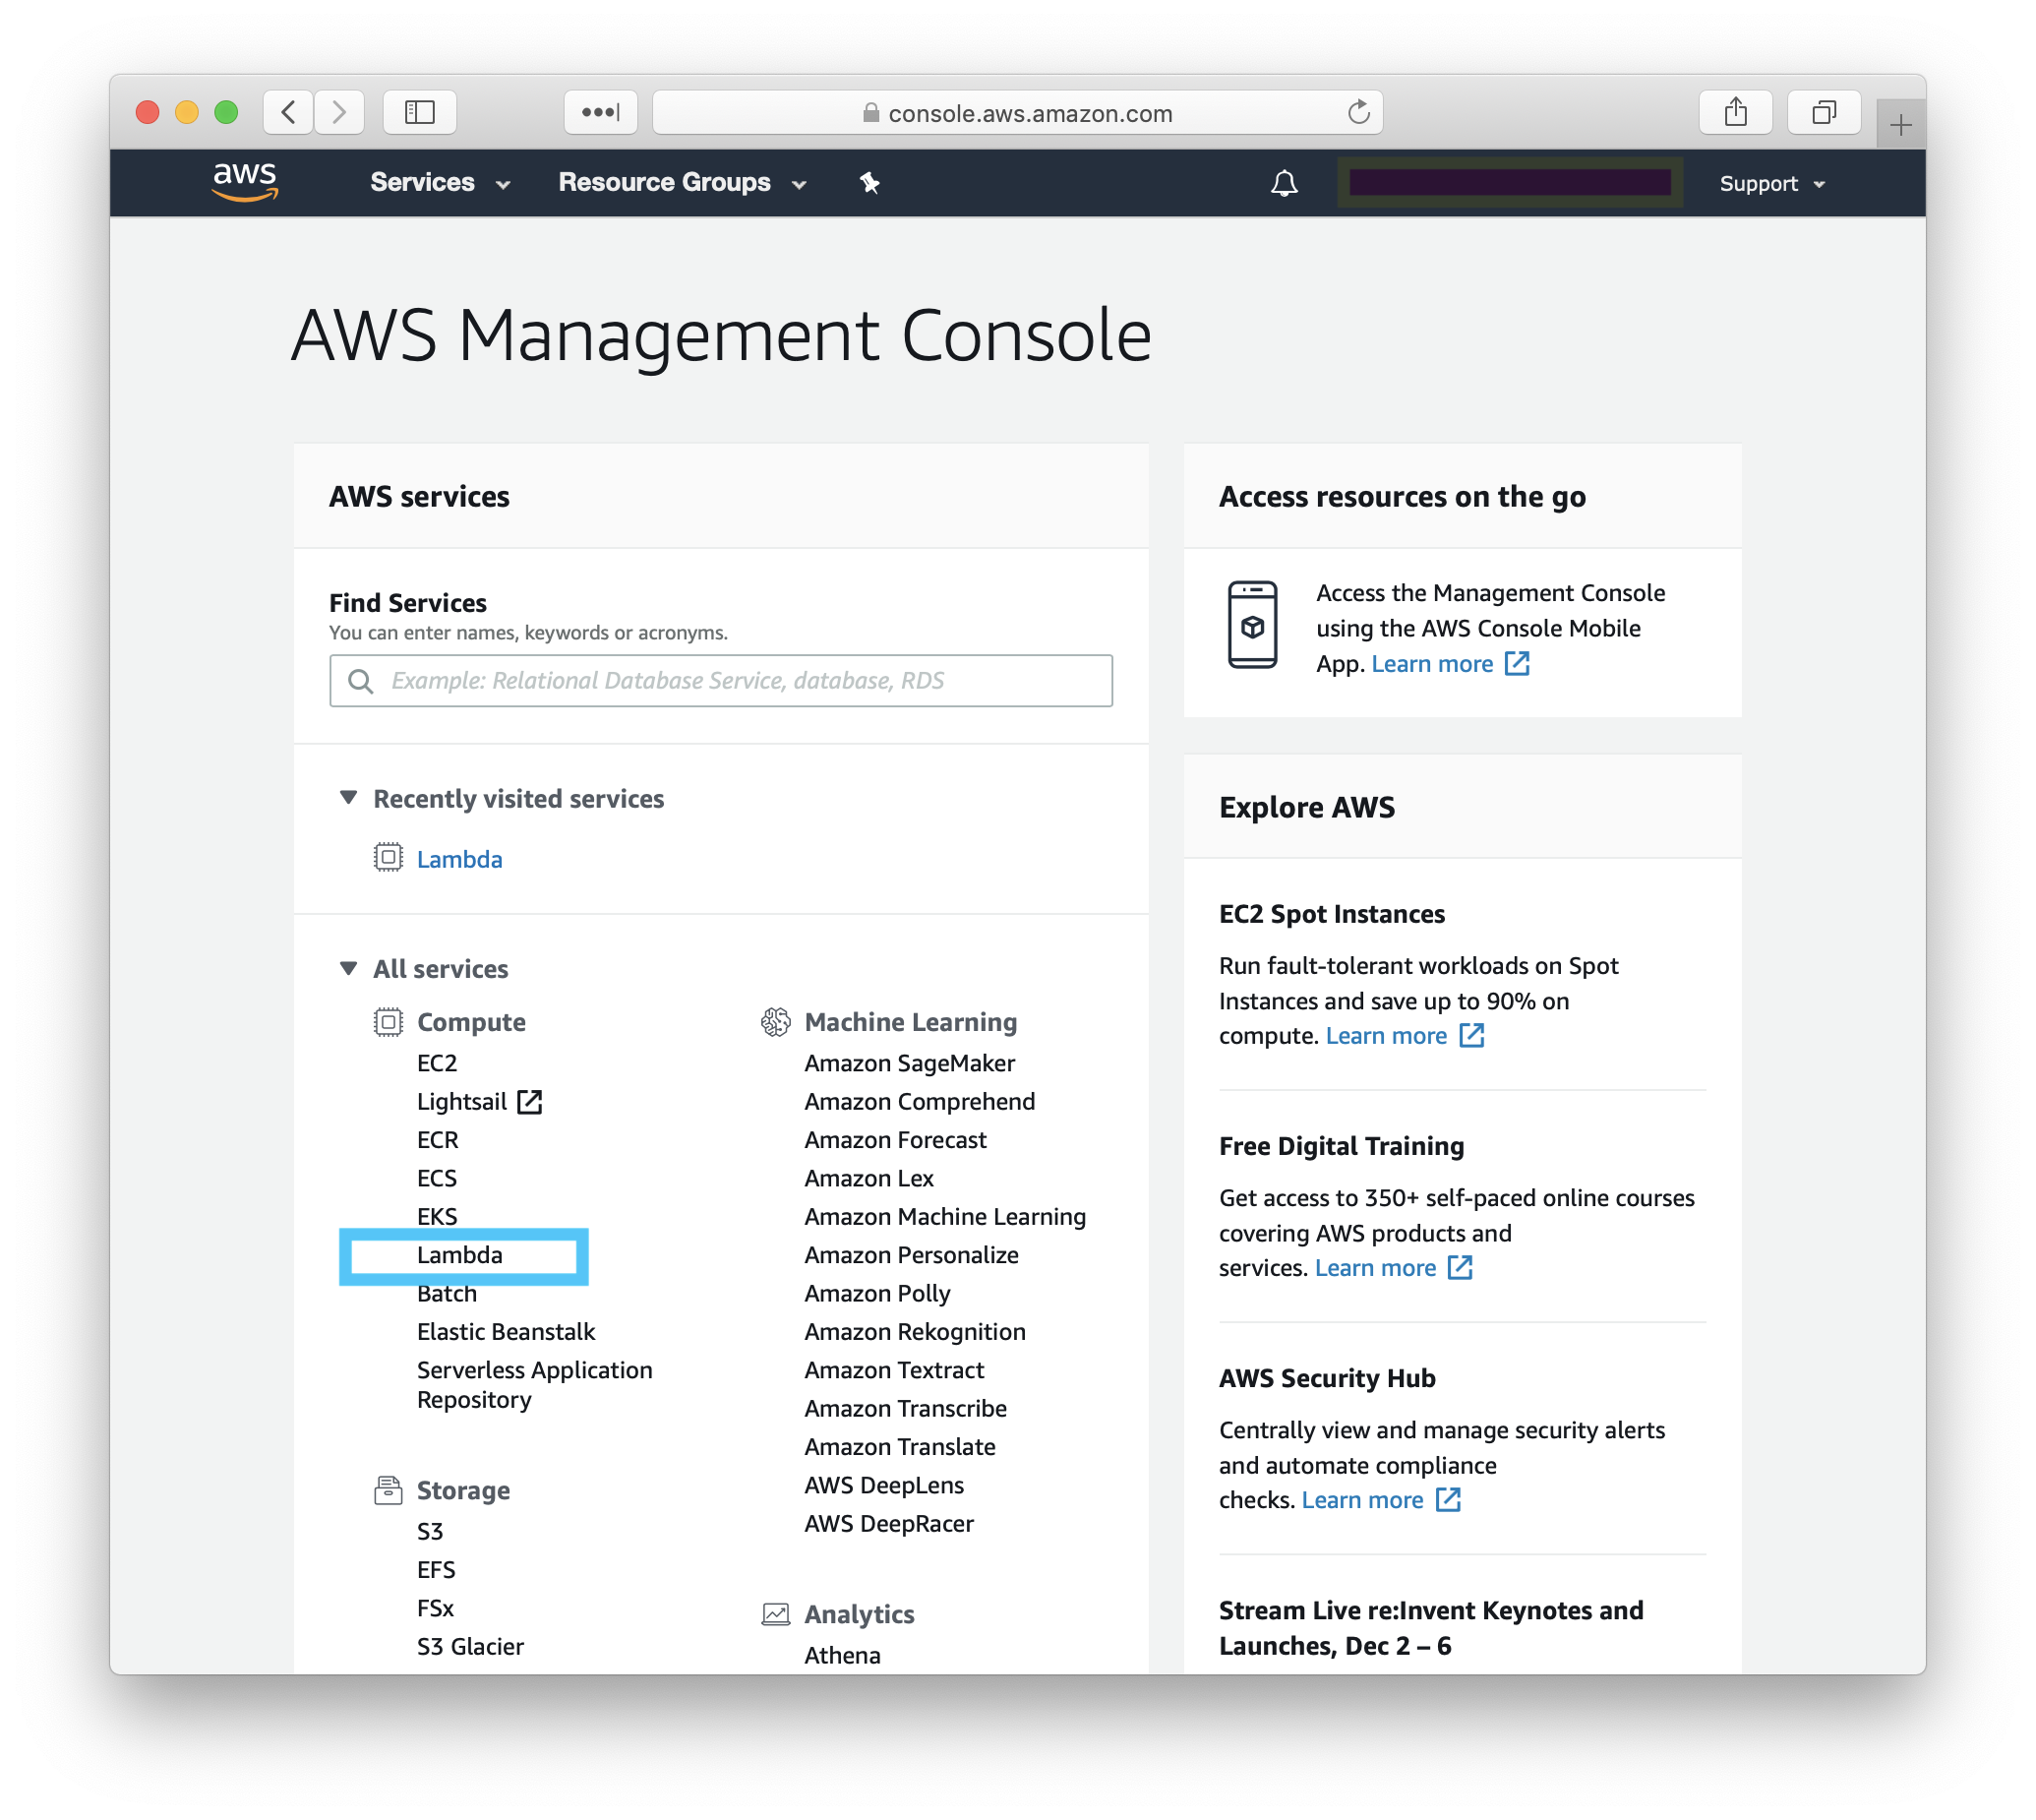
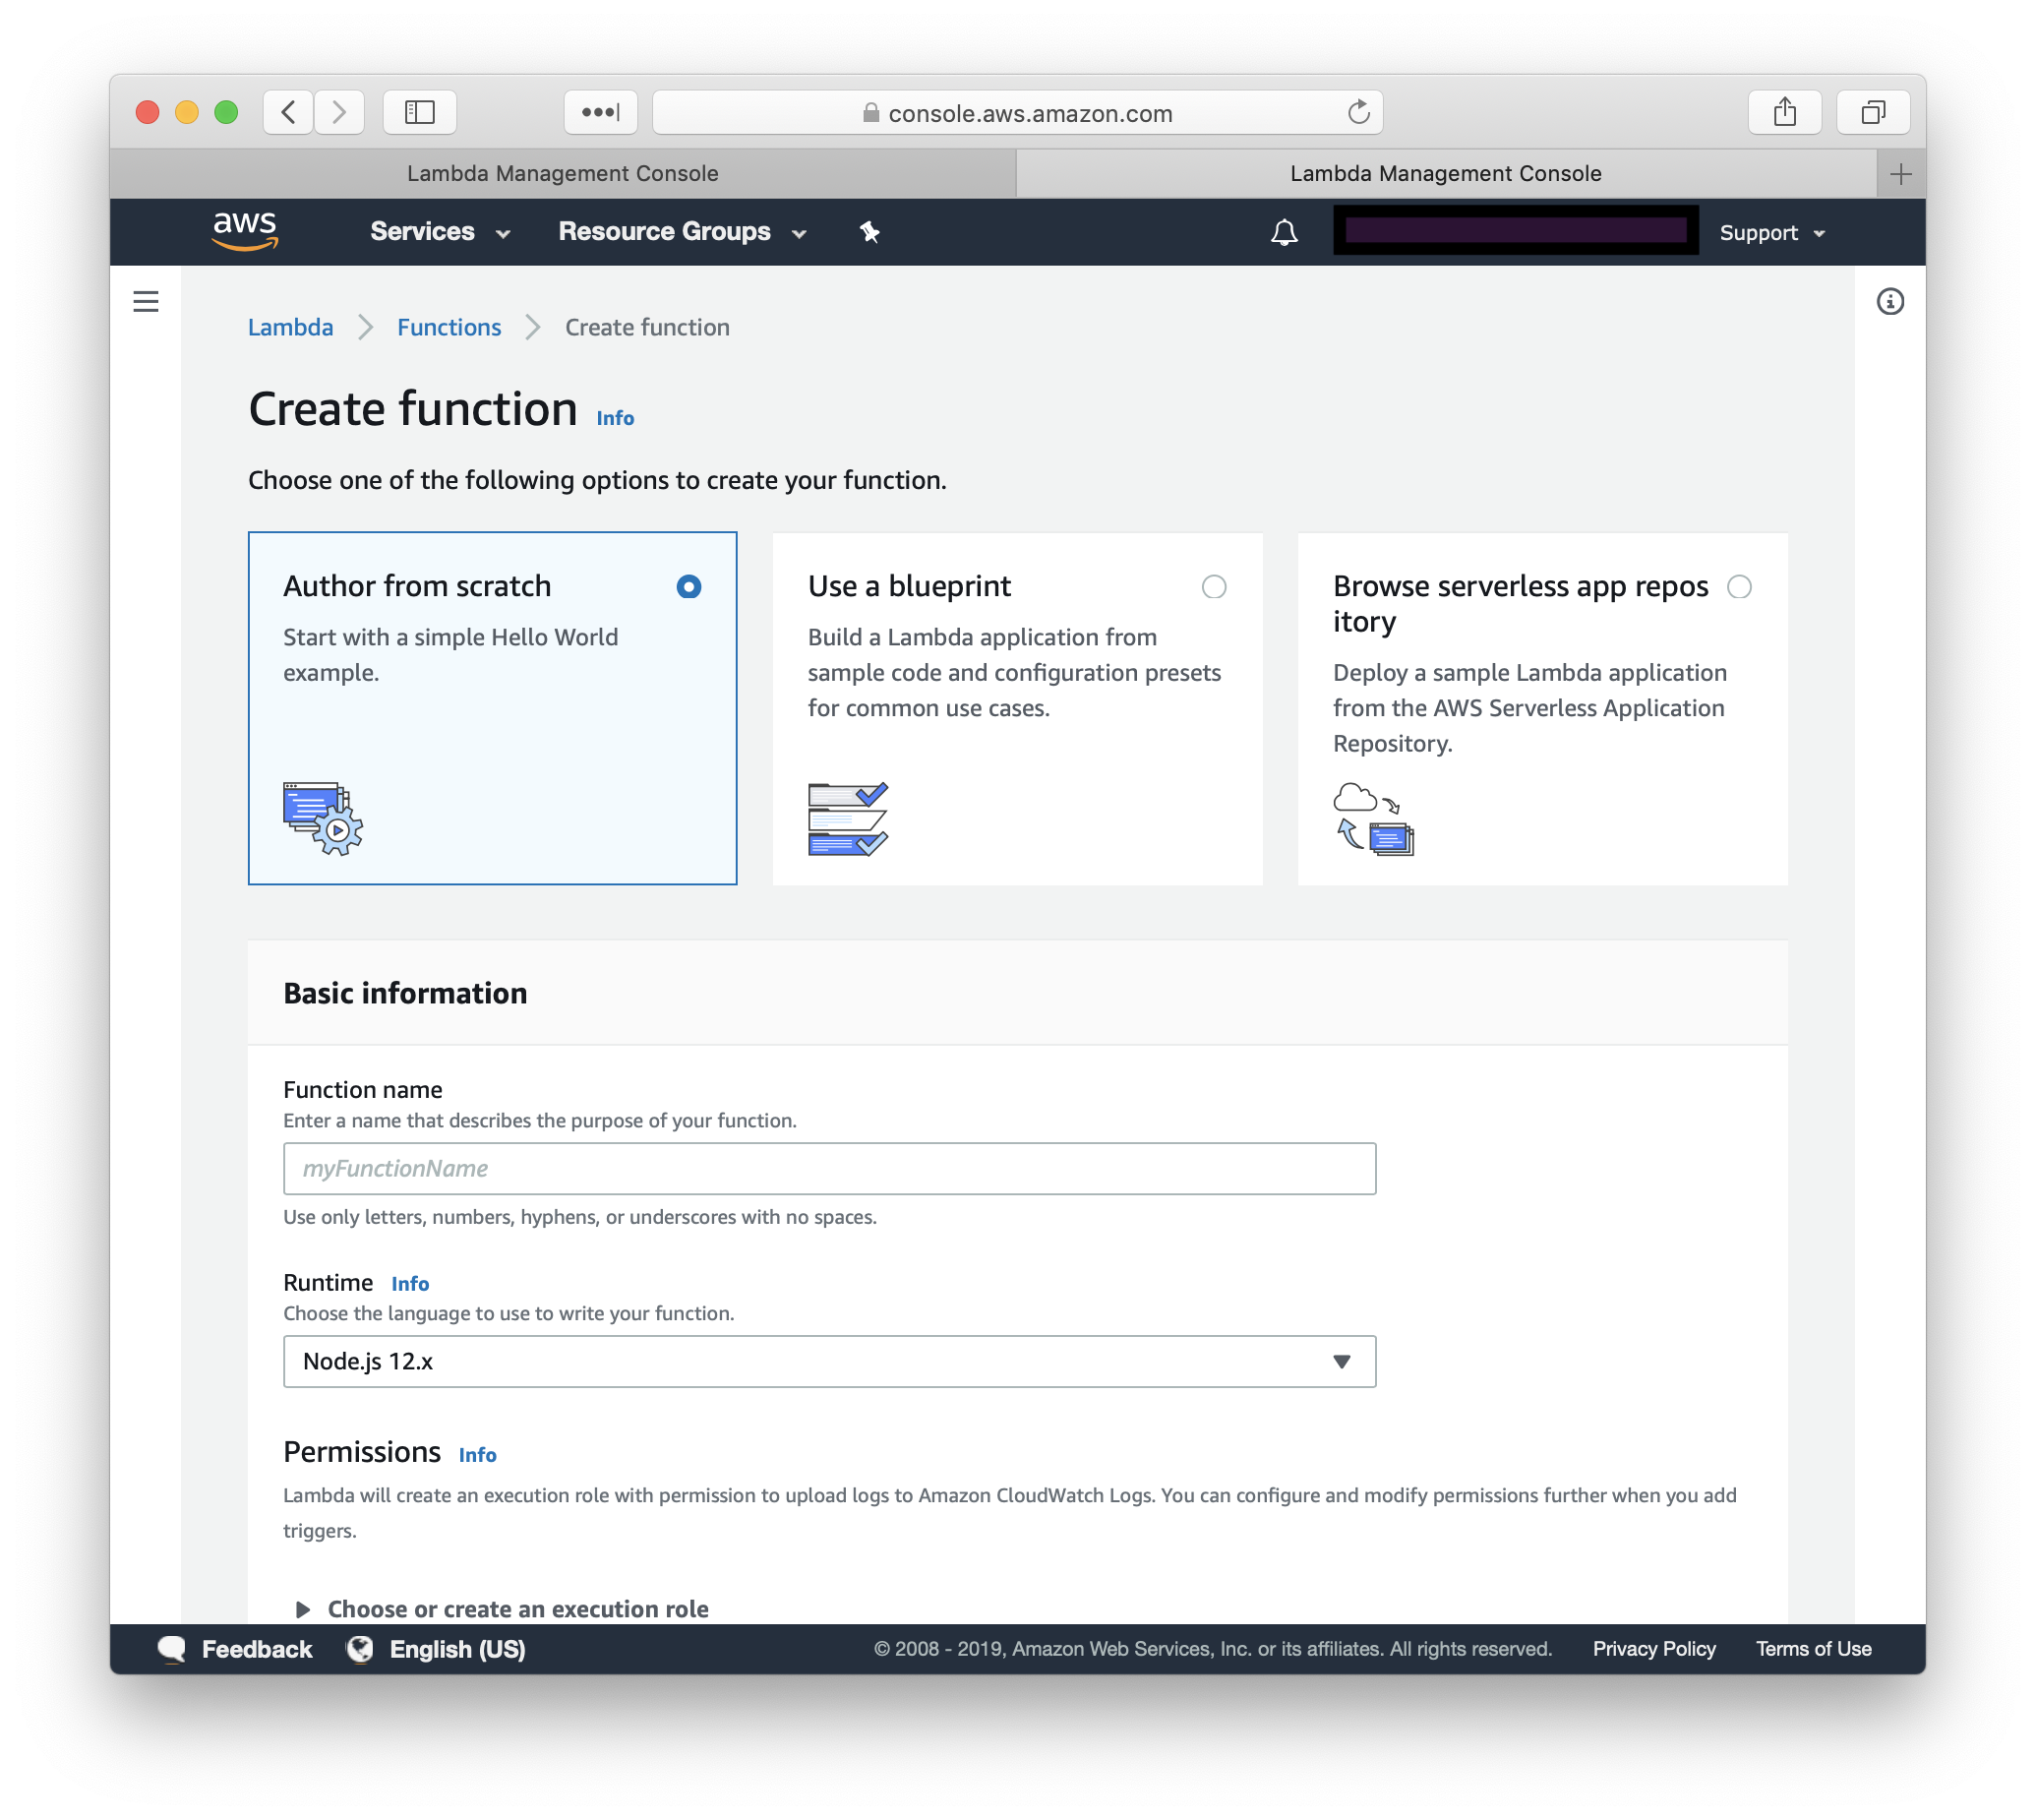
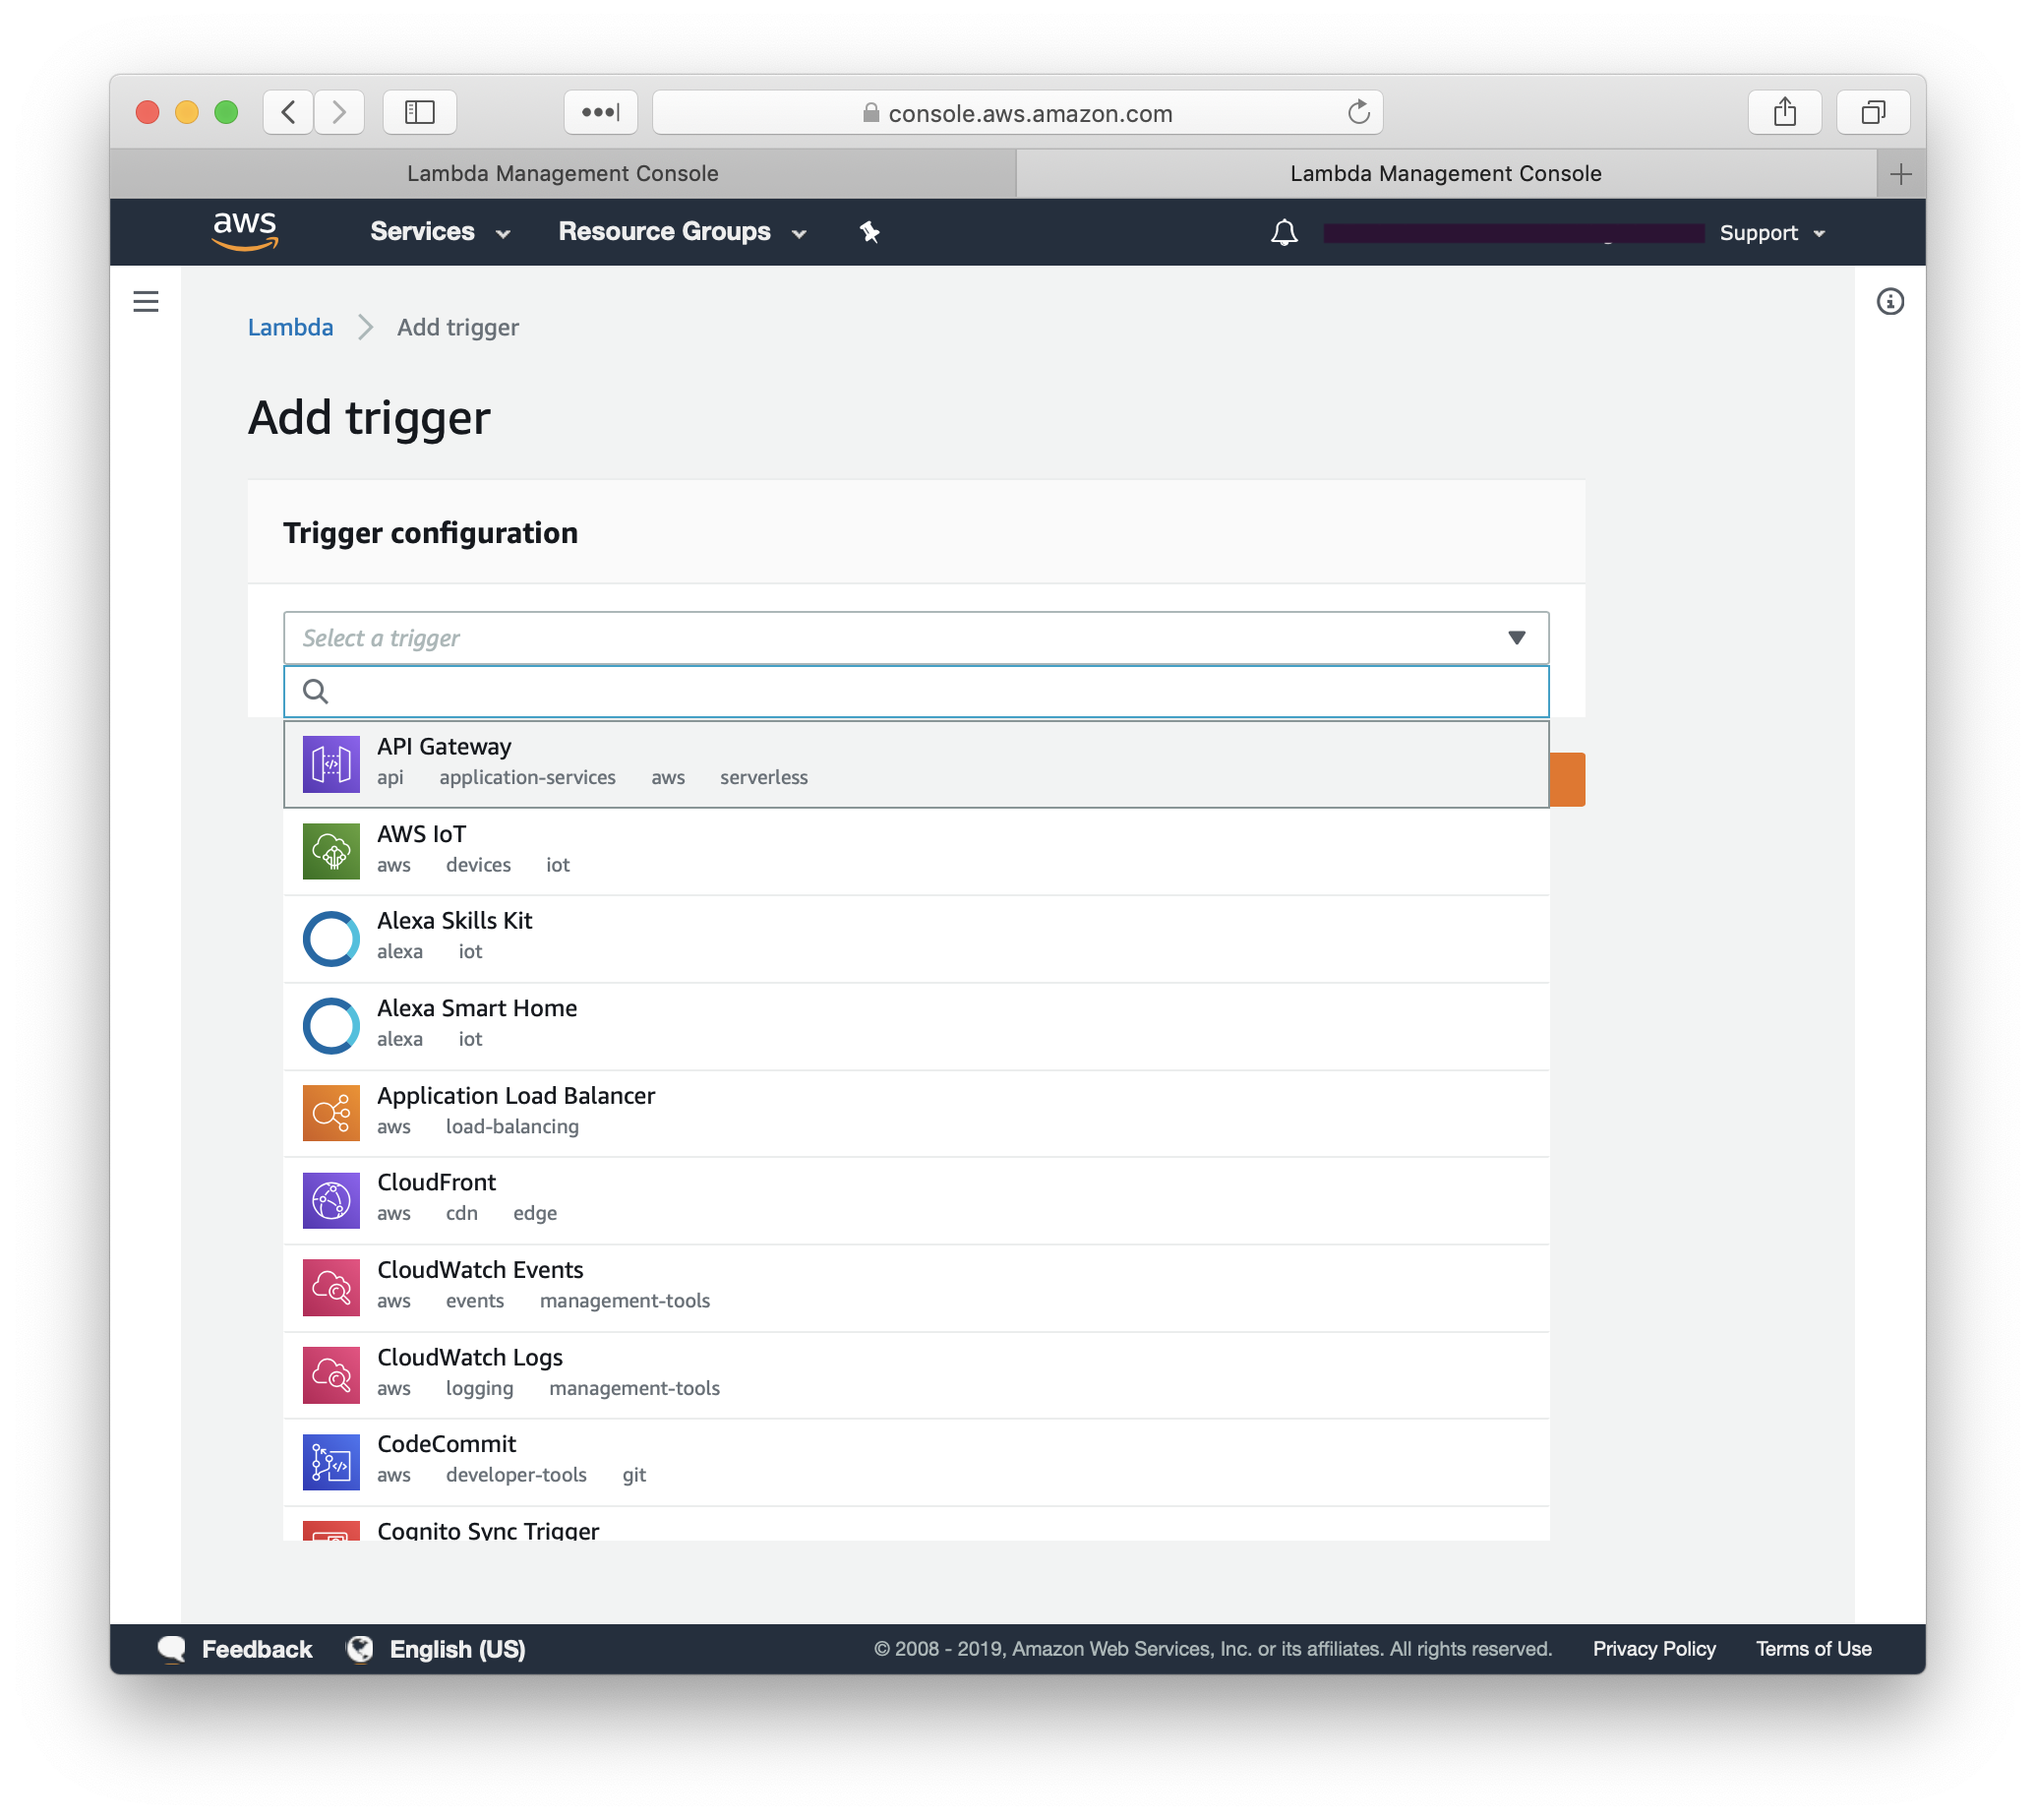
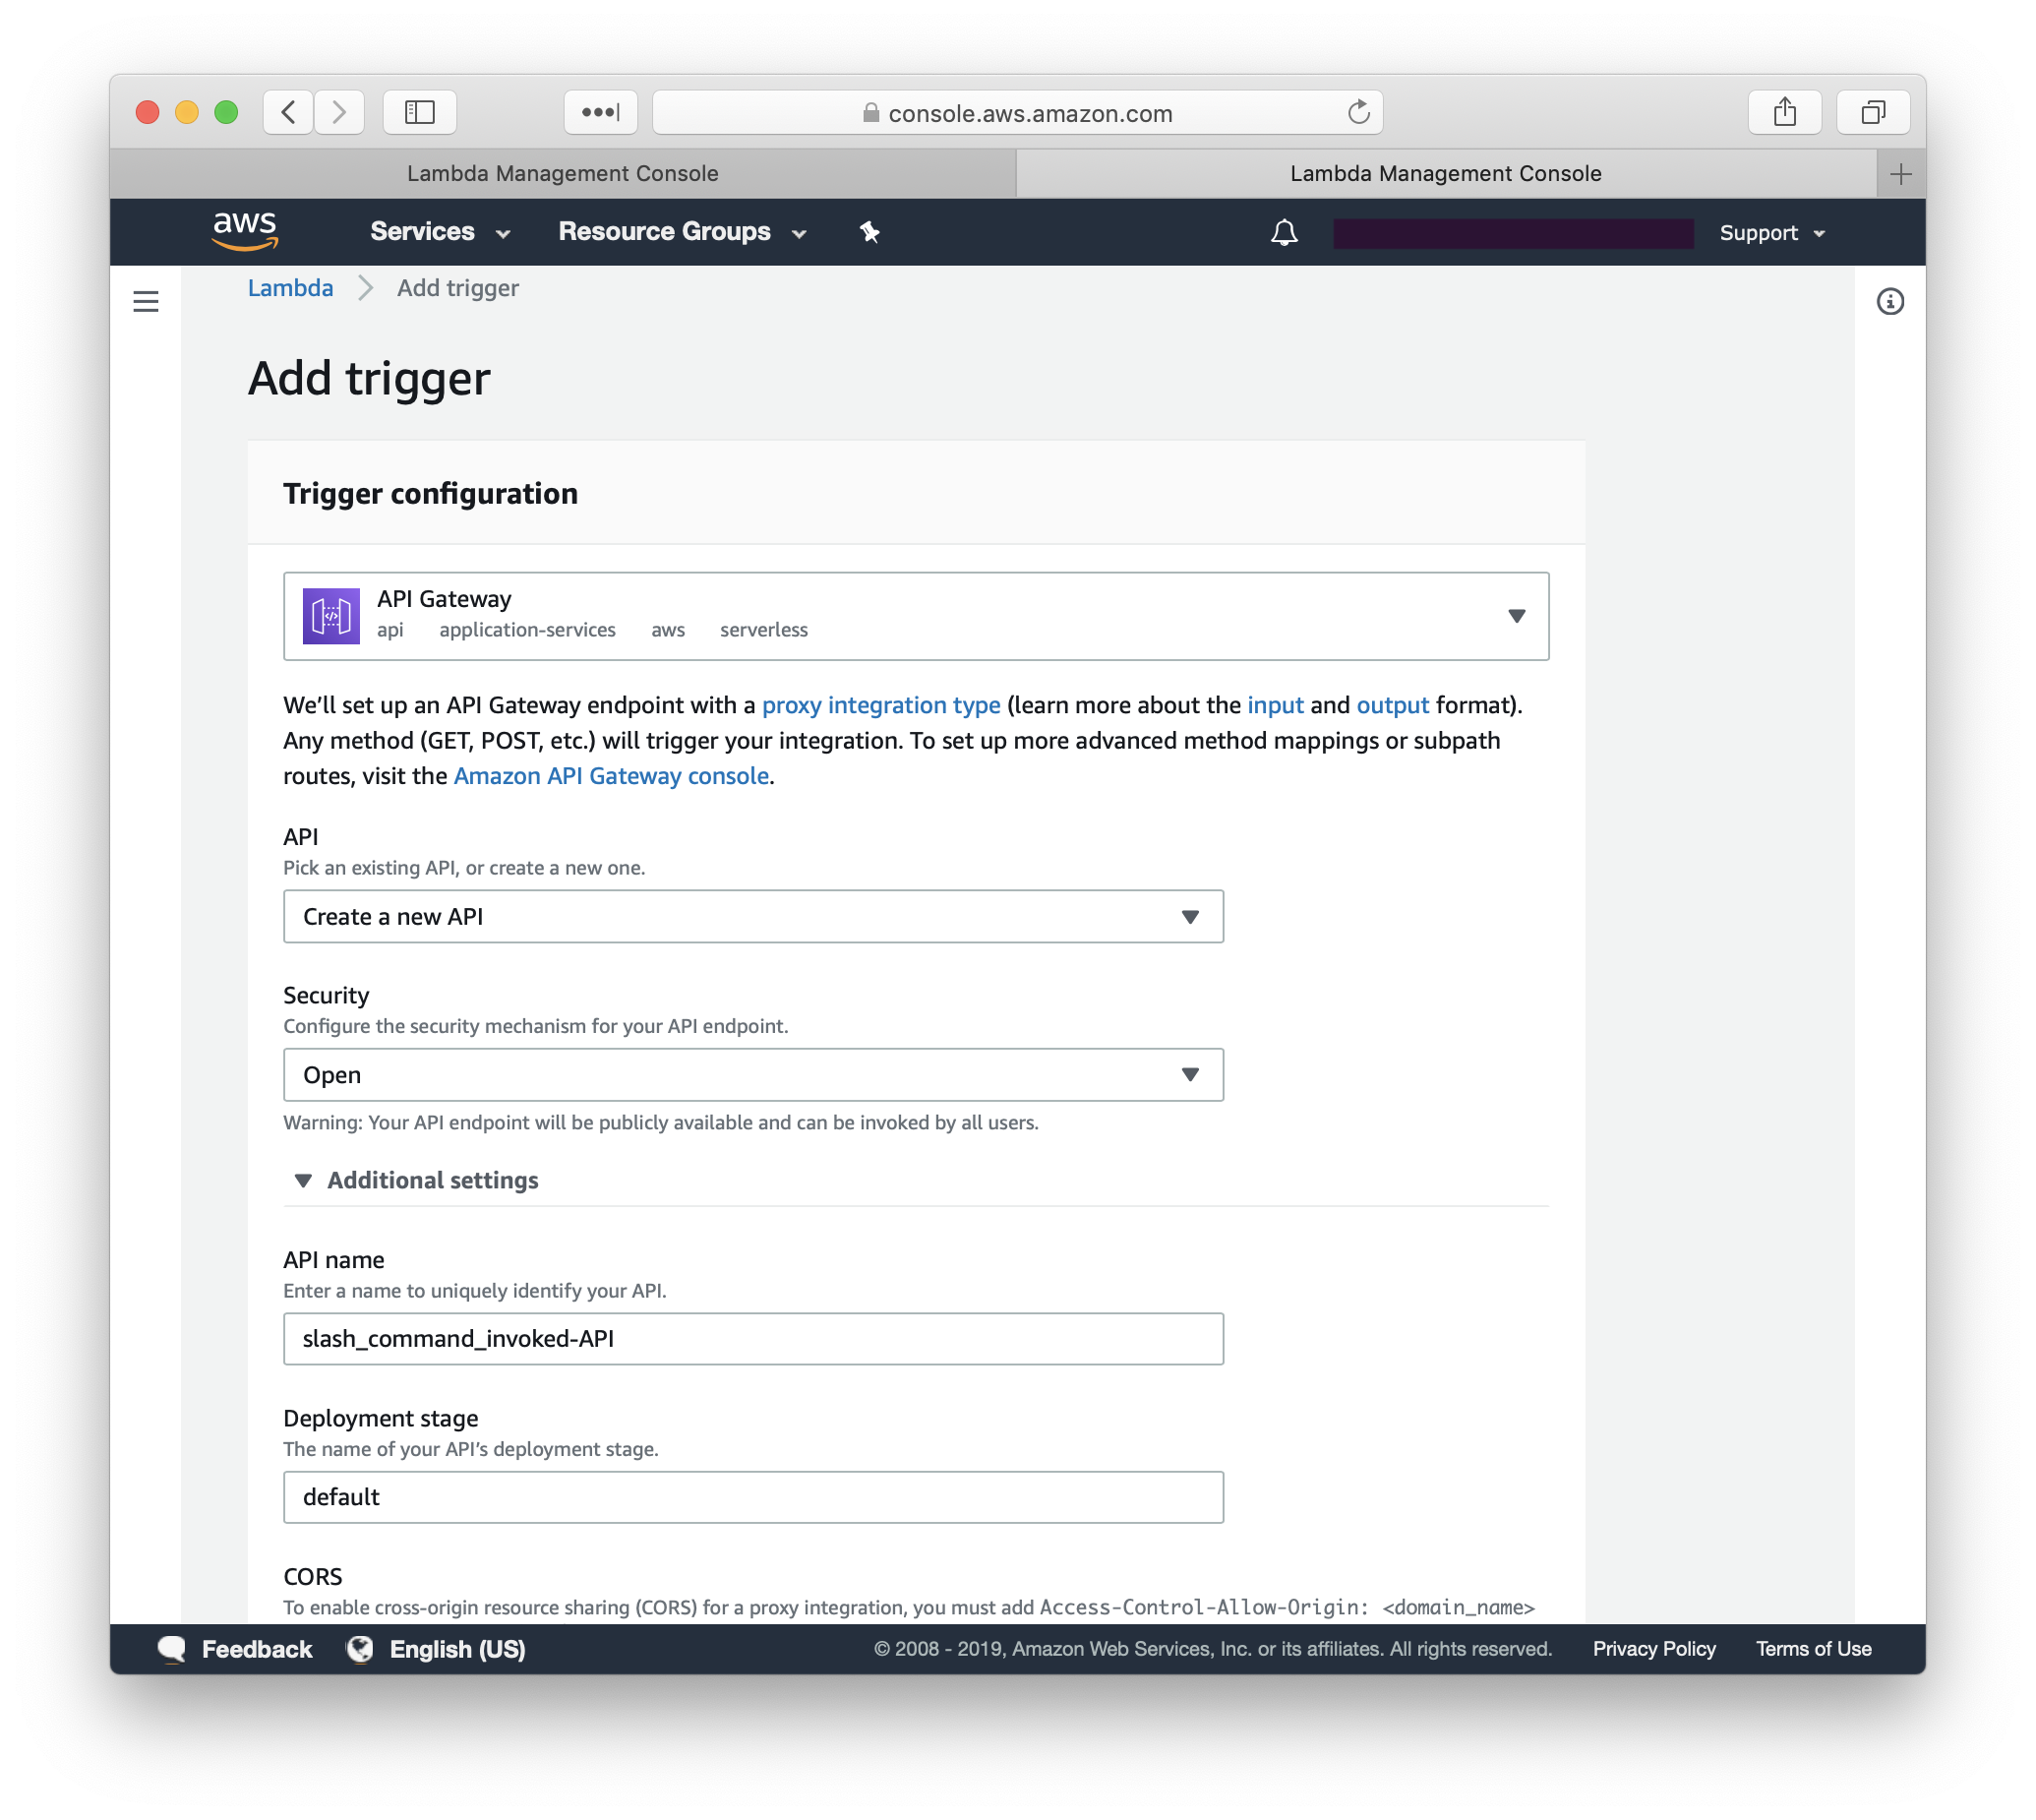
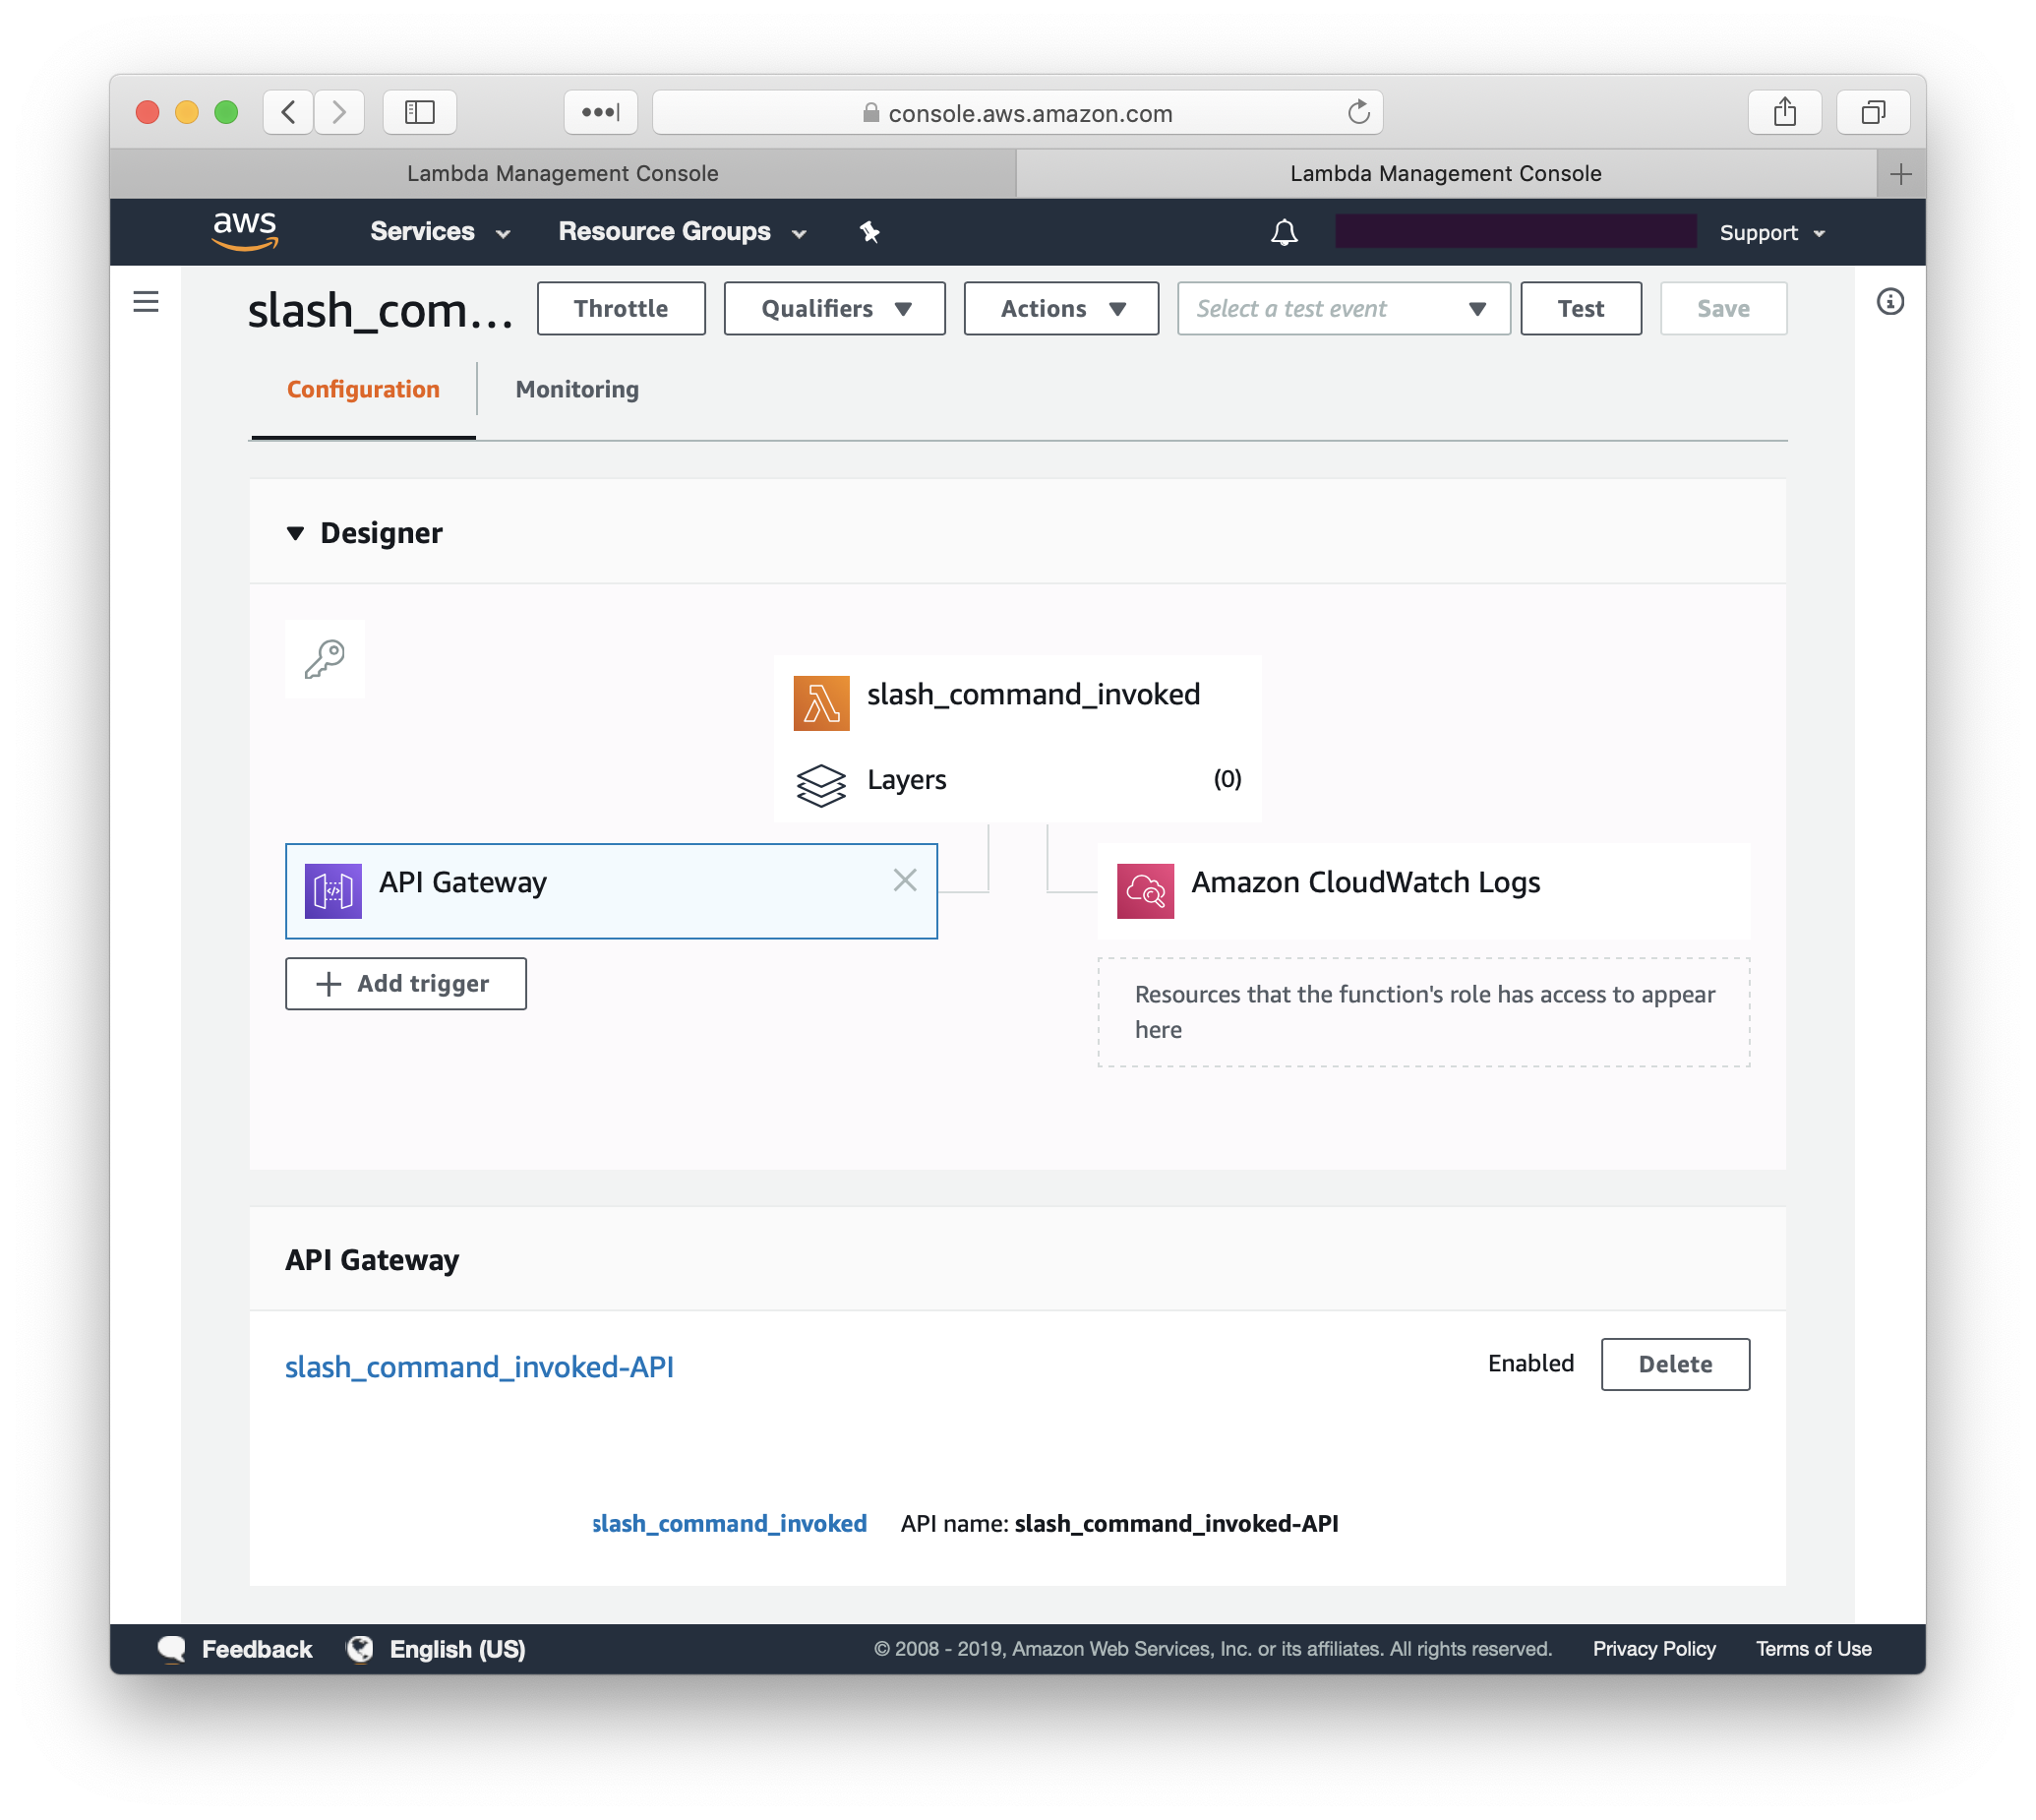
  • 4 AWS Lambda functions
  • 2 API Gateway instances
  • 2 AWS SNS topics
  • 1 AWS Secret Manager secret

I am just going to share code examples for the four Lambda function in this post. I’m not going to go into the how or why of the app in this post, as I hope the presentation slides, in combination with the video, and this post on how to create a basic Slack app, covers that ground enough. But please let me know if there is anything that you think I should explain further or provide more information on.

Here is the video of my JNUC presentation, which covers a bit of the background behind why the Slack app was created in the first place:

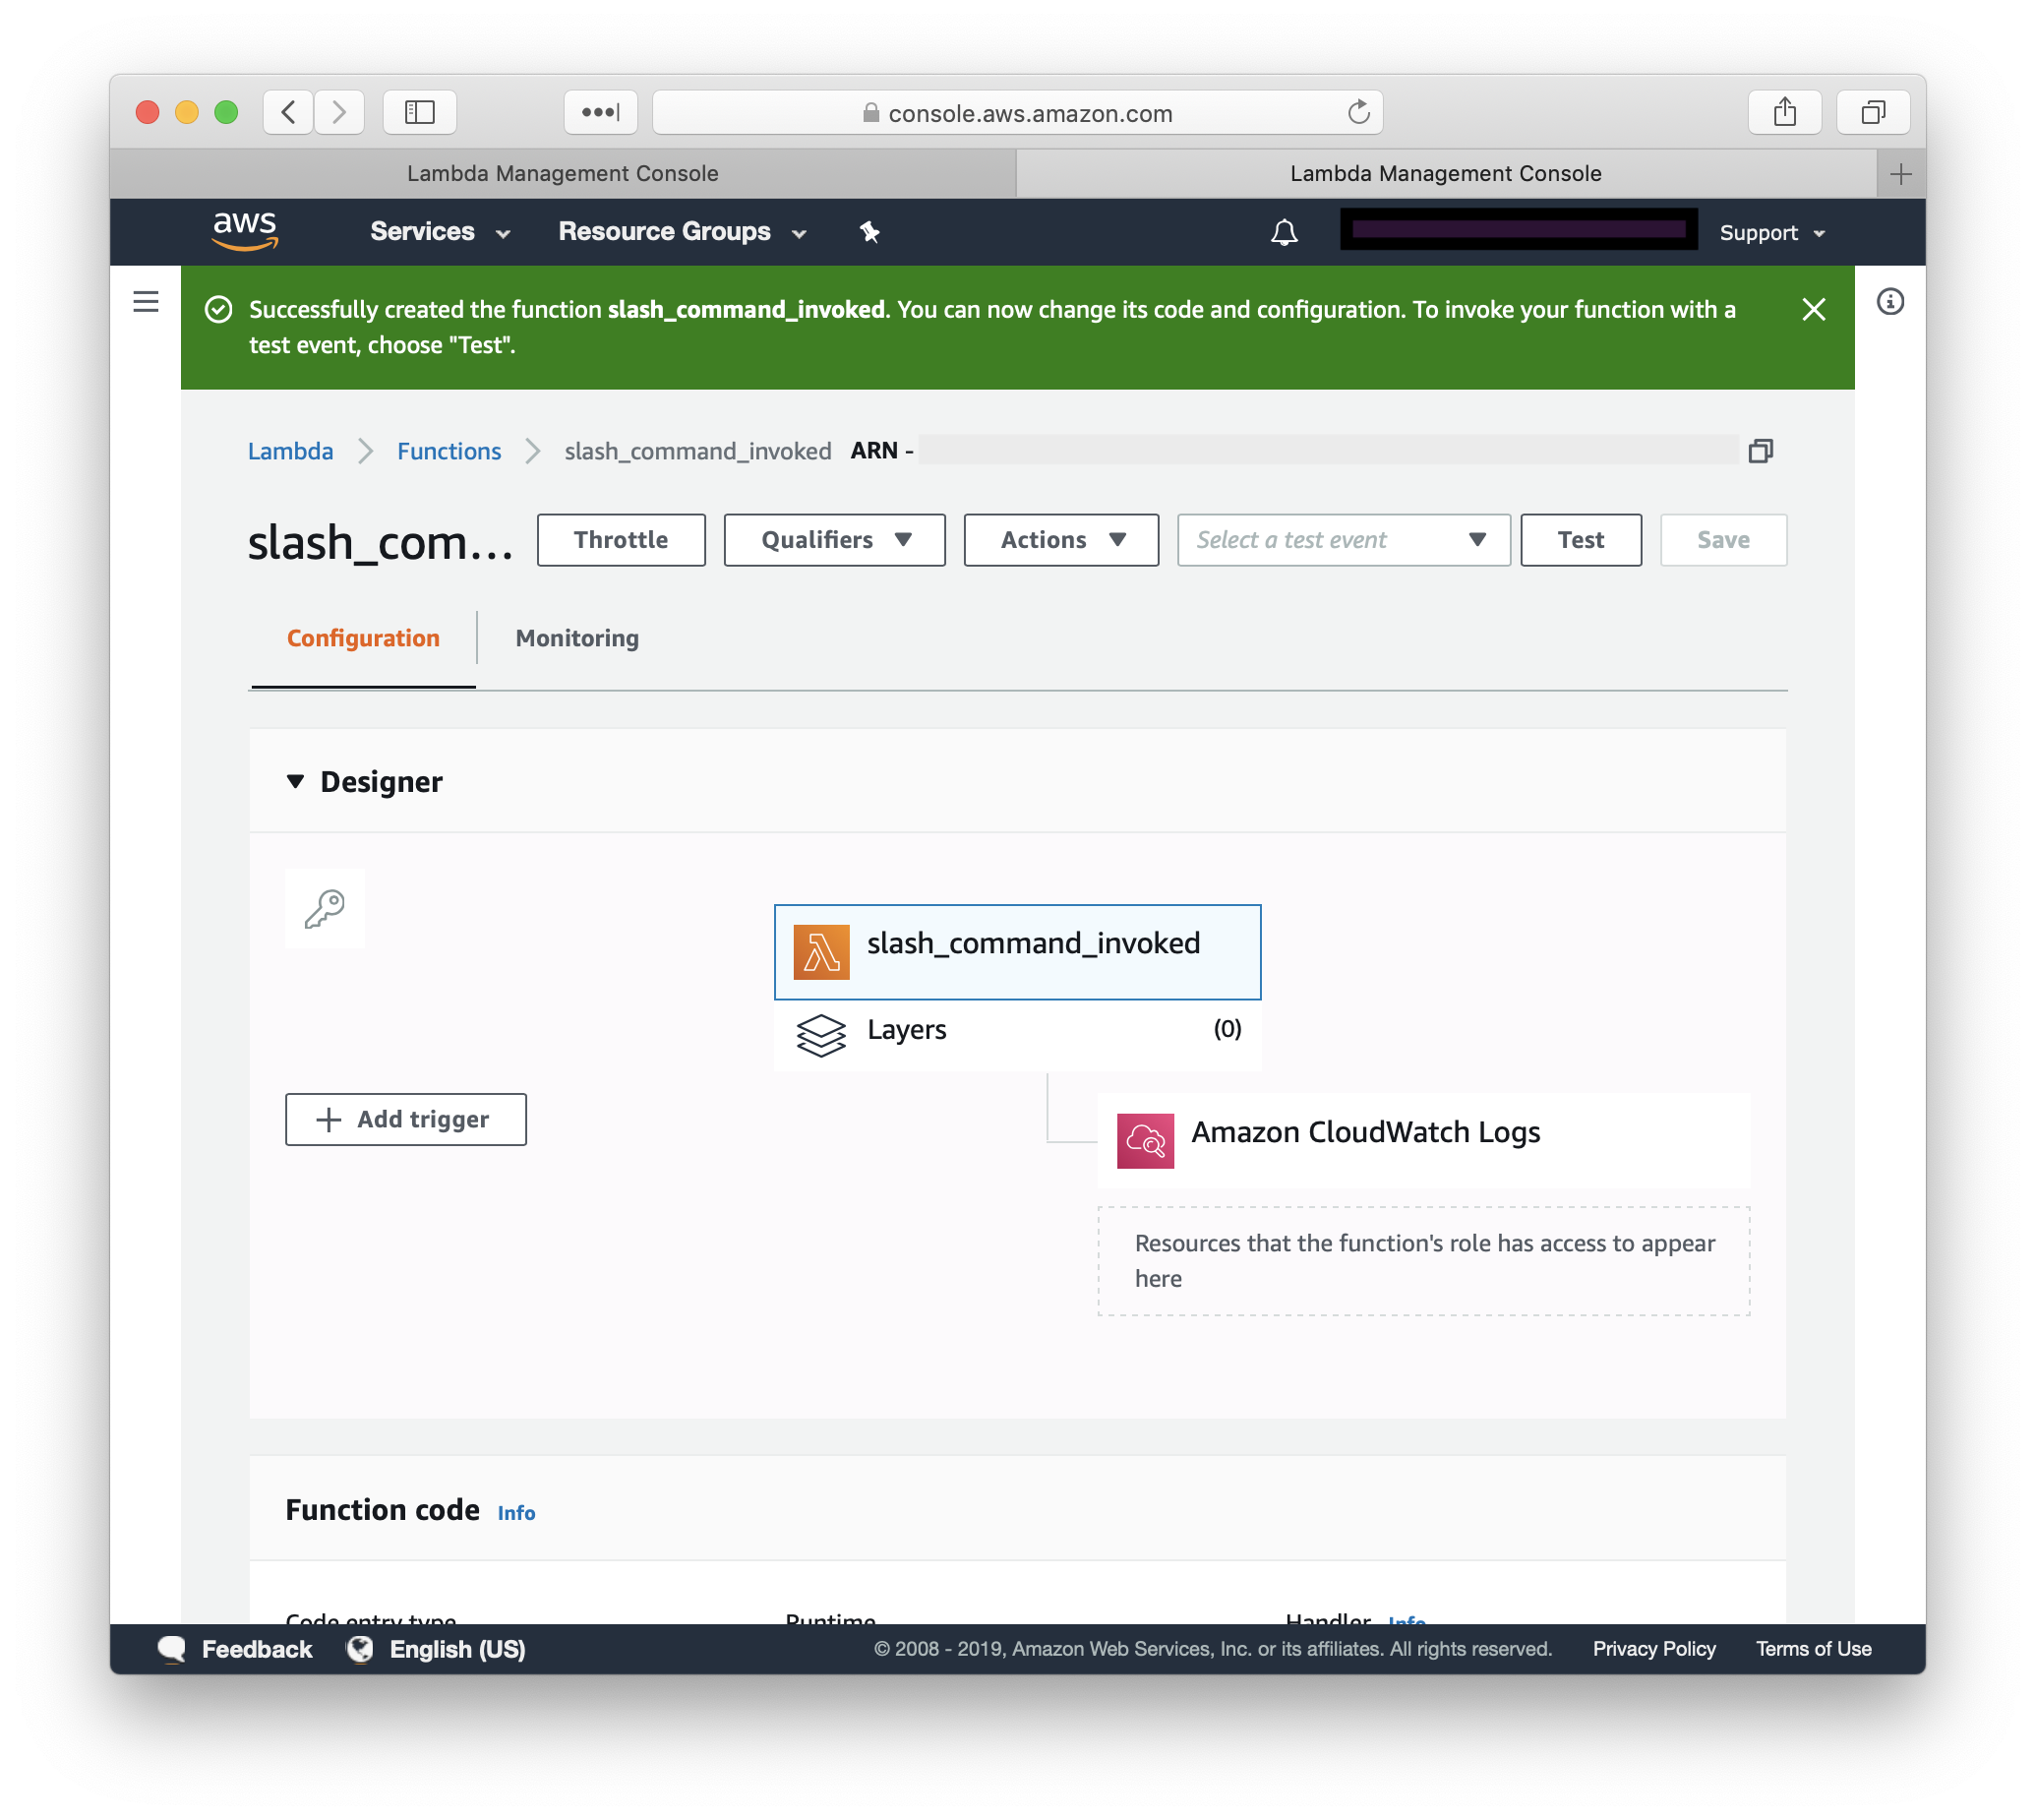
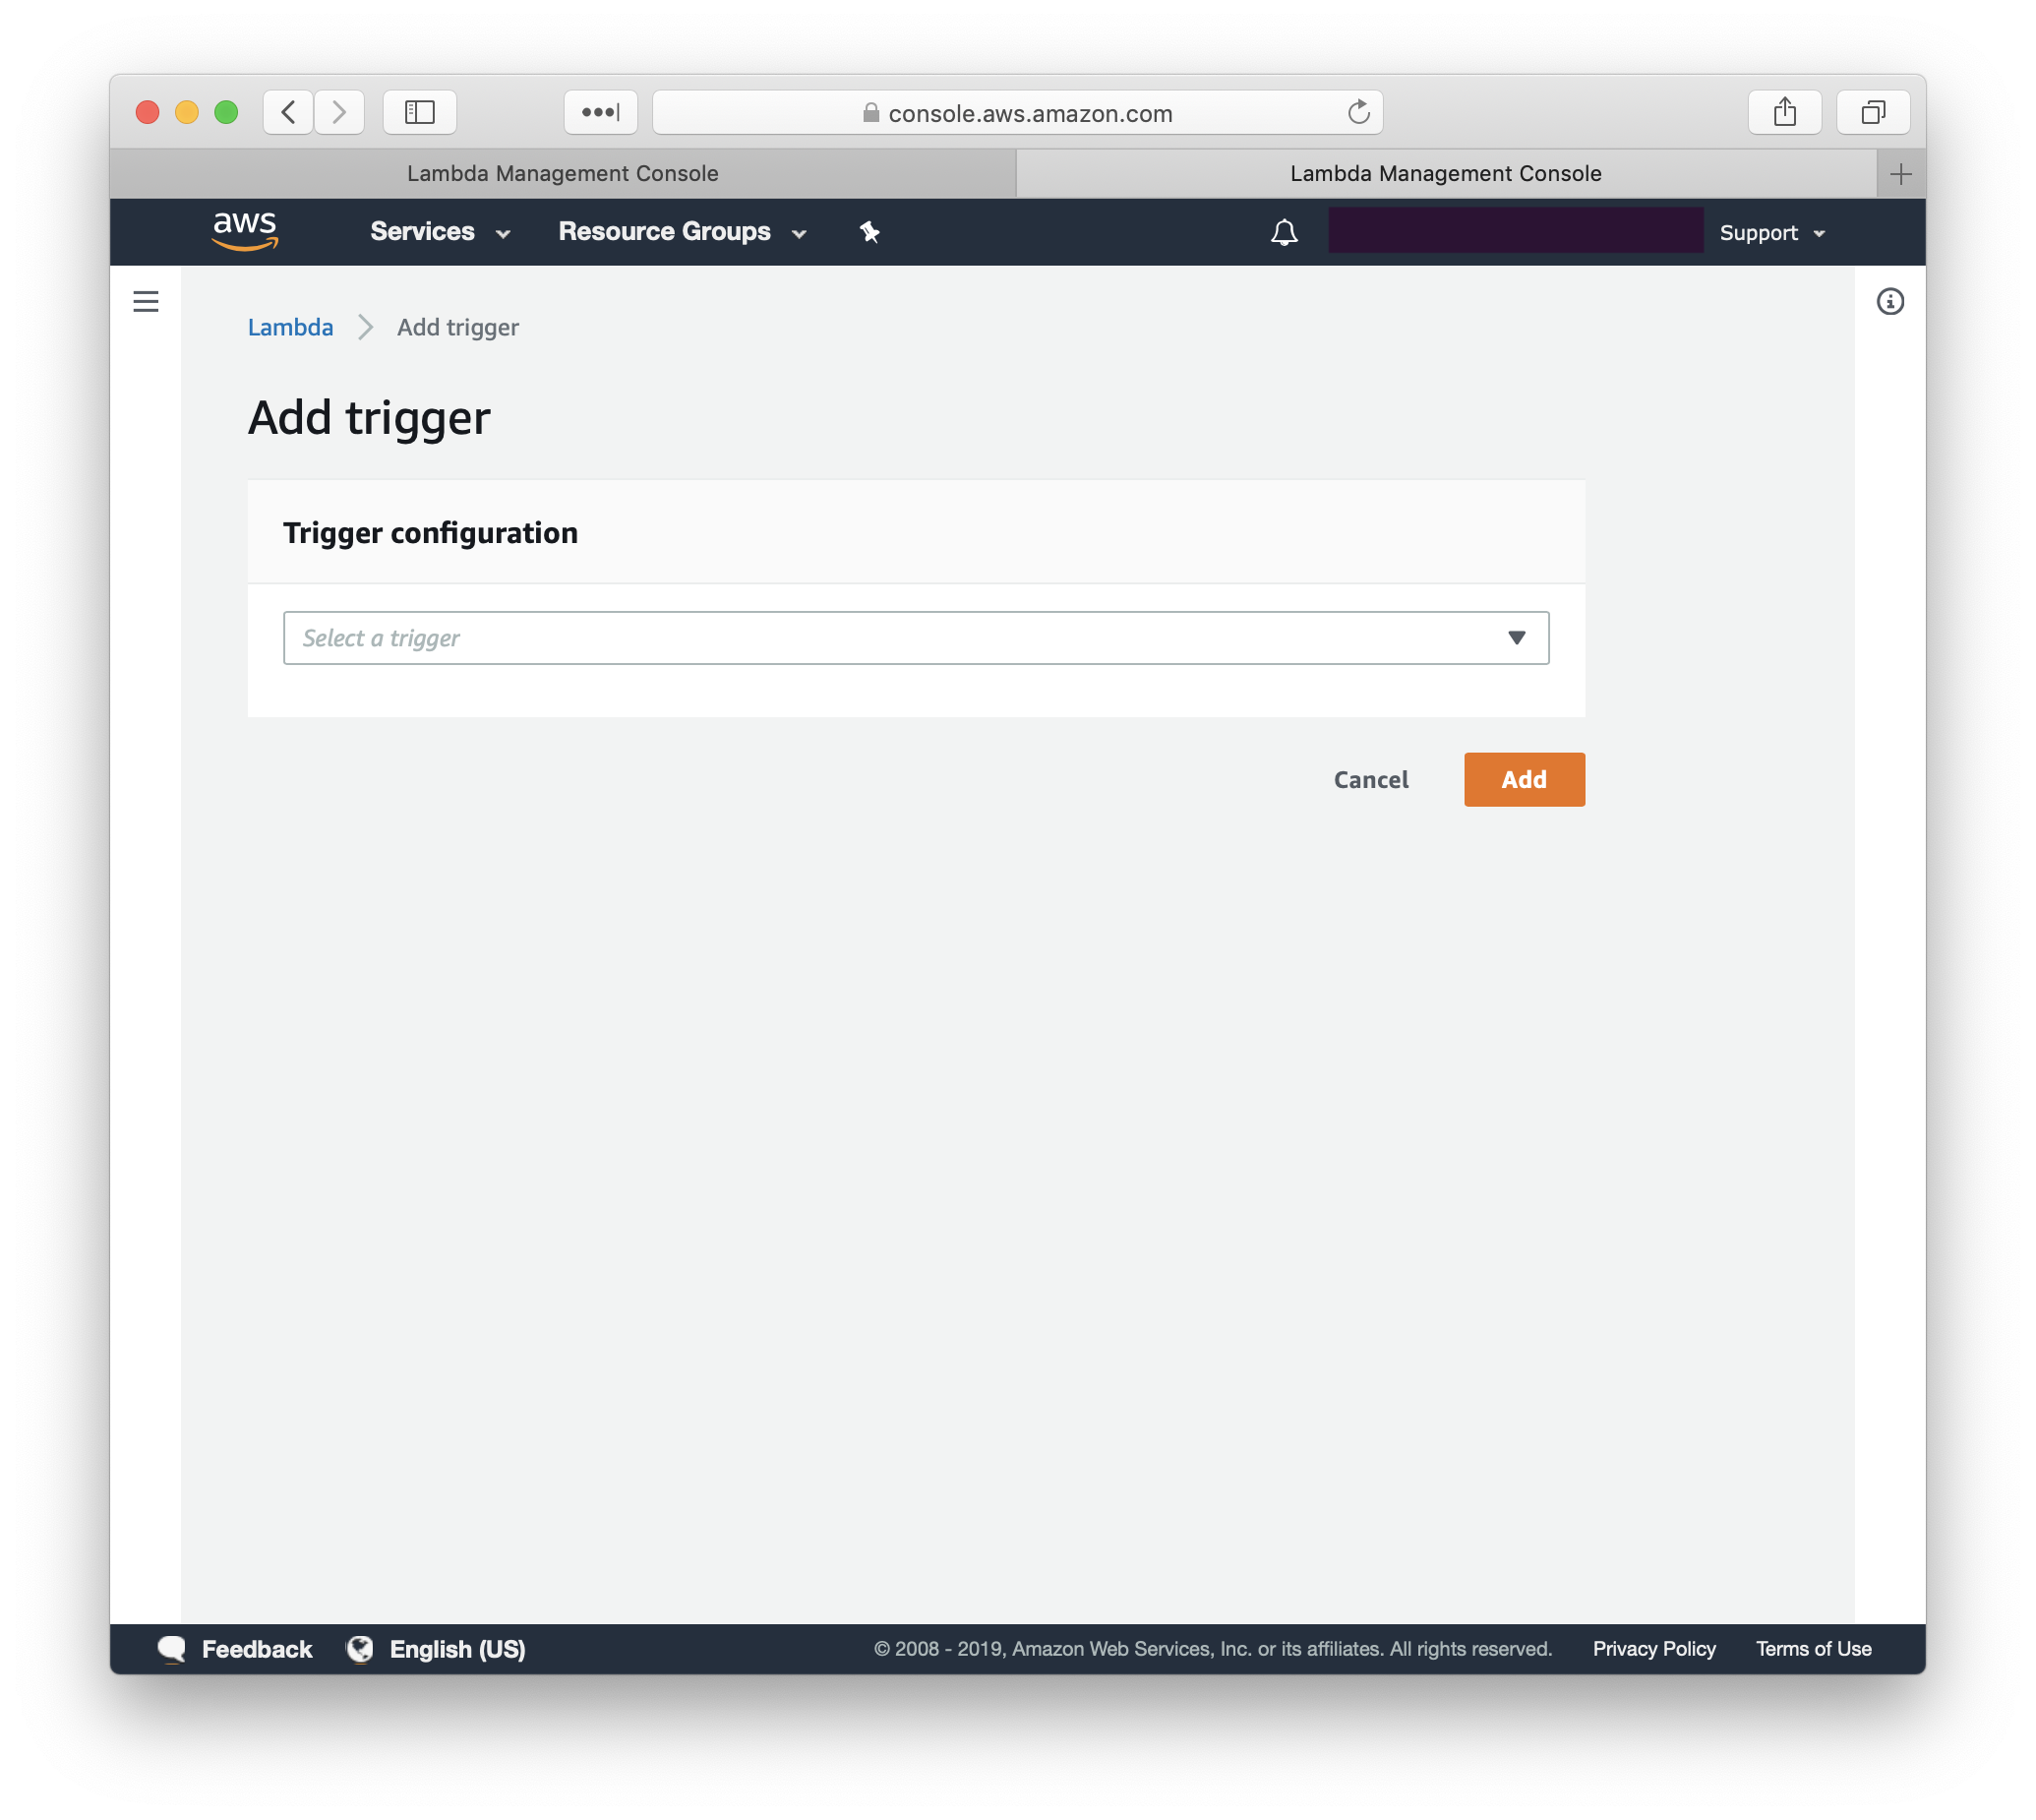
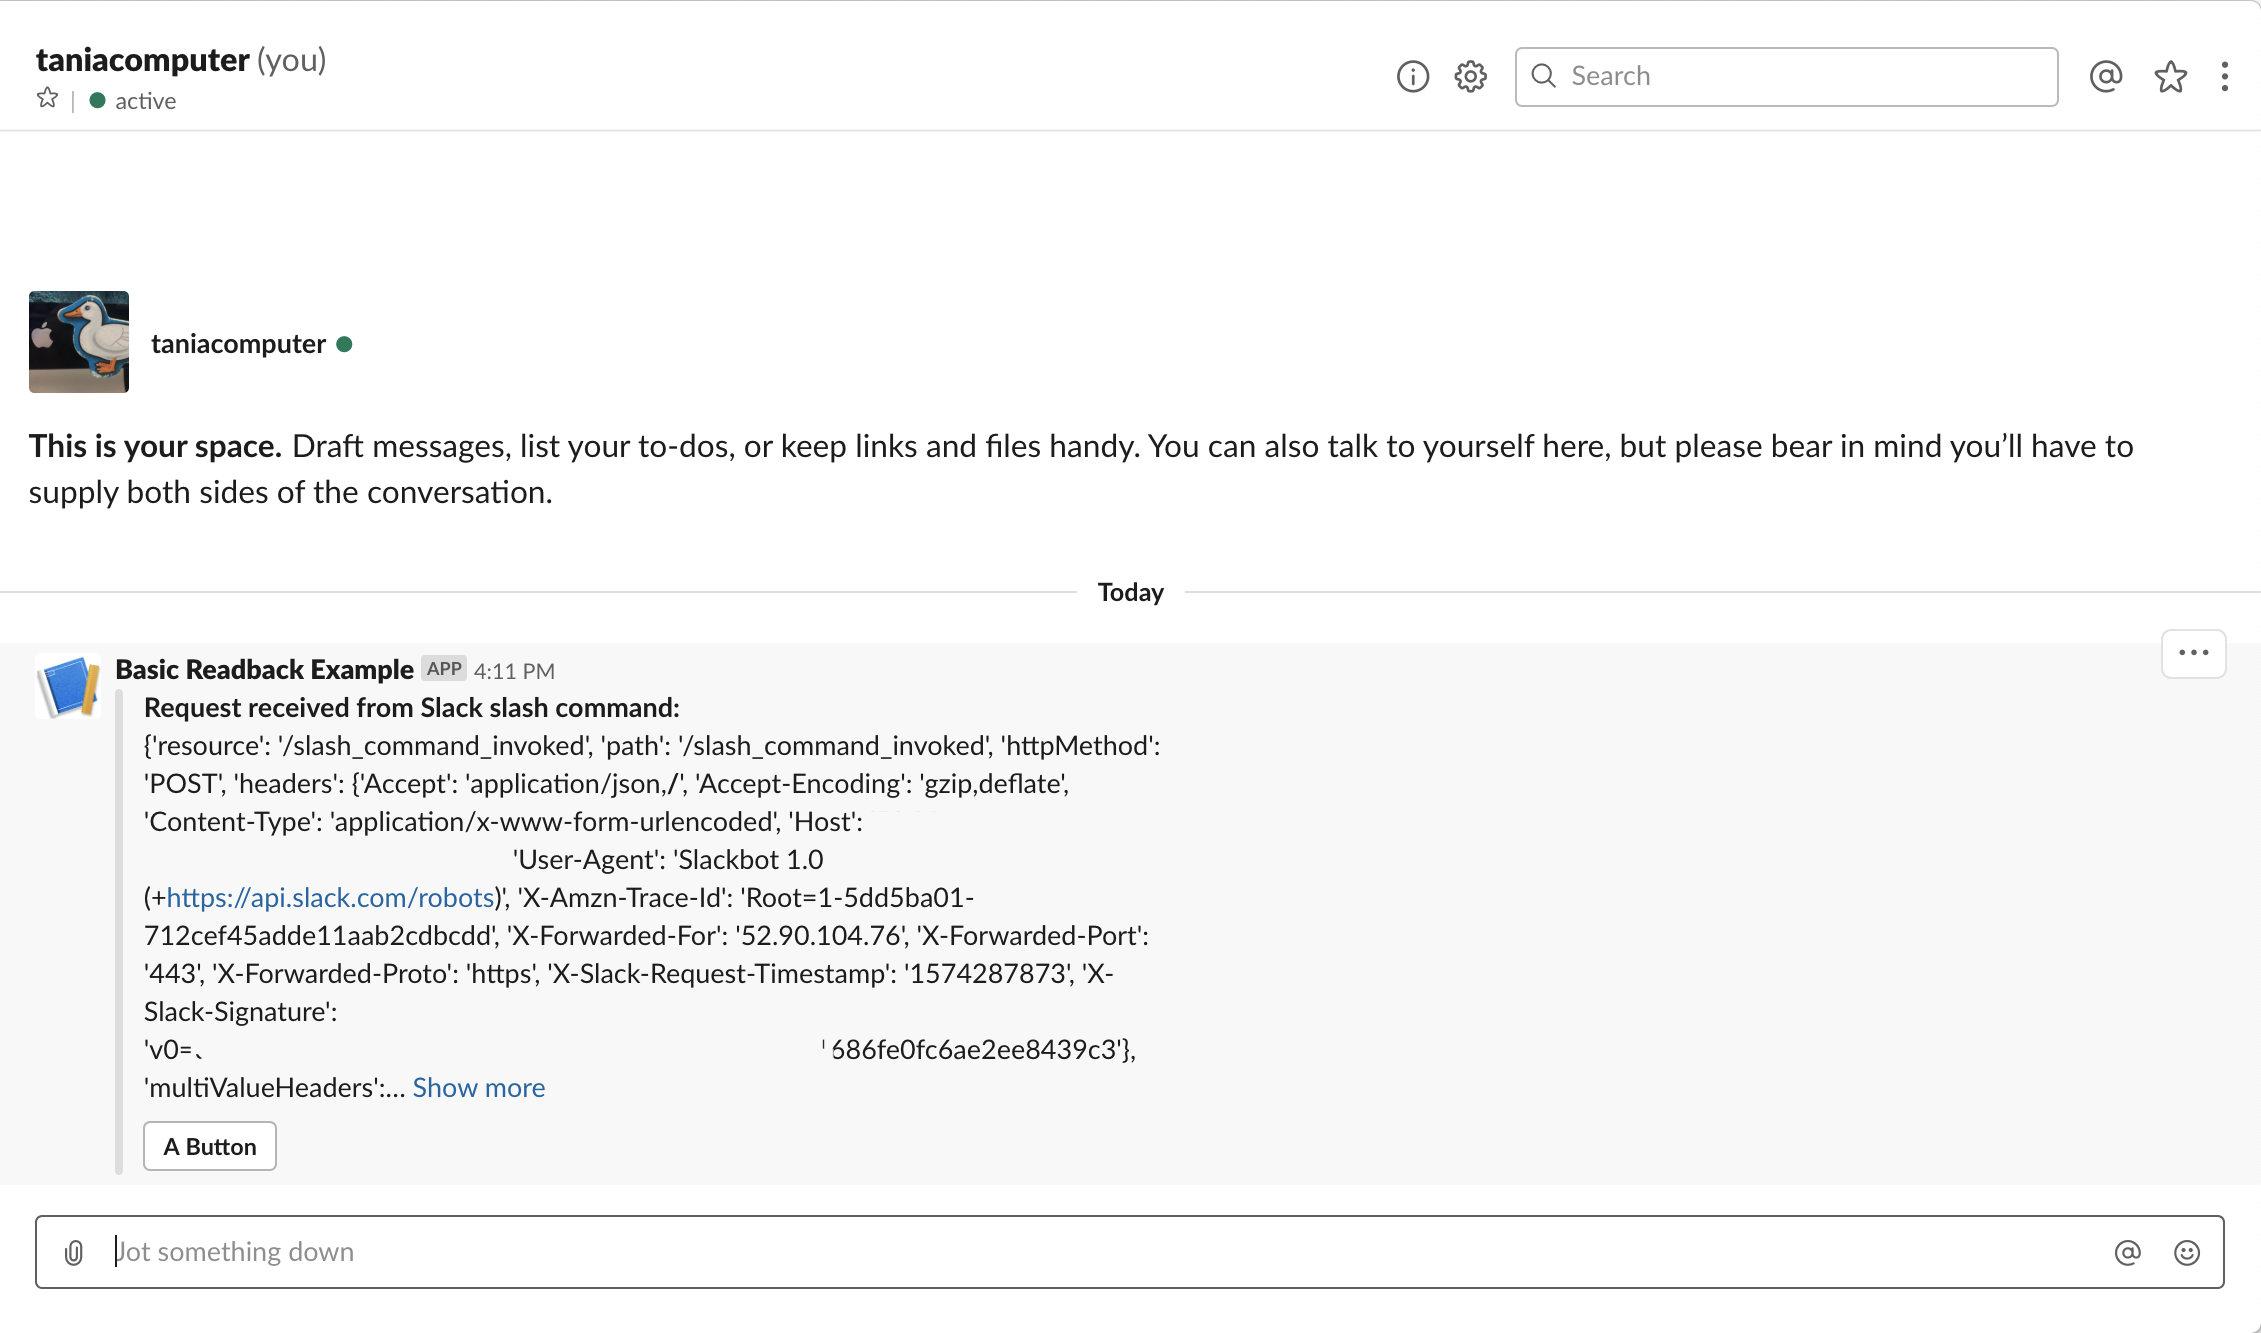
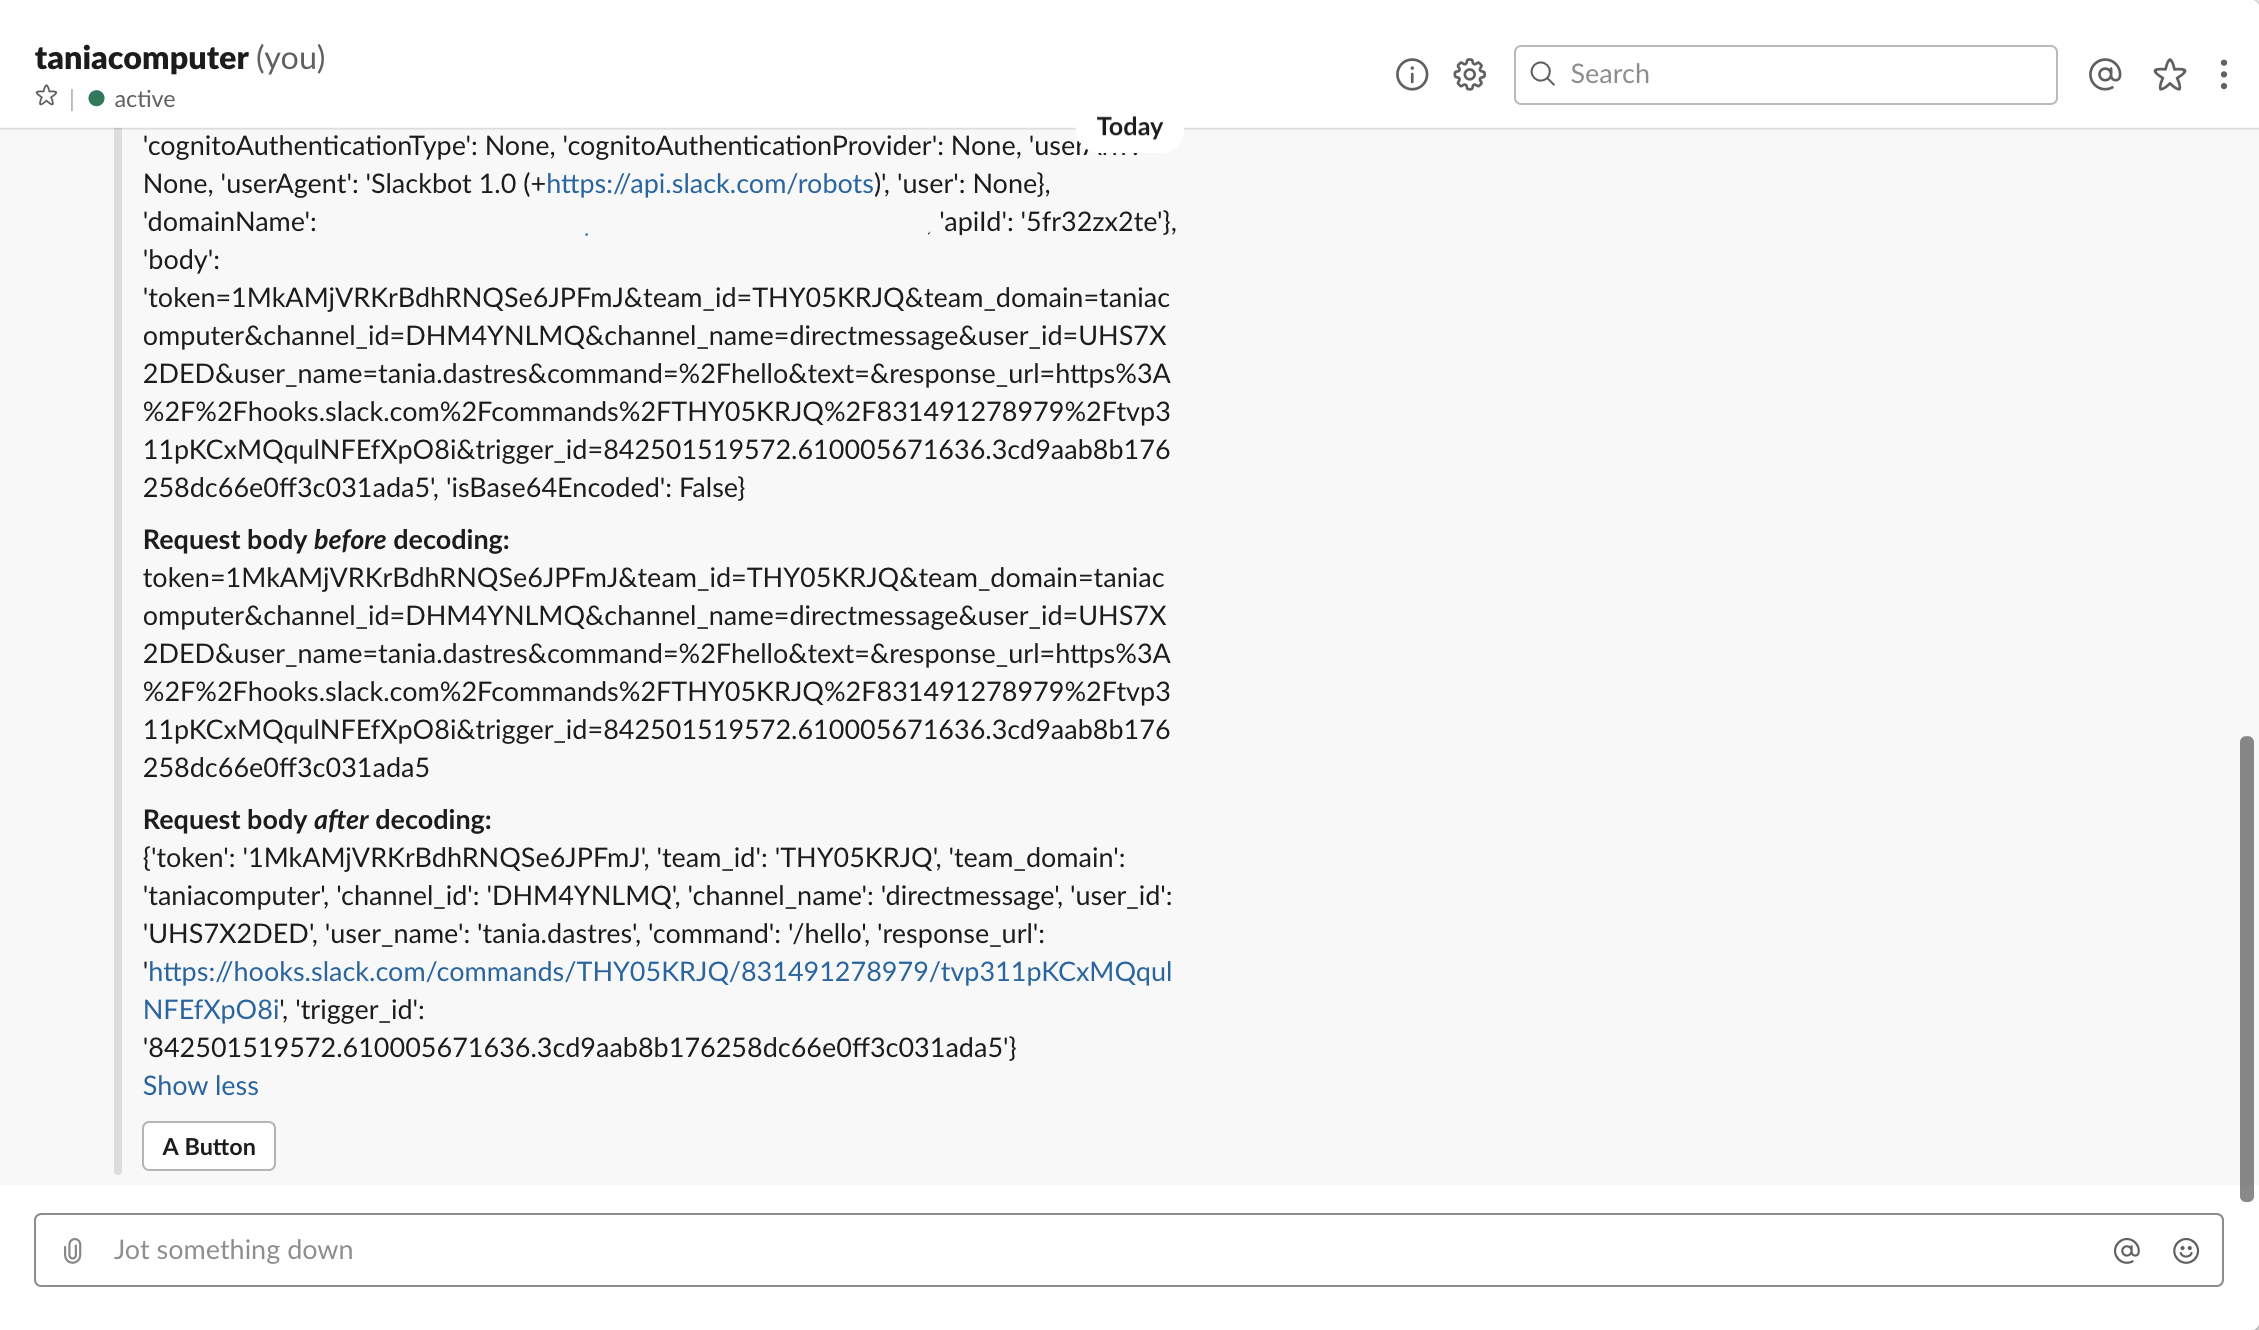
The first function is called slackapp_initial_slash_command_invoked.py. Its primary task is to respond to the Slack slash command event and to trigger an SNS event for the second function, slackapp_run_matchSearch.py.

The second function, slackapp_run_matchSearch.py, is responsible for running a match search for the provided search string and returning the results back to Slack.

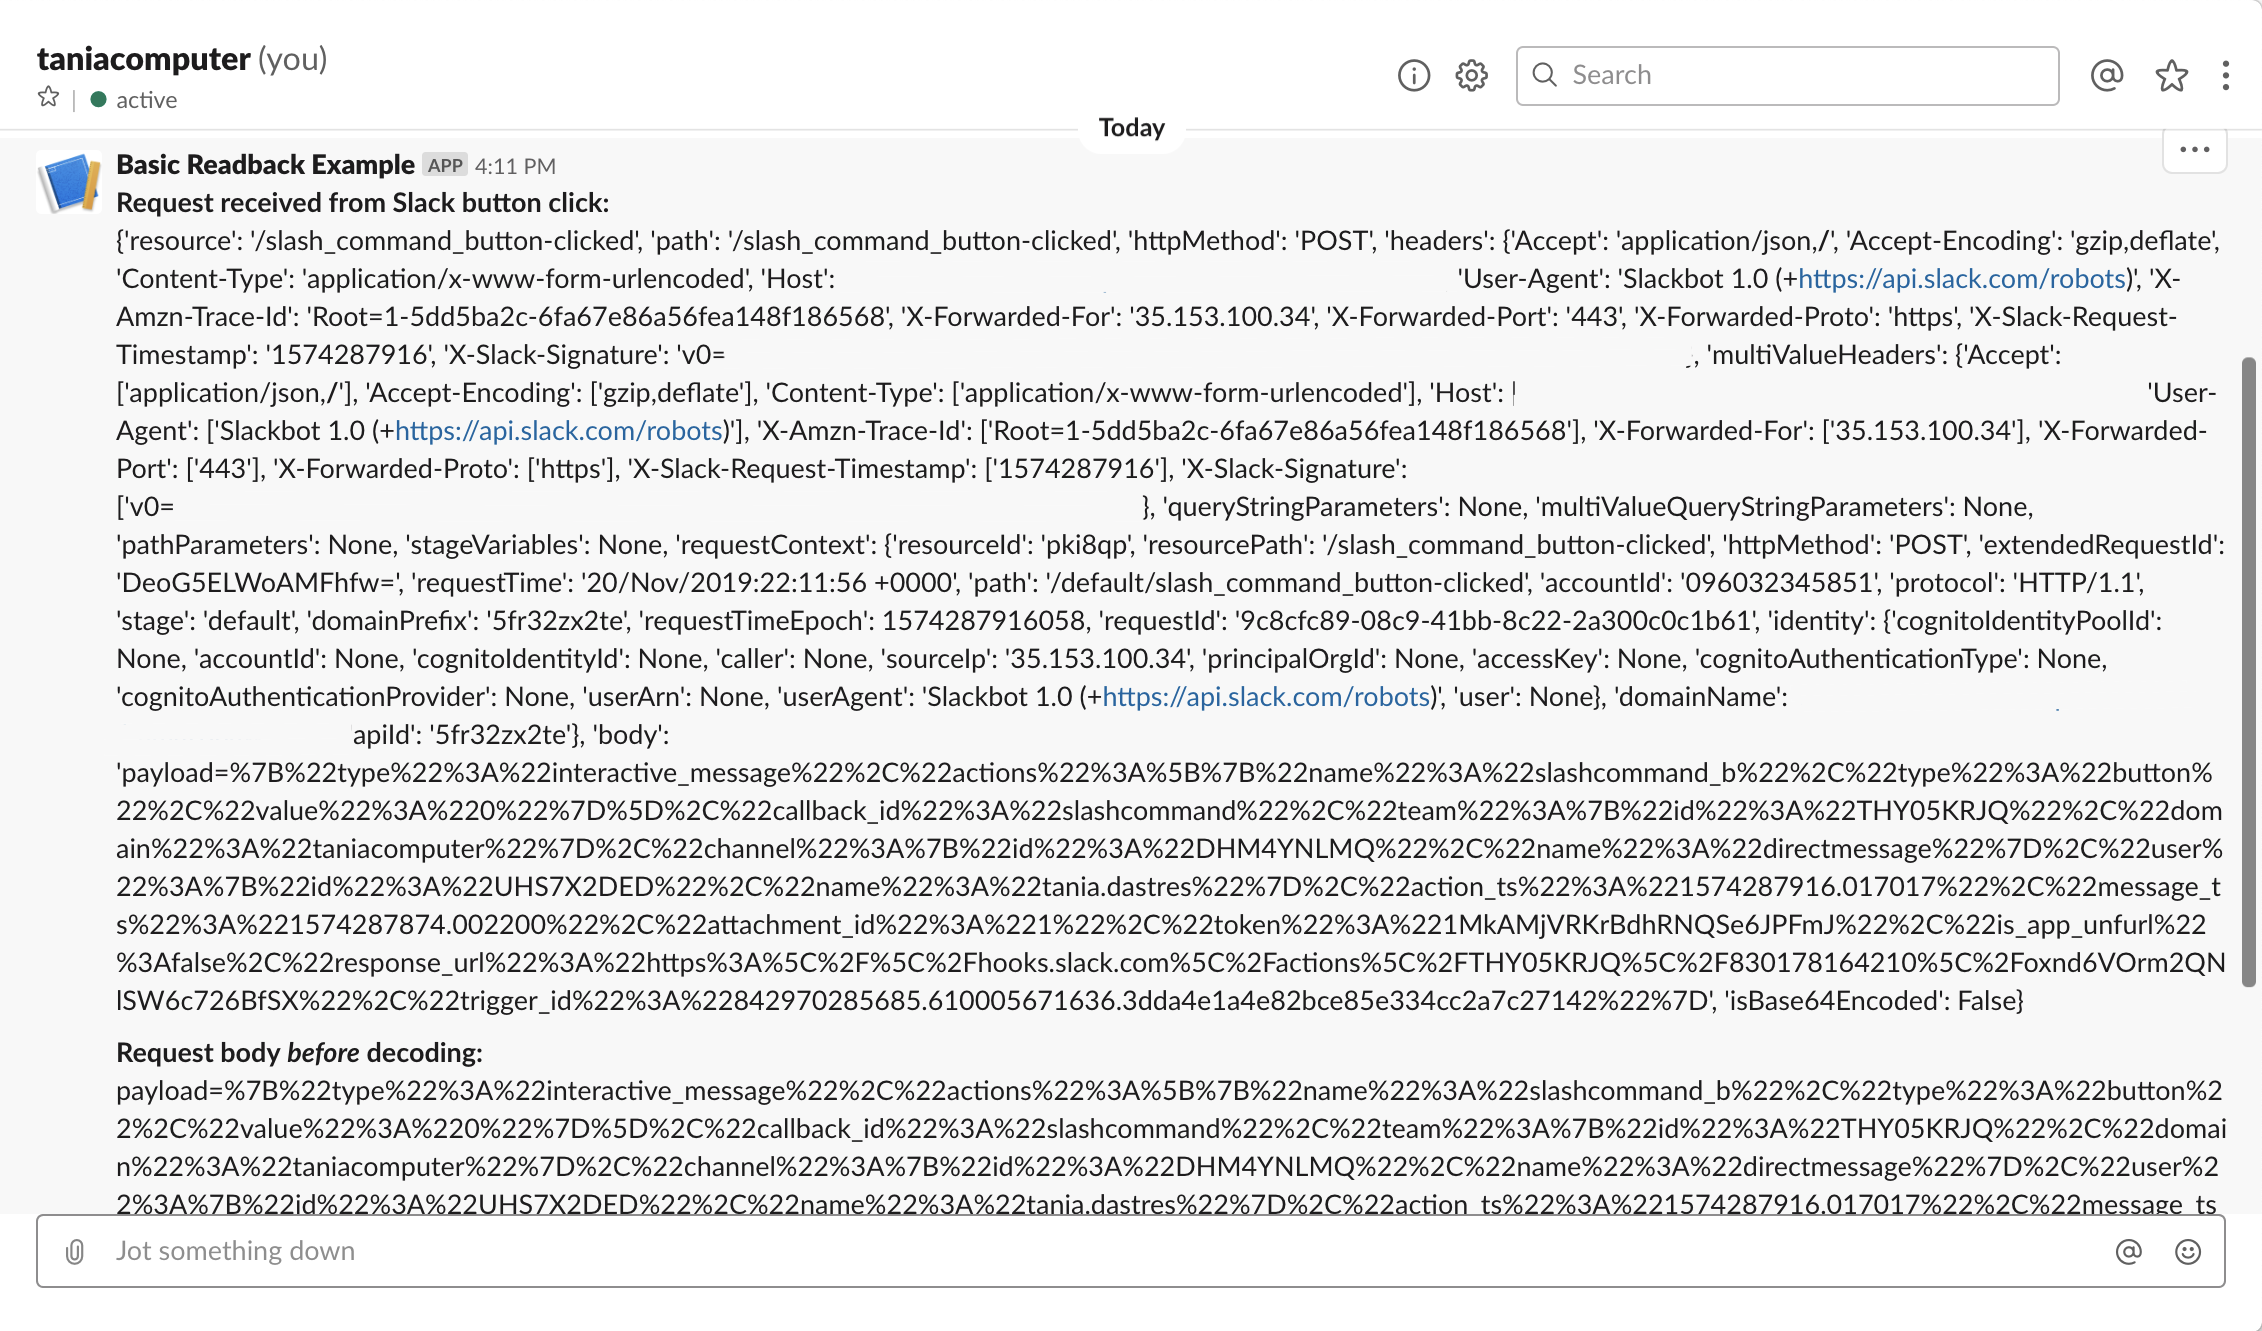
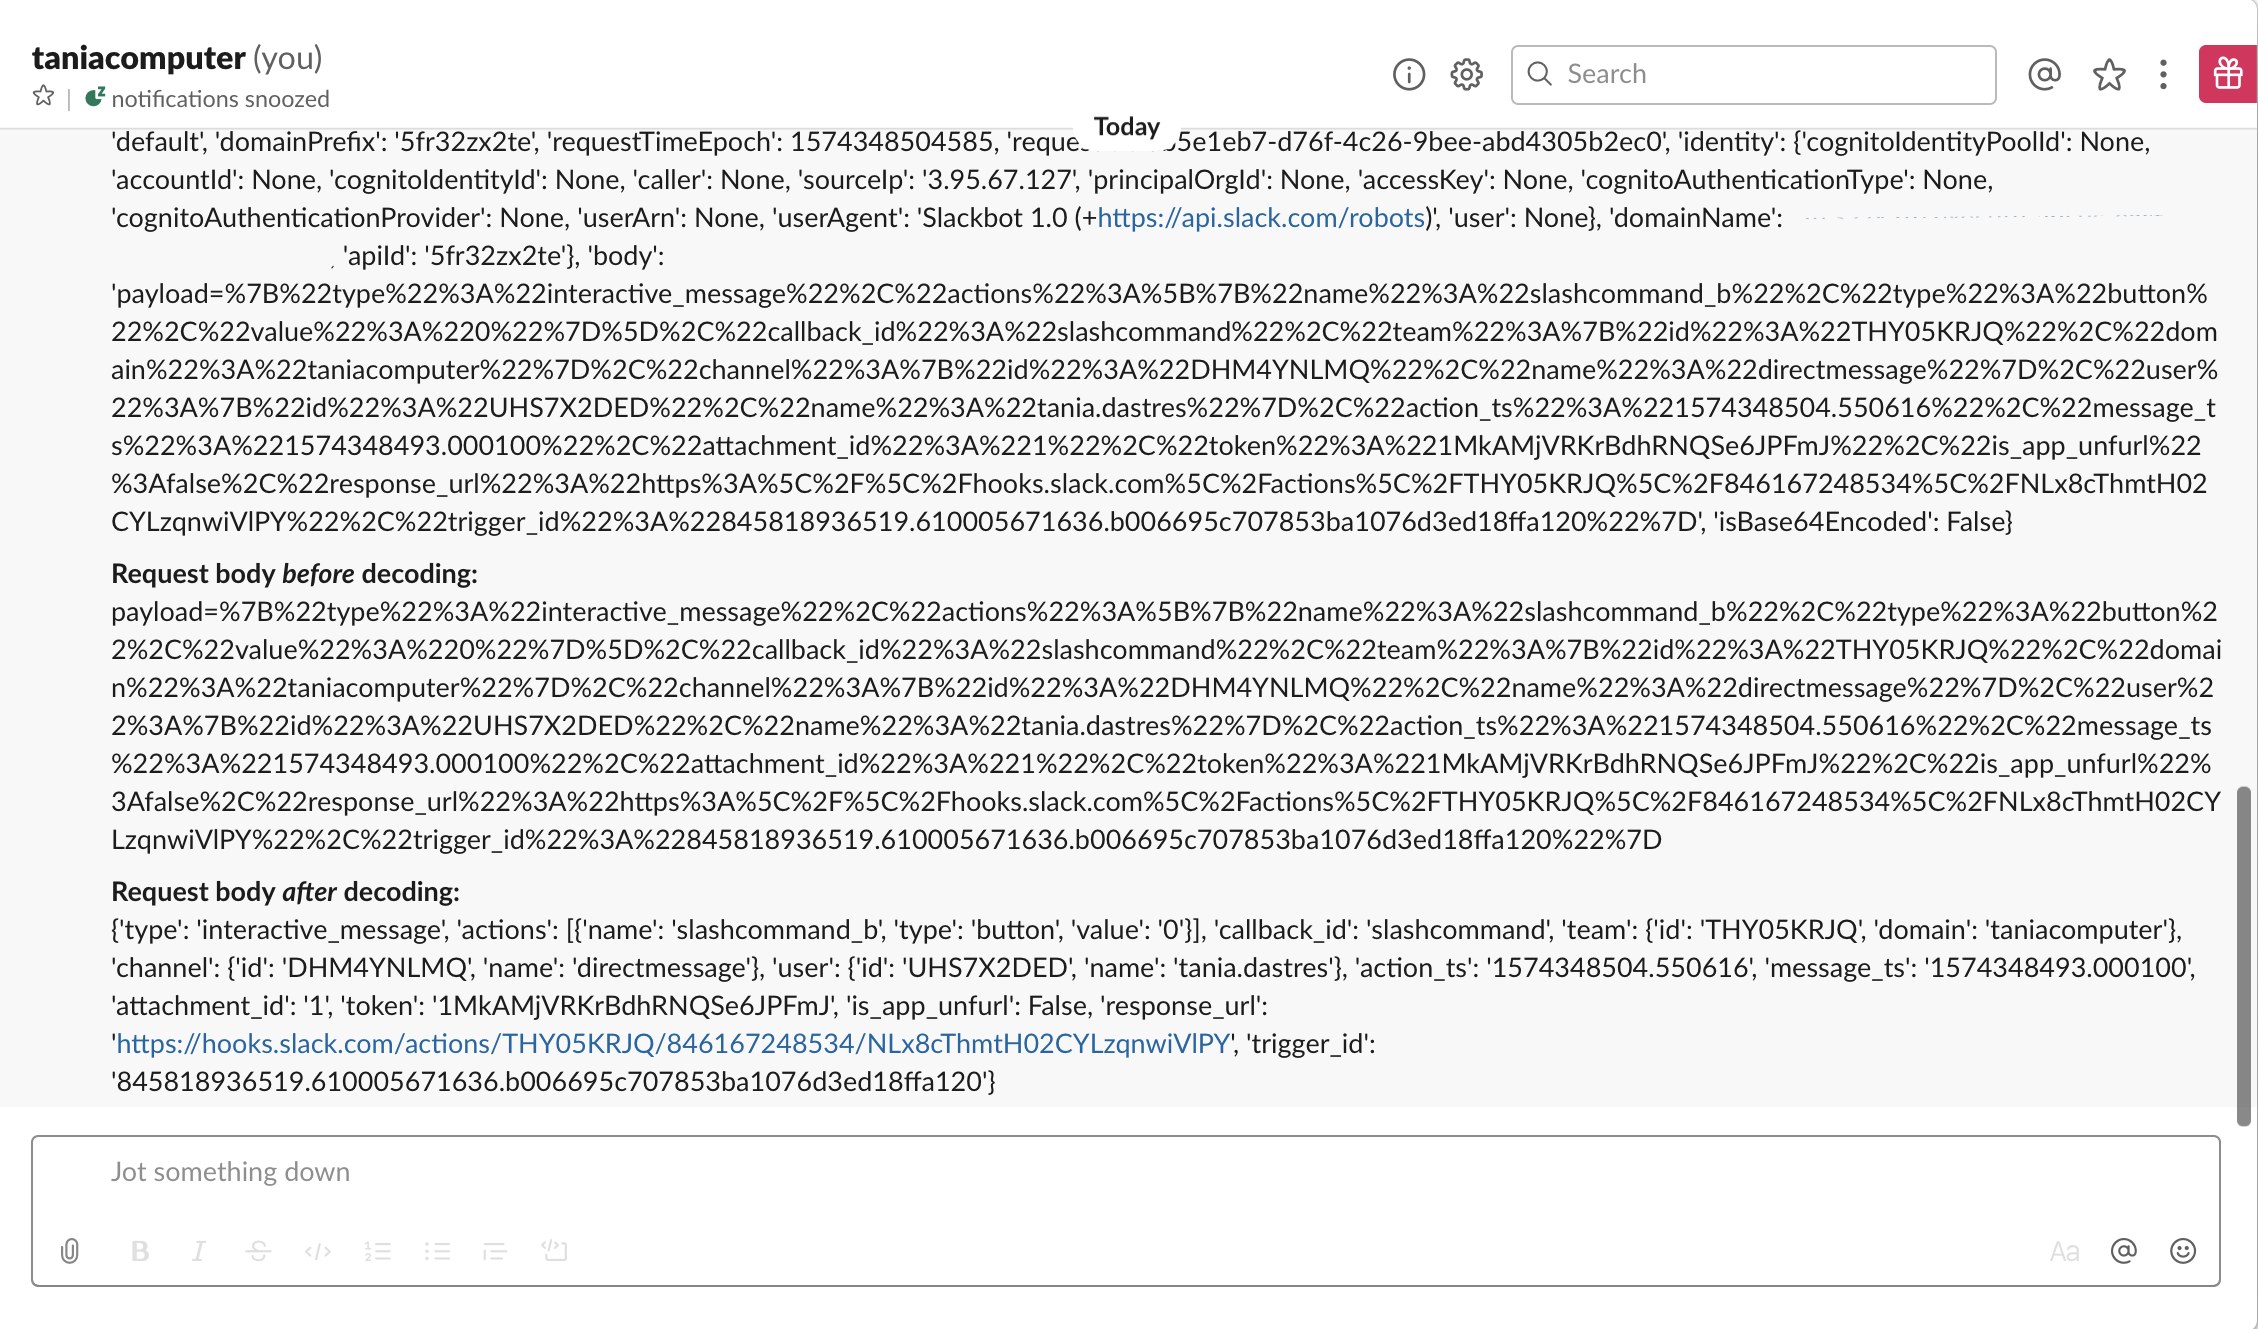
The third function is slackapp_buttonClicked.py and is responsible for responding to a button click. It effectively just triggers an SNS event so that our fourth function, slackapp_idSearch.py, can go ahead and do a computer search for the particular JSS ID that is associated with that button.

The fourth and final function, slackapp_idSearch.py, does a Jamf Pro API lookup for a particular computer id, and presents a ‘health summary’ back to Slack.

slackapp_idSearch.py presents some general items (computer name, last check-in time, hardware type, etc.) in the health summary but it also displays the results of all extension attributes with the string “slack -” in its name. This means that if I wanted to add or remove a new EA from the health summary I simply need to adjust its name.

The script below is an example of one such extension attribute. I am referring to a slack emoji in the ea name, which Slack will actually go ahead and display as the relevant emoji in the summary output.

In the extension attribute output I provide users with a clickable link to either a relevant knowledge base article or to a Jamf Self Service policy. I only use the jamfselfservice:// links for the /mymac results, as they are only useful if being clicked from the computer that you are wanting to run the policy on, which is not the case when /jamf is used by a tech.

Another thing that slackapp_idSearch.py searches for is any smart or static groups that the Mac belongs to that have a warning emoji in their title. This is because I have found that I’m usually only interested in smart group memberships that indicate a “bad thing”. But you could easily make it so that simply displays all groups that have a particular string or a variety of emojis in their name.

And that’s it!

Reach out to me via here or in the macadmin Slack workspace if you have any questions 🙂

I’d like to thank the fine folk at Jamf for accepting my presentation proposal for JNUC 2019, and for making it a wonderful event full of supportive and friendly peers ❤️

Creating a super basic Slack app using AWS and Python

As I worked through creating my Jamf Slackbot, I realised early on that the biggest challenge was just getting my head around what kind of payload my Lambda function received. This was due to the fact that the different events that I was dealing with,

A slash command

A button click

An SNS trigger

all resulted in slightly different payloads being sent to Lambda.

So in an attempt to help others understand the distinction, I’ve created a step by step guide on creating a basic Slack app that does nothing but write back to Slack the payload that it receives from both a slash command and from a button click event.

Step 1. Create the AWS Lambda function

Create and log in to your free AWS account. Select the Lambda service from the All Services list.

Click the Create function button, and select the option to Author from scratch, use Python 3.7, and create a new execution role with basic Lambda permissions.

The function name can be whatever you like, but in this example I am calling it slash_command_invoked

Step 2. Configure the function’s API

Once the function has been created, click the Add trigger button. From the trigger configuration drop-down, select API Gateway and from the API drop-down select Create a new API.

Set the Security as Open, and click Add.

Your lambda function now has its very own API, which we will provide to Slack later on.

Step 3. Update the Lambda function code

This function is going to simply receive the urlencoded payload from Slack, and return to it a summary of the event data and the event body both before and after decoding.

Step 4. Create the Slack app

Log in to Slack’s API portal and select Your Apps.

Click Create New App

Give your app a name and select the workspace that it will belong to.

From the apps Features list, click Slash Commands

Give your slash command a meaningful name, description and usage hint, and set the Request URL to that API URL that we generated in Step 2 above. In this example we are making the slash command /hello.

Under Settings, select to Install App into your workspace. Click Install App to Workspace and then Allow to provide it with the necessary workspace access.

In Slack, you should now be able to see your slash command appear as an option when you type / in a message box (in any channel). If you go ahead and enter /hello to invoke the slash command, you will get back the request body of your slash command in its original urlencoded format, as well as as the dictionary type that we converted it to in our Lambda function.

Step 5. Add the button component

Although our app is giving us the slash command payload, clicking that button that it comes with won’t do anything at this point. This is because we haven’t told Slack where to send that button click event data to.

Before we can do that, we have to create a new lambda function and generate a new API URL to it. This requires just following the exact same steps in steps 1 and 2 above, but obviously giving our second function a different name – in my example I named it slash_command_button_clicked.

The function code is fairly straightforward. We are receiving the urlencoded payload from the button being clicked, and converting it into much friendlier json format. We are then returning back to Slack a summary of the event data and the event body both before and after decoding.

Step 6. Update the Slack app settings so that it knows where to send the button click request data to.

In the Slack API portal for your app, select Interactive Components, from the Features list. Toggle Interactivity On, and in the Request URL field provide the API URL that we generated for slash_command_button_clicked.

Save your changes and confirm that our /hello command now responds to the button being clicked. Clicking the button should now result in the additional payload summary being displayed.

Hope it helps – please reach out if there is anything that I’ve missed!