
As I worked through creating my Jamf Slackbot, I realised early on that the biggest challenge was just getting my head around what kind of payload my Lambda function received. This was due to the fact that the different events that I was dealing with,
A slash command
A button click
An SNS trigger
all resulted in slightly different payloads being sent to Lambda.
So in an attempt to help others understand the distinction, I’ve created a step by step guide on creating a basic Slack app that does nothing but write back to Slack the payload that it receives from both a slash command and from a button click event.
Step 1. Create the AWS Lambda function
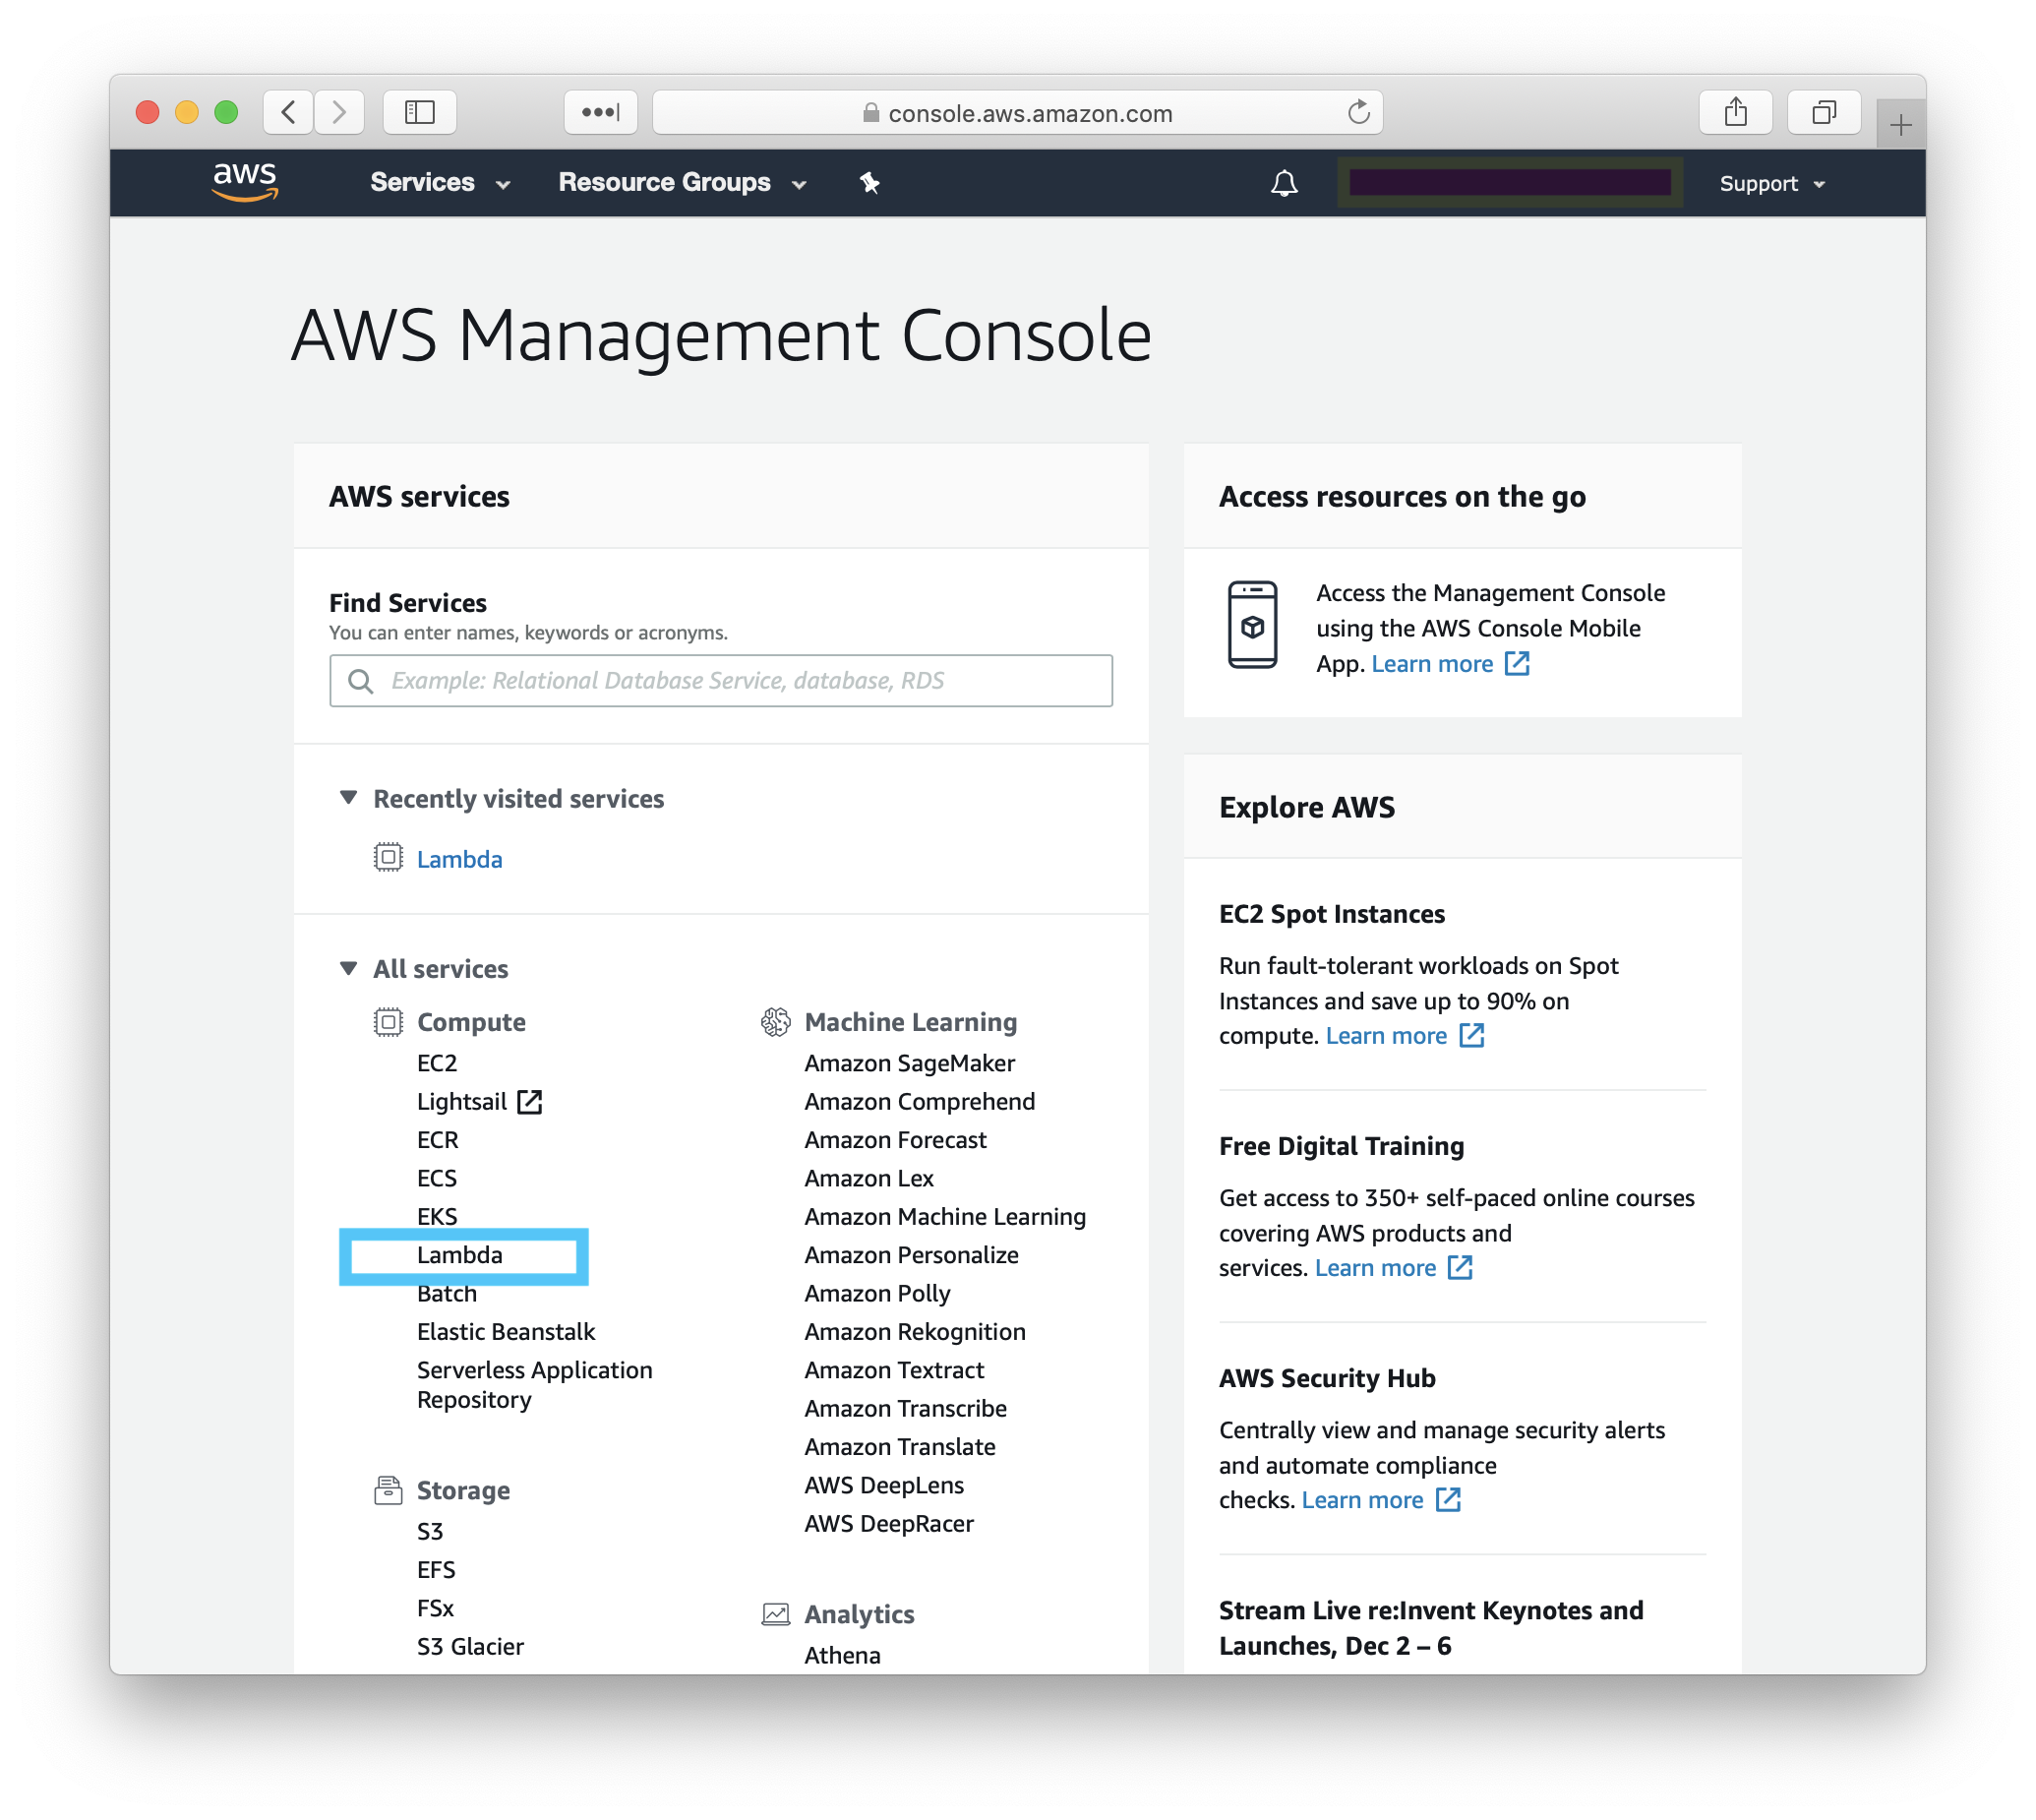
Create and log in to your free AWS account. Select the Lambda service from the All Services list.
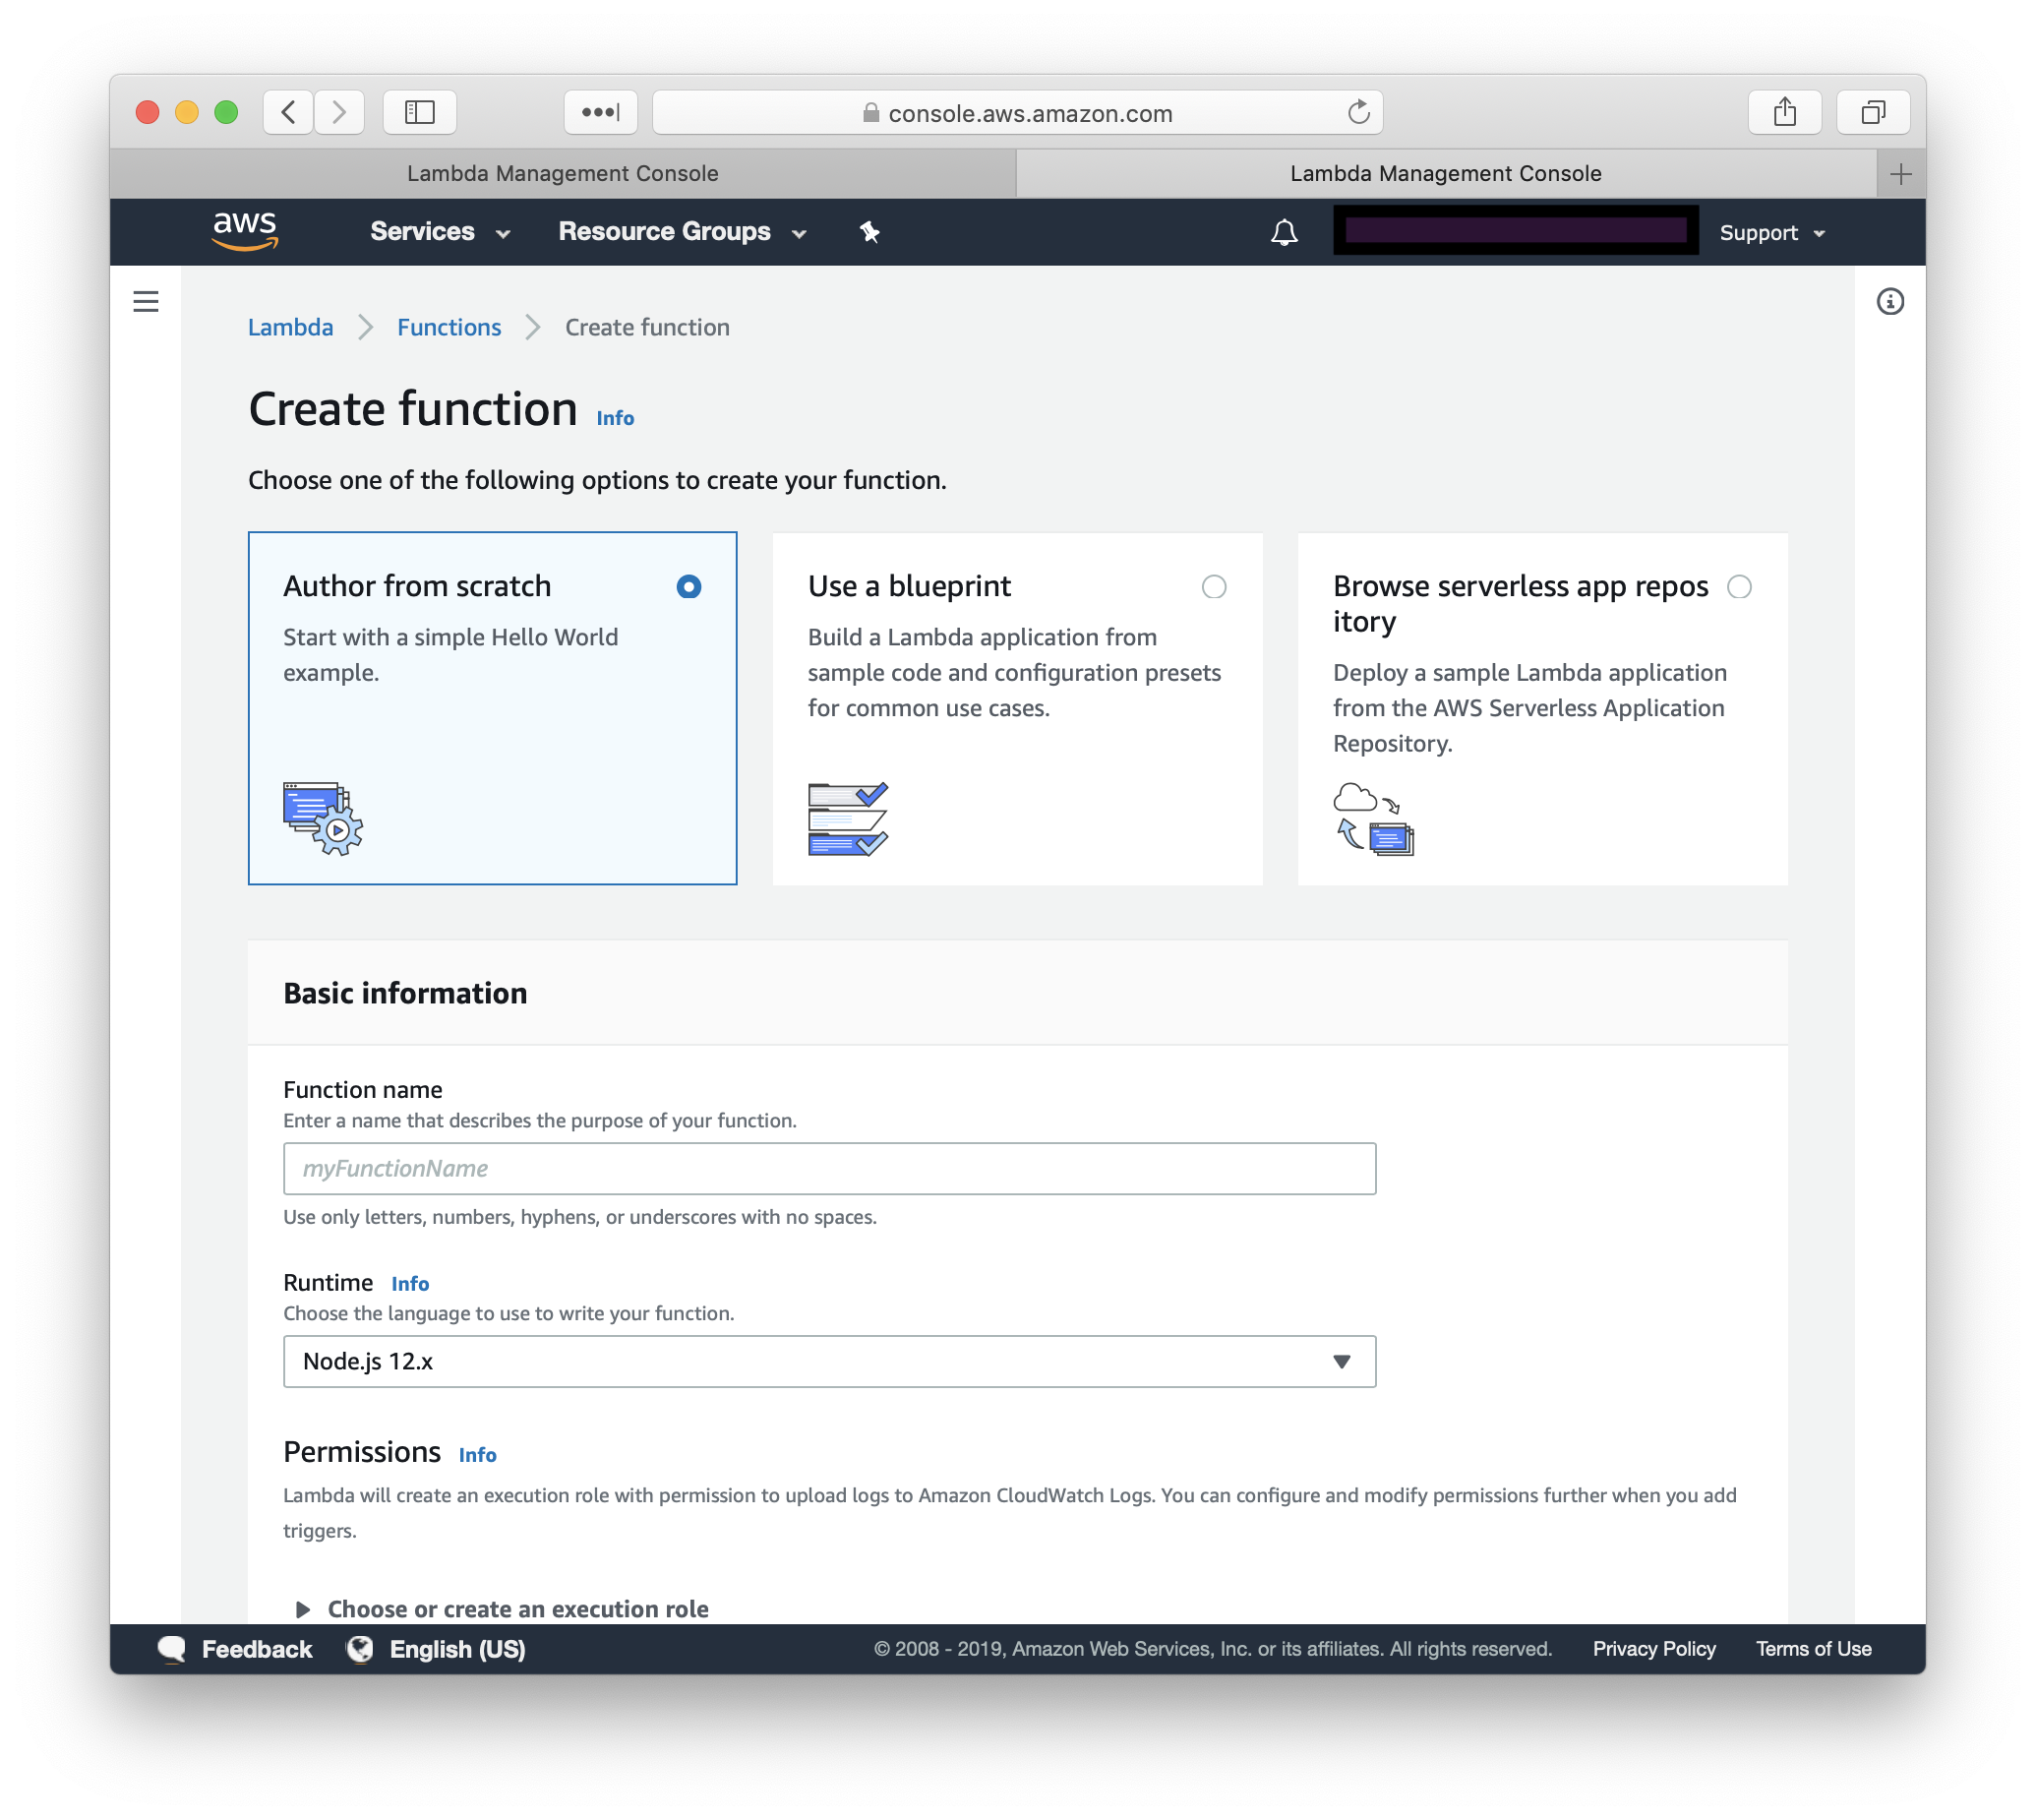
Click the Create function button, and select the option to Author from scratch, use Python 3.7, and create a new execution role with basic Lambda permissions.
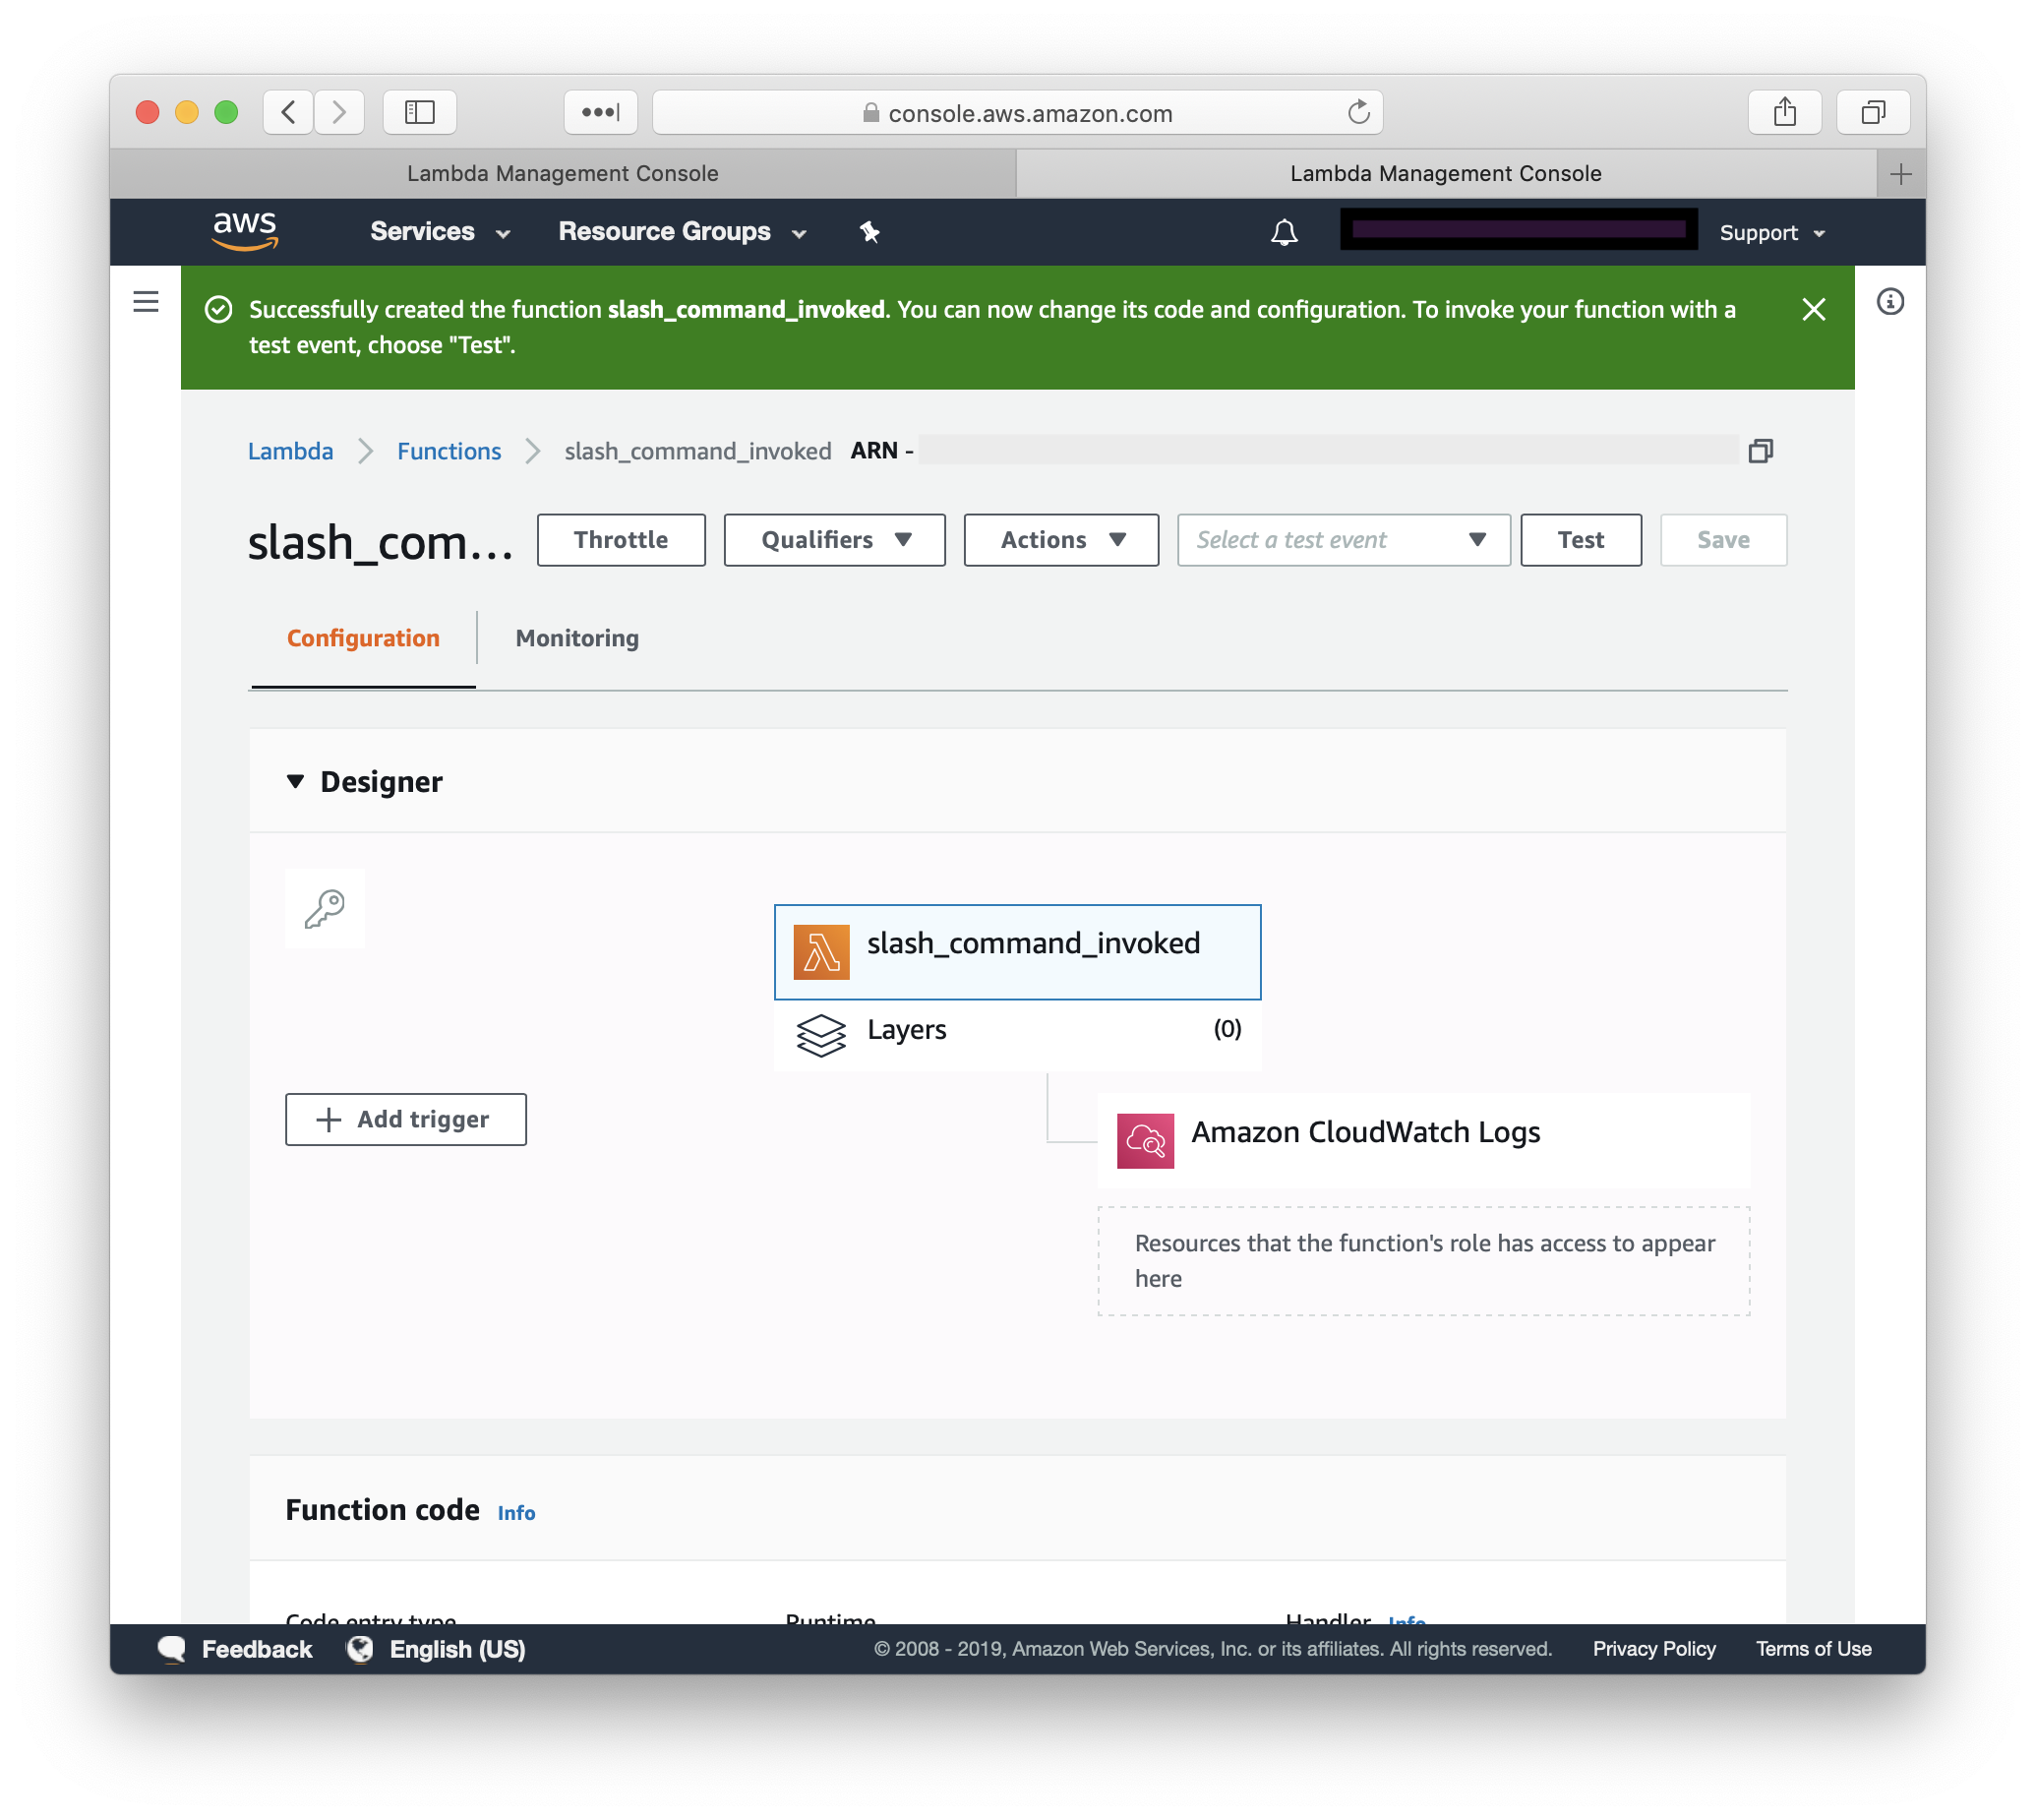
The function name can be whatever you like, but in this example I am calling it slash_command_invoked

Step 2. Configure the function’s API
Once the function has been created, click the Add trigger button. From the trigger configuration drop-down, select API Gateway and from the API drop-down select Create a new API.
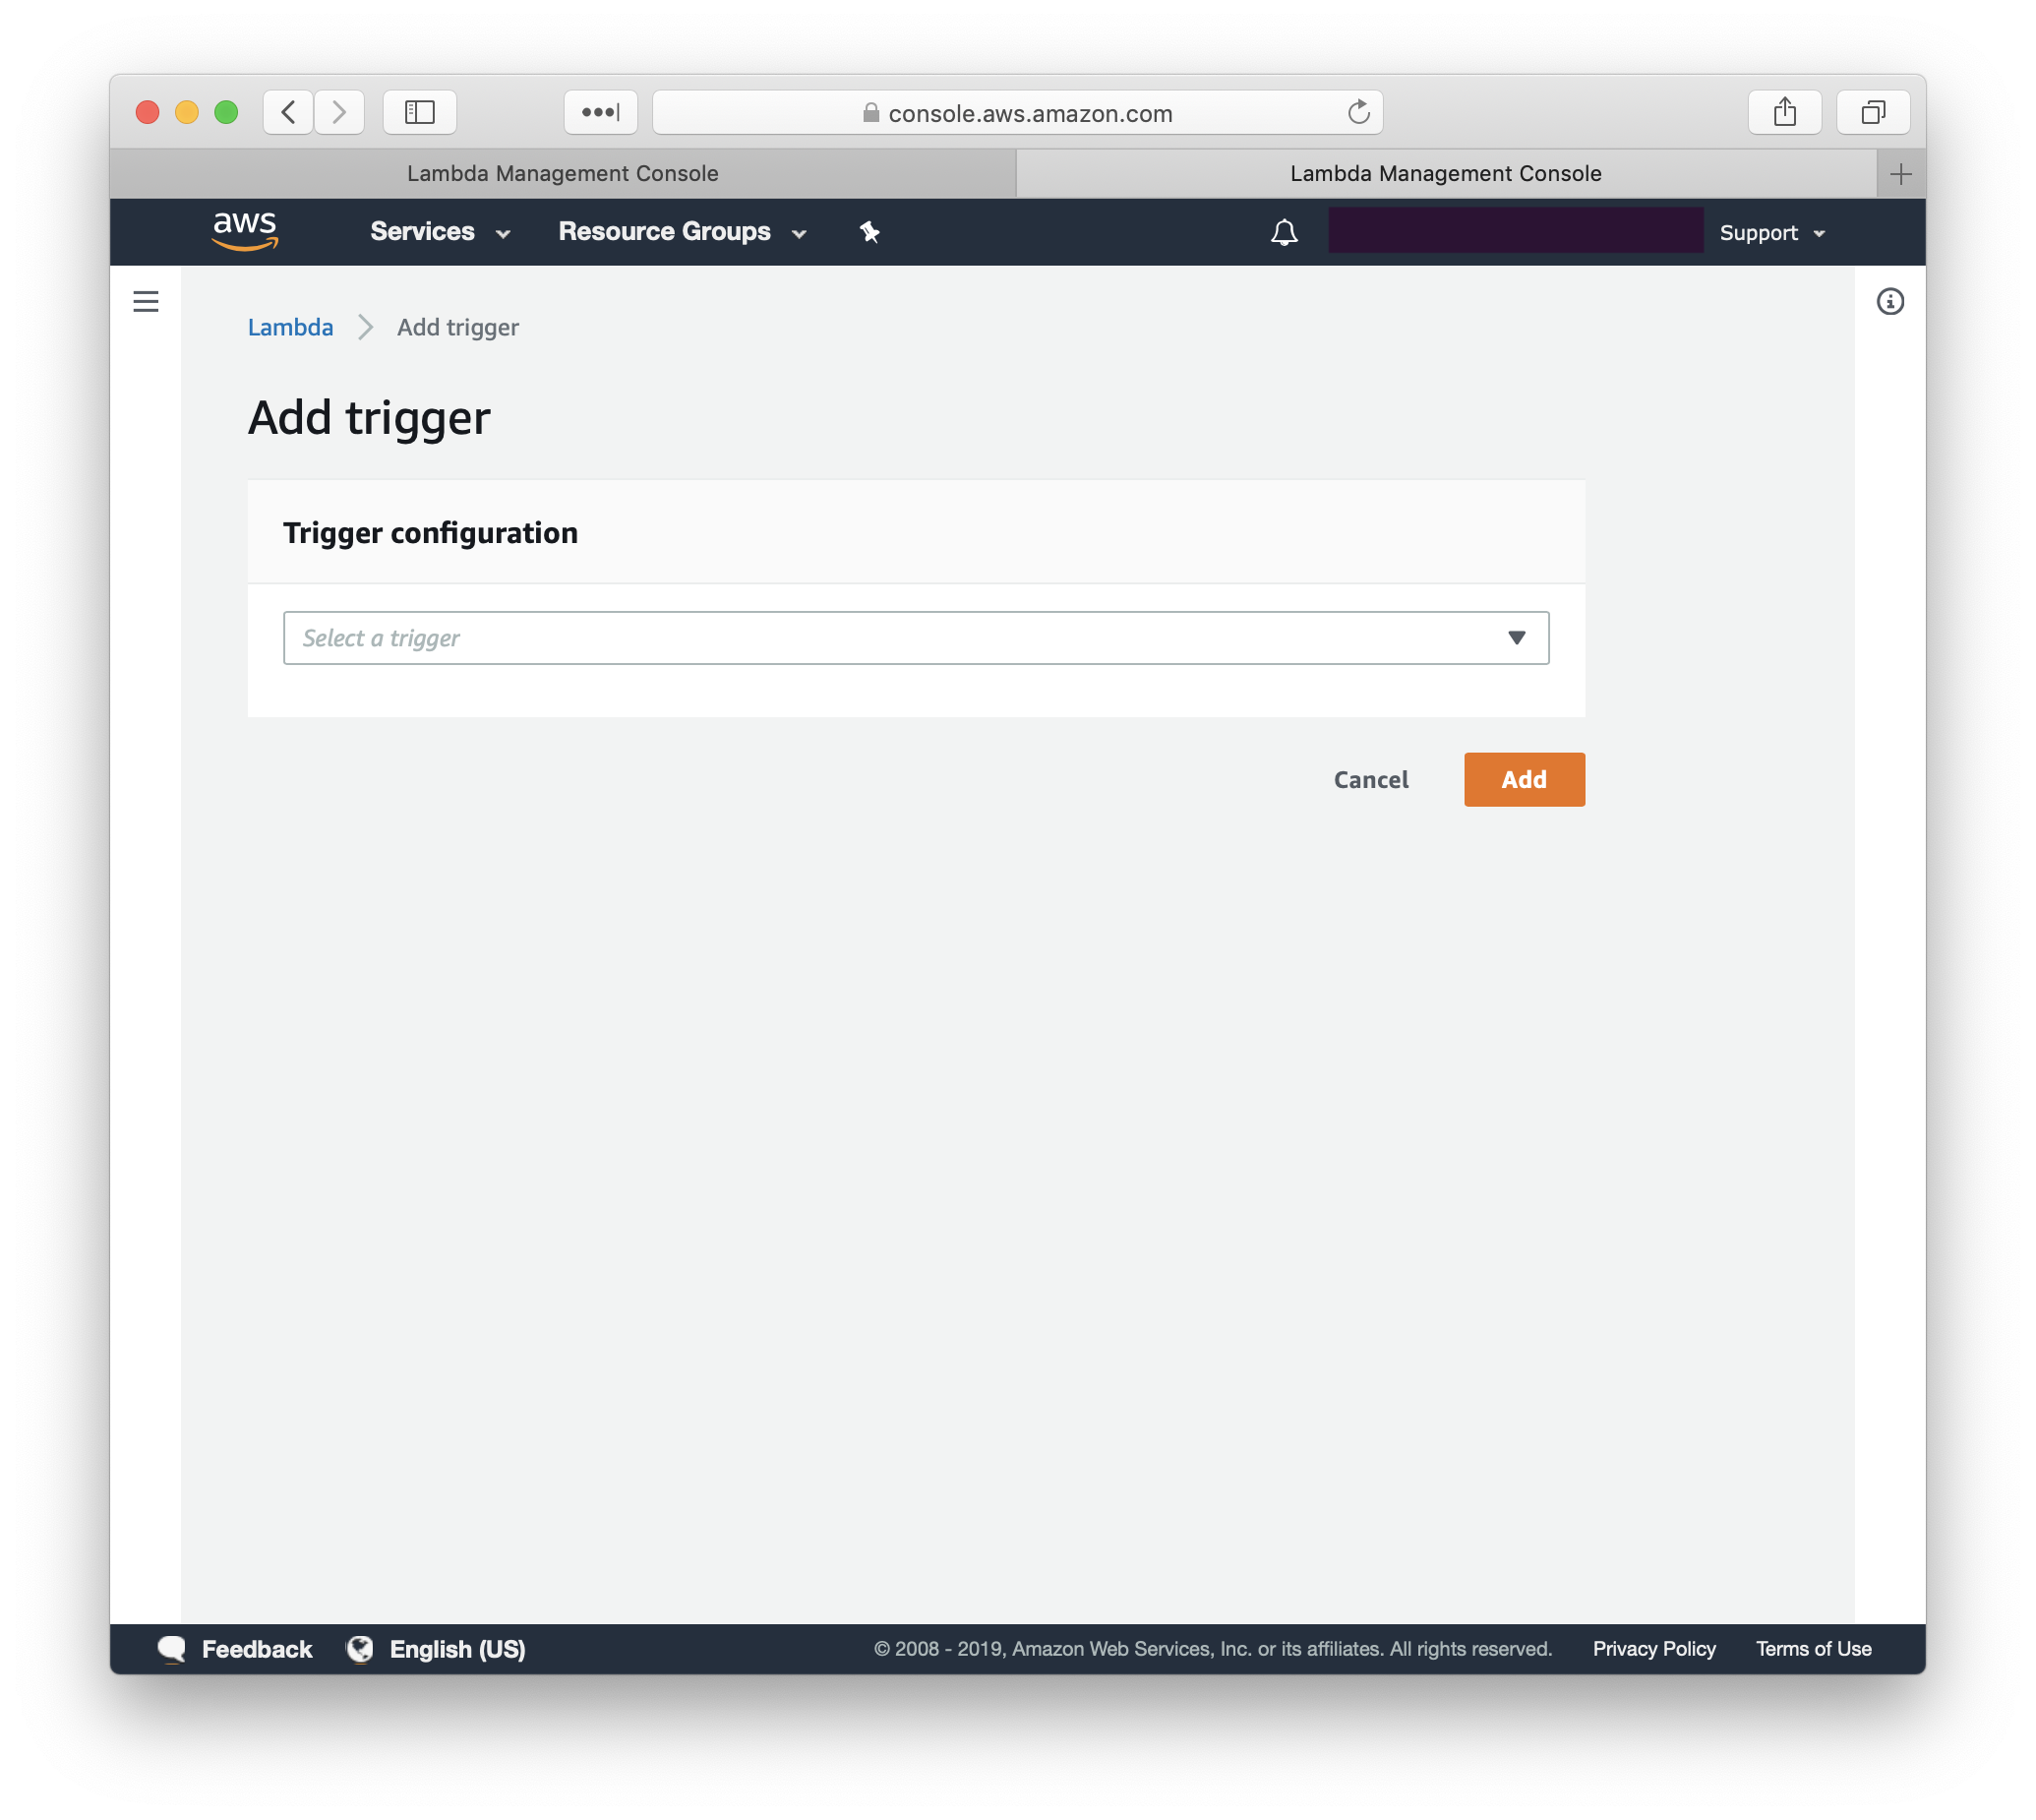
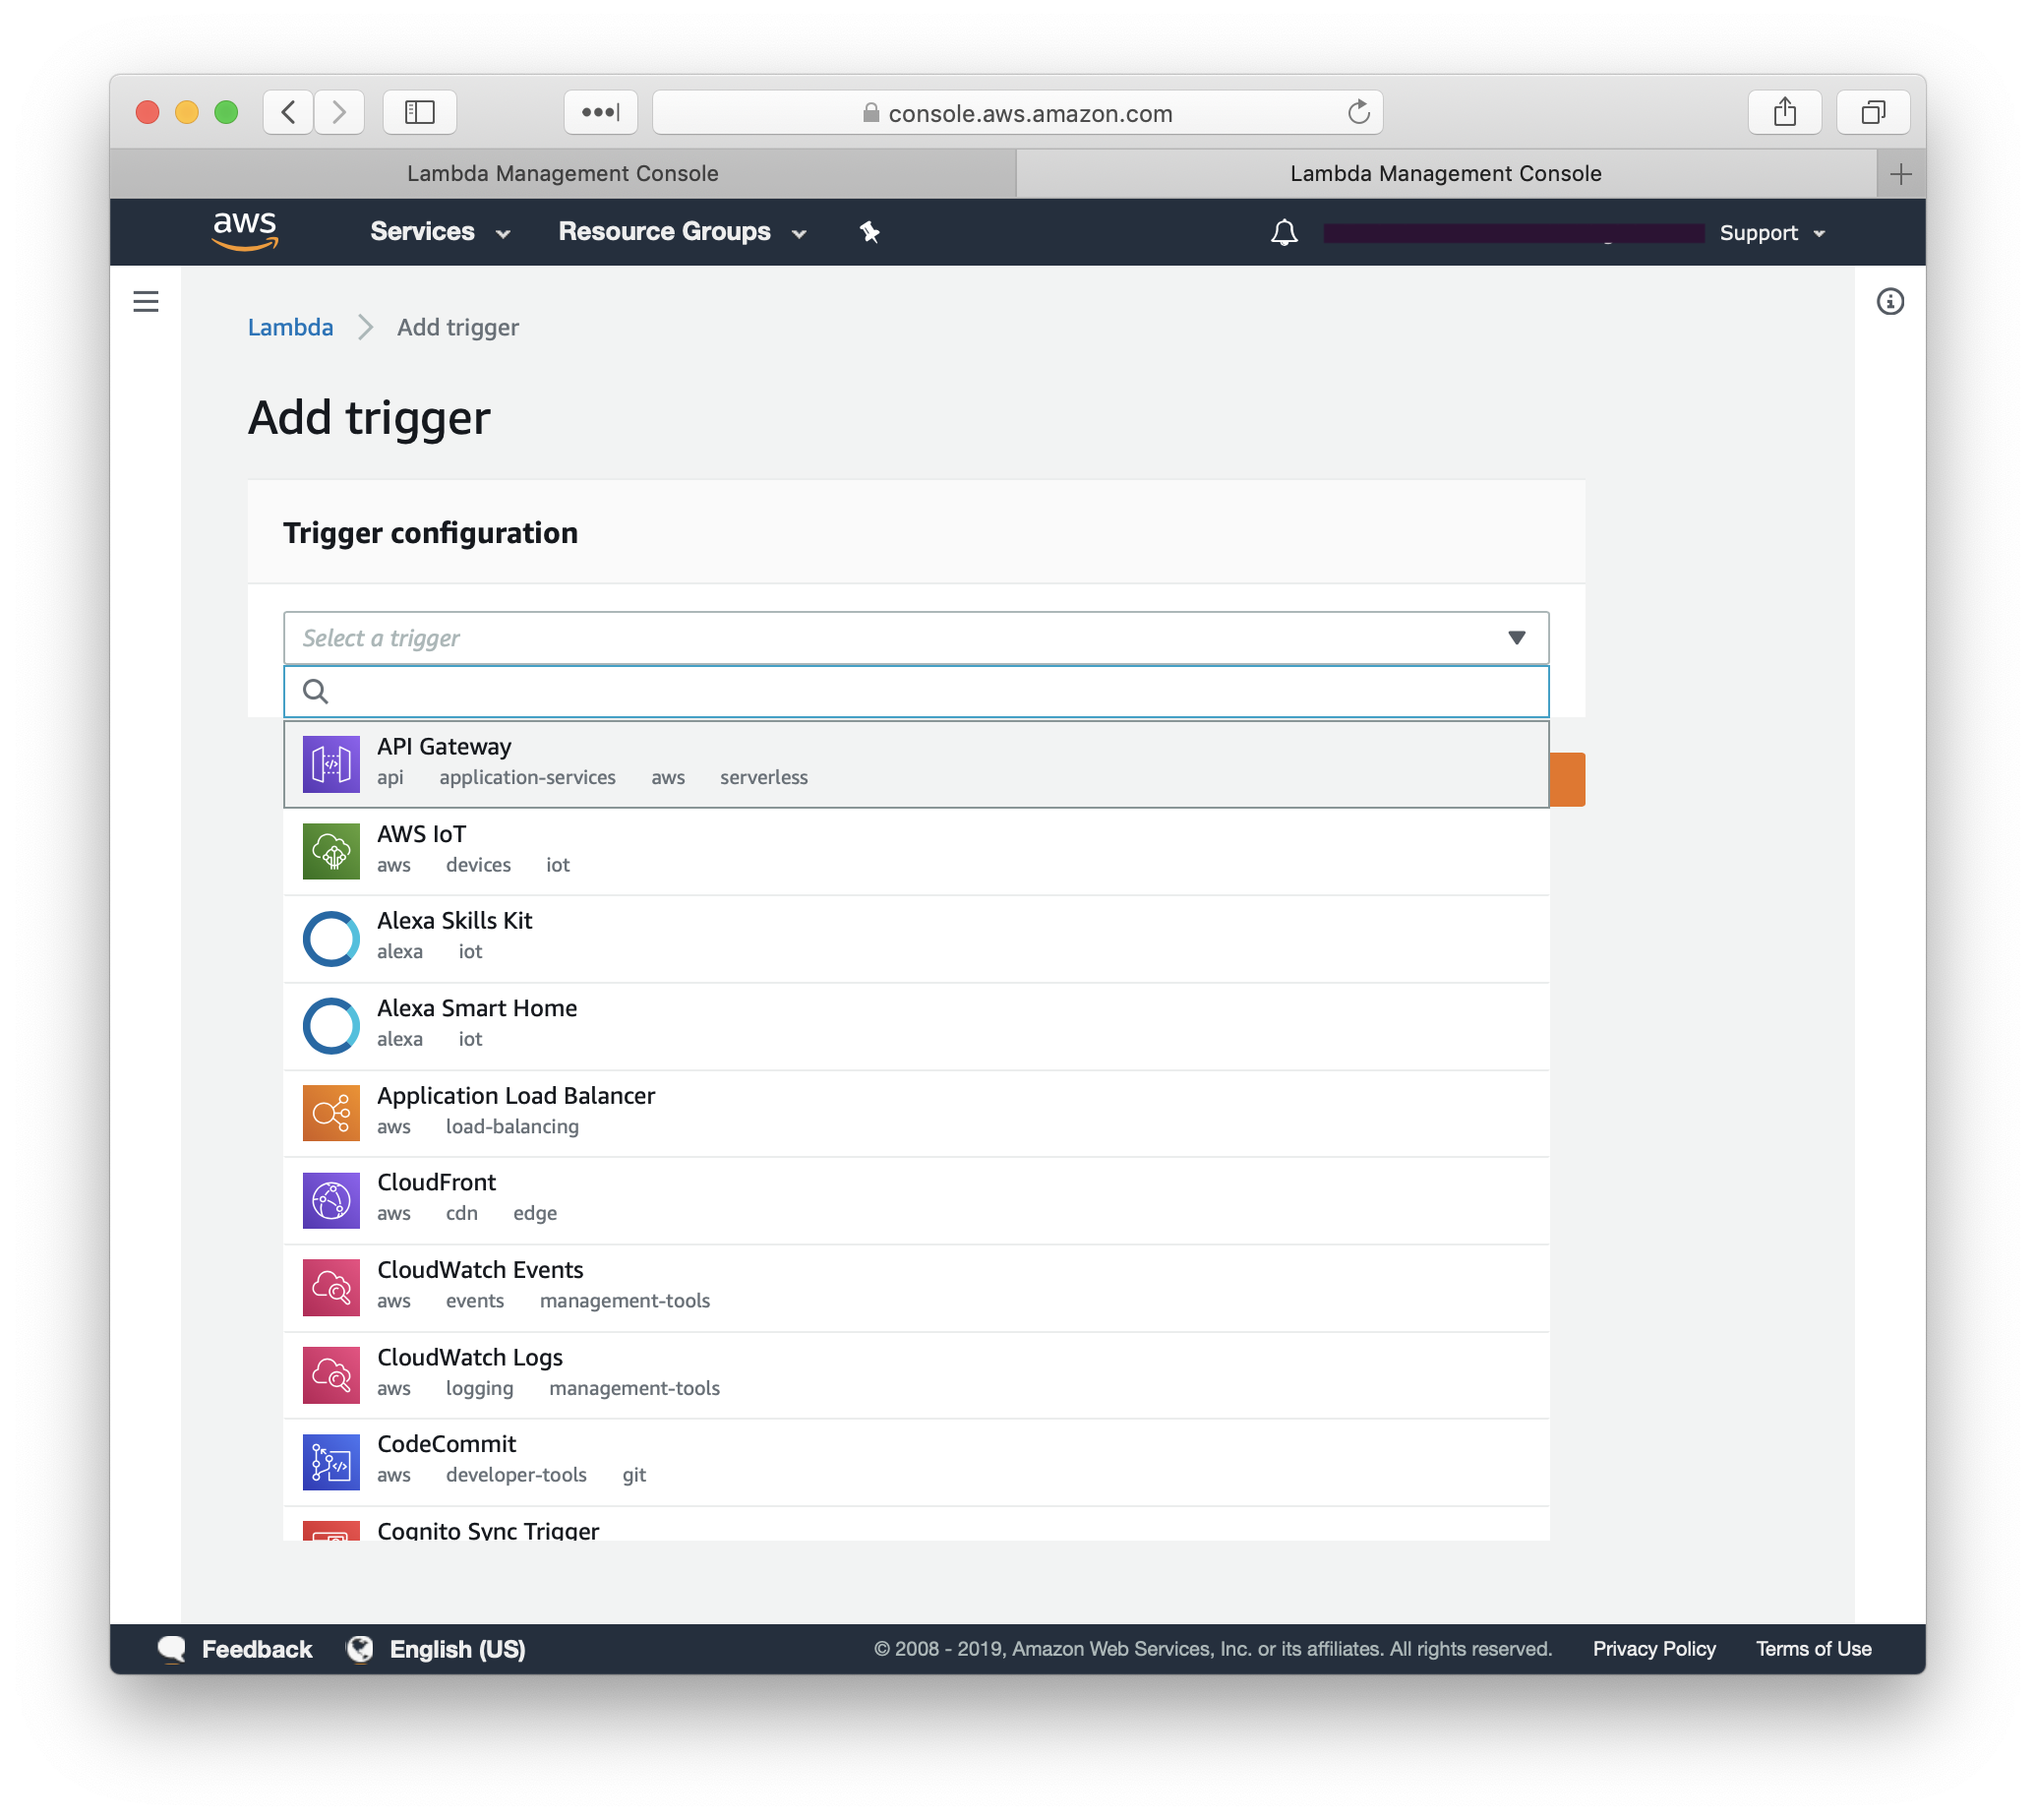
Set the Security as Open, and click Add.
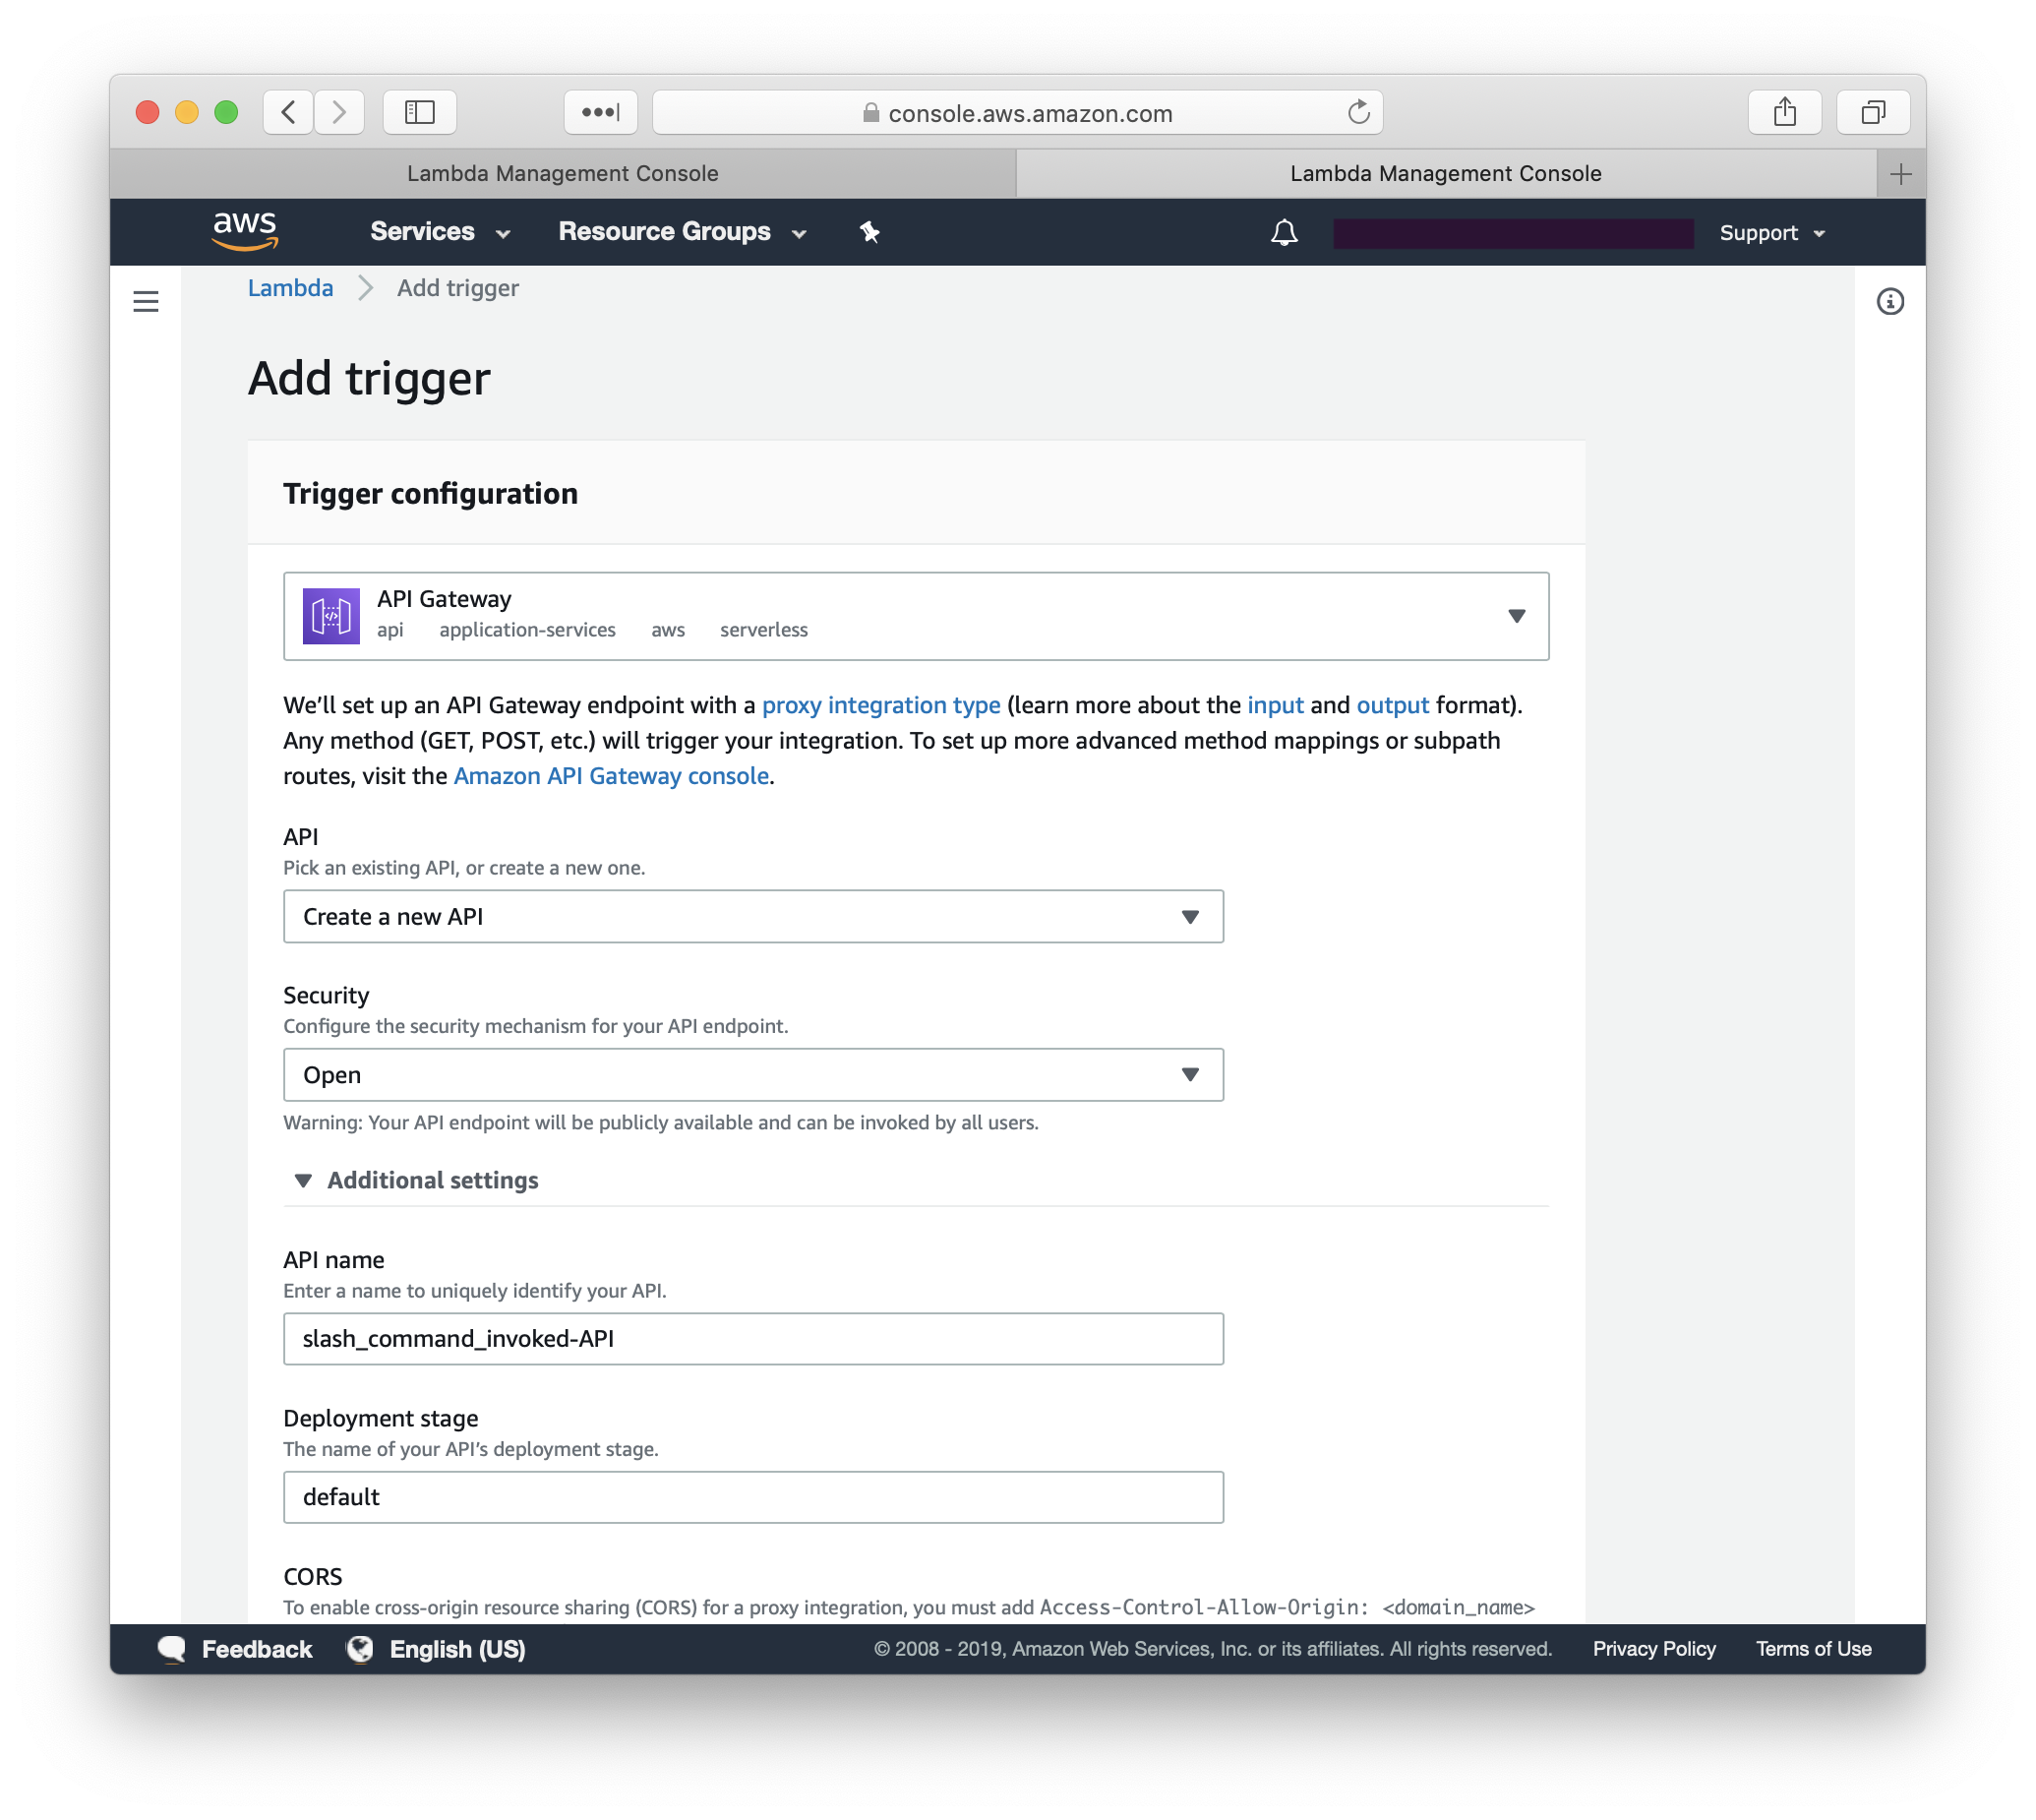
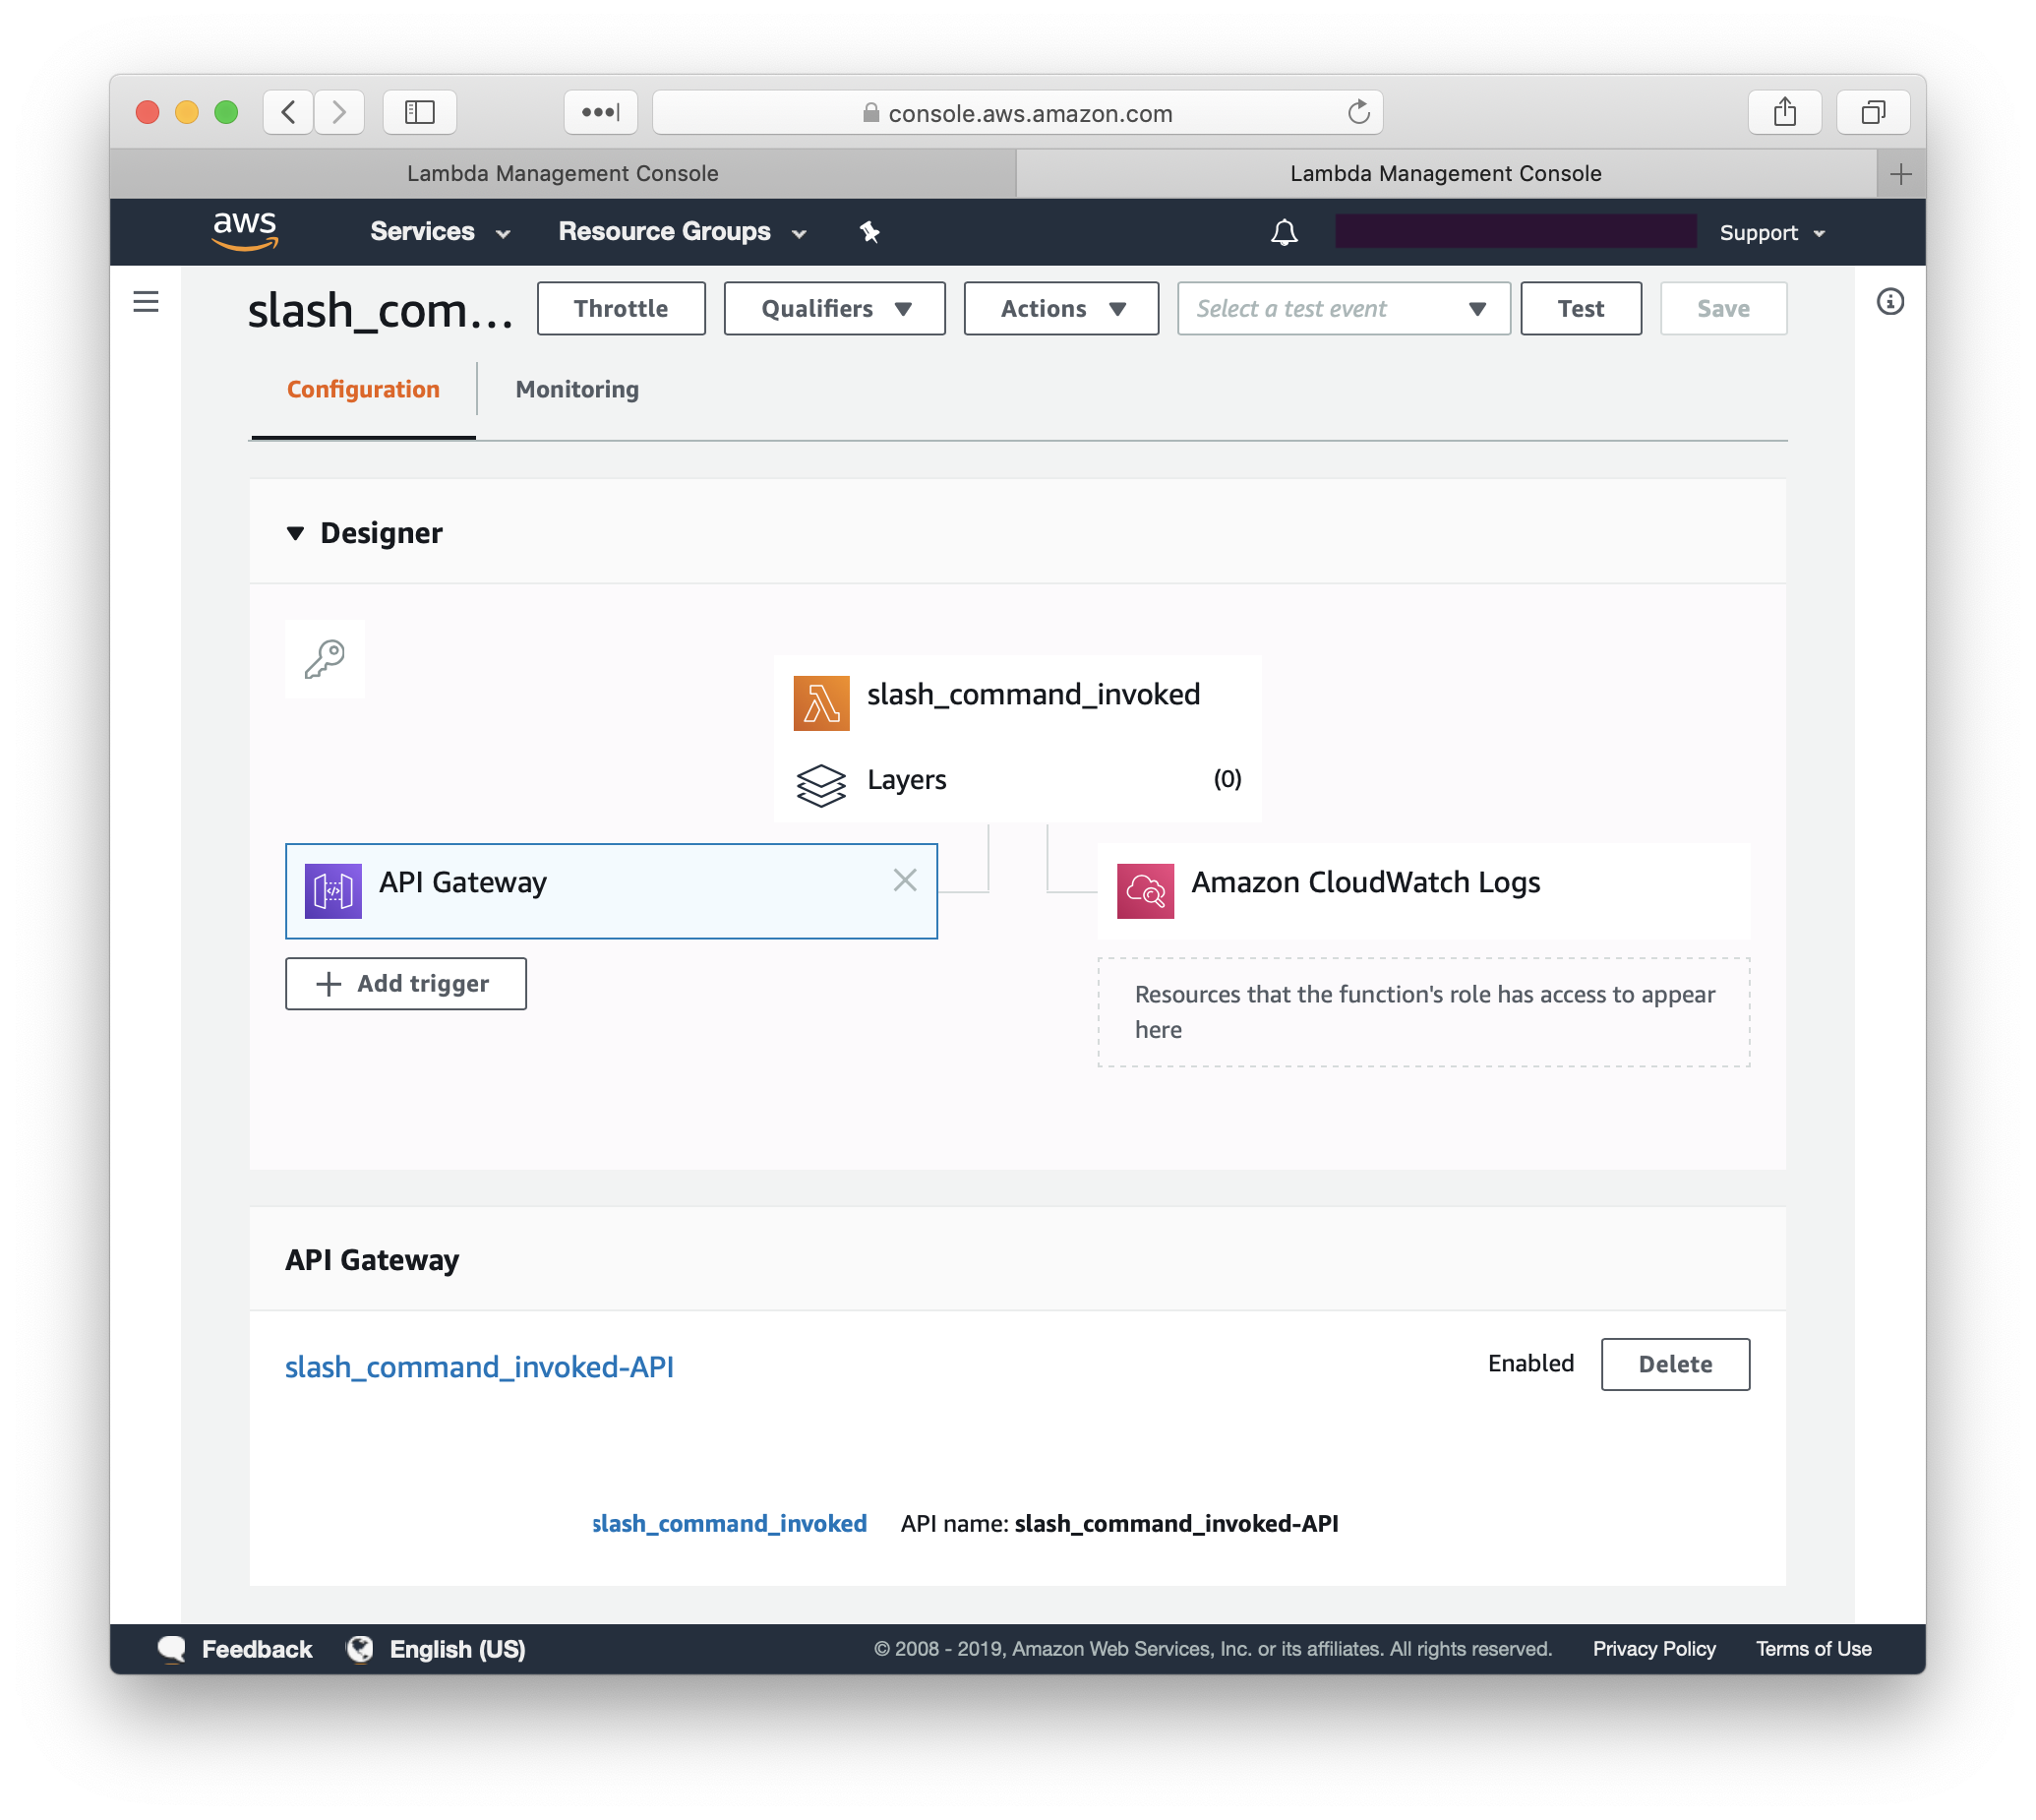
Your lambda function now has its very own API, which we will provide to Slack later on.
Step 3. Update the Lambda function code
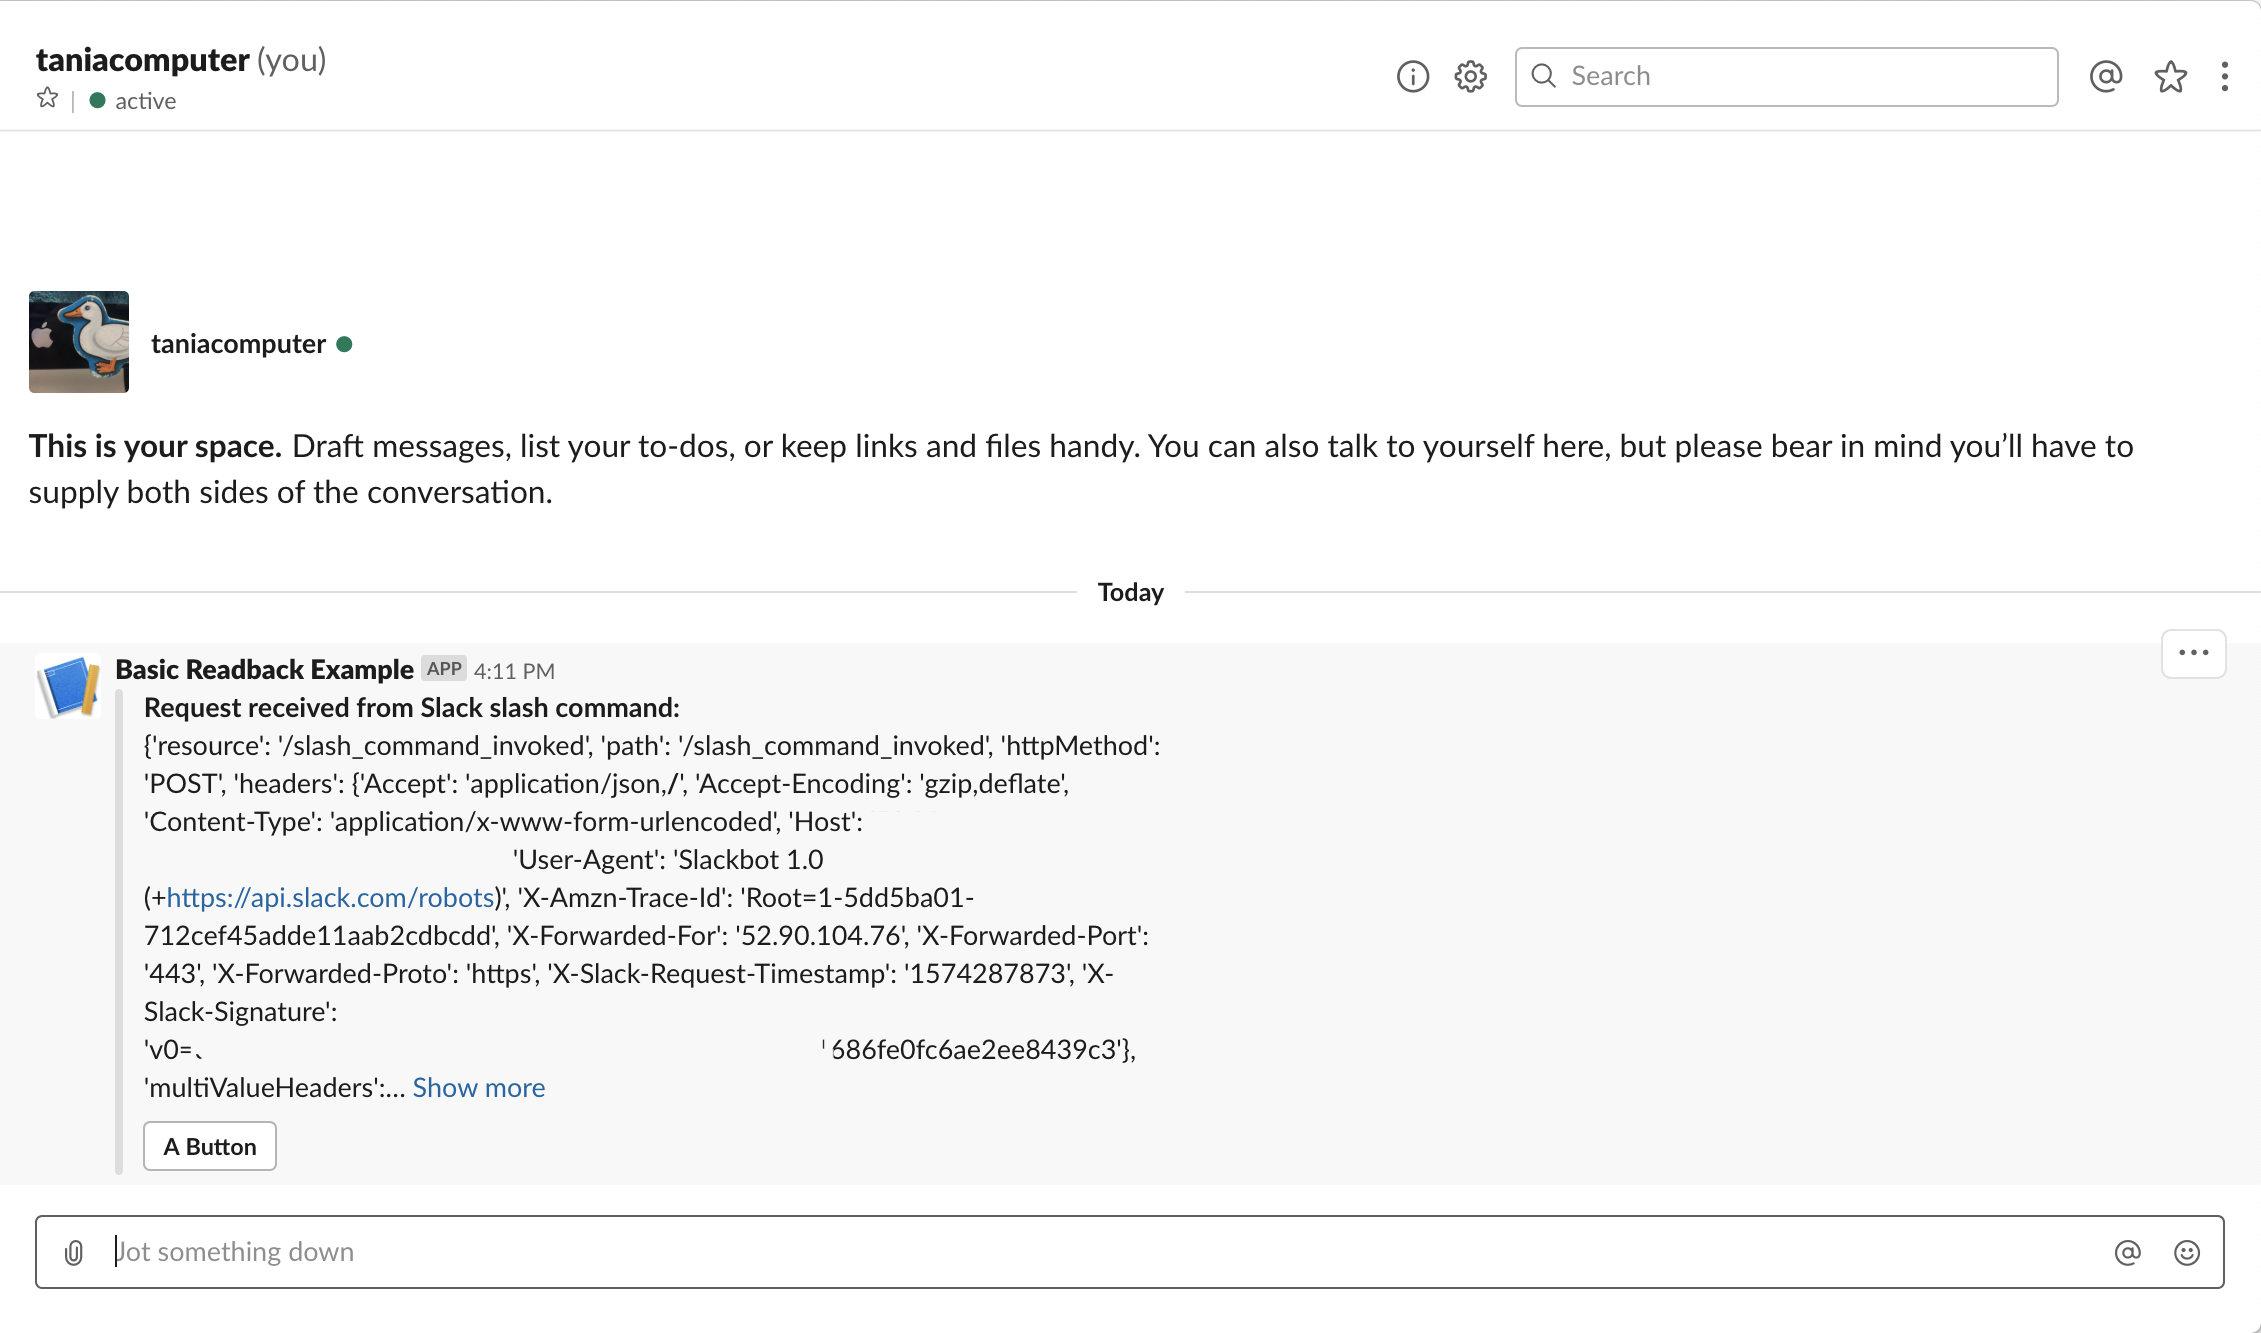
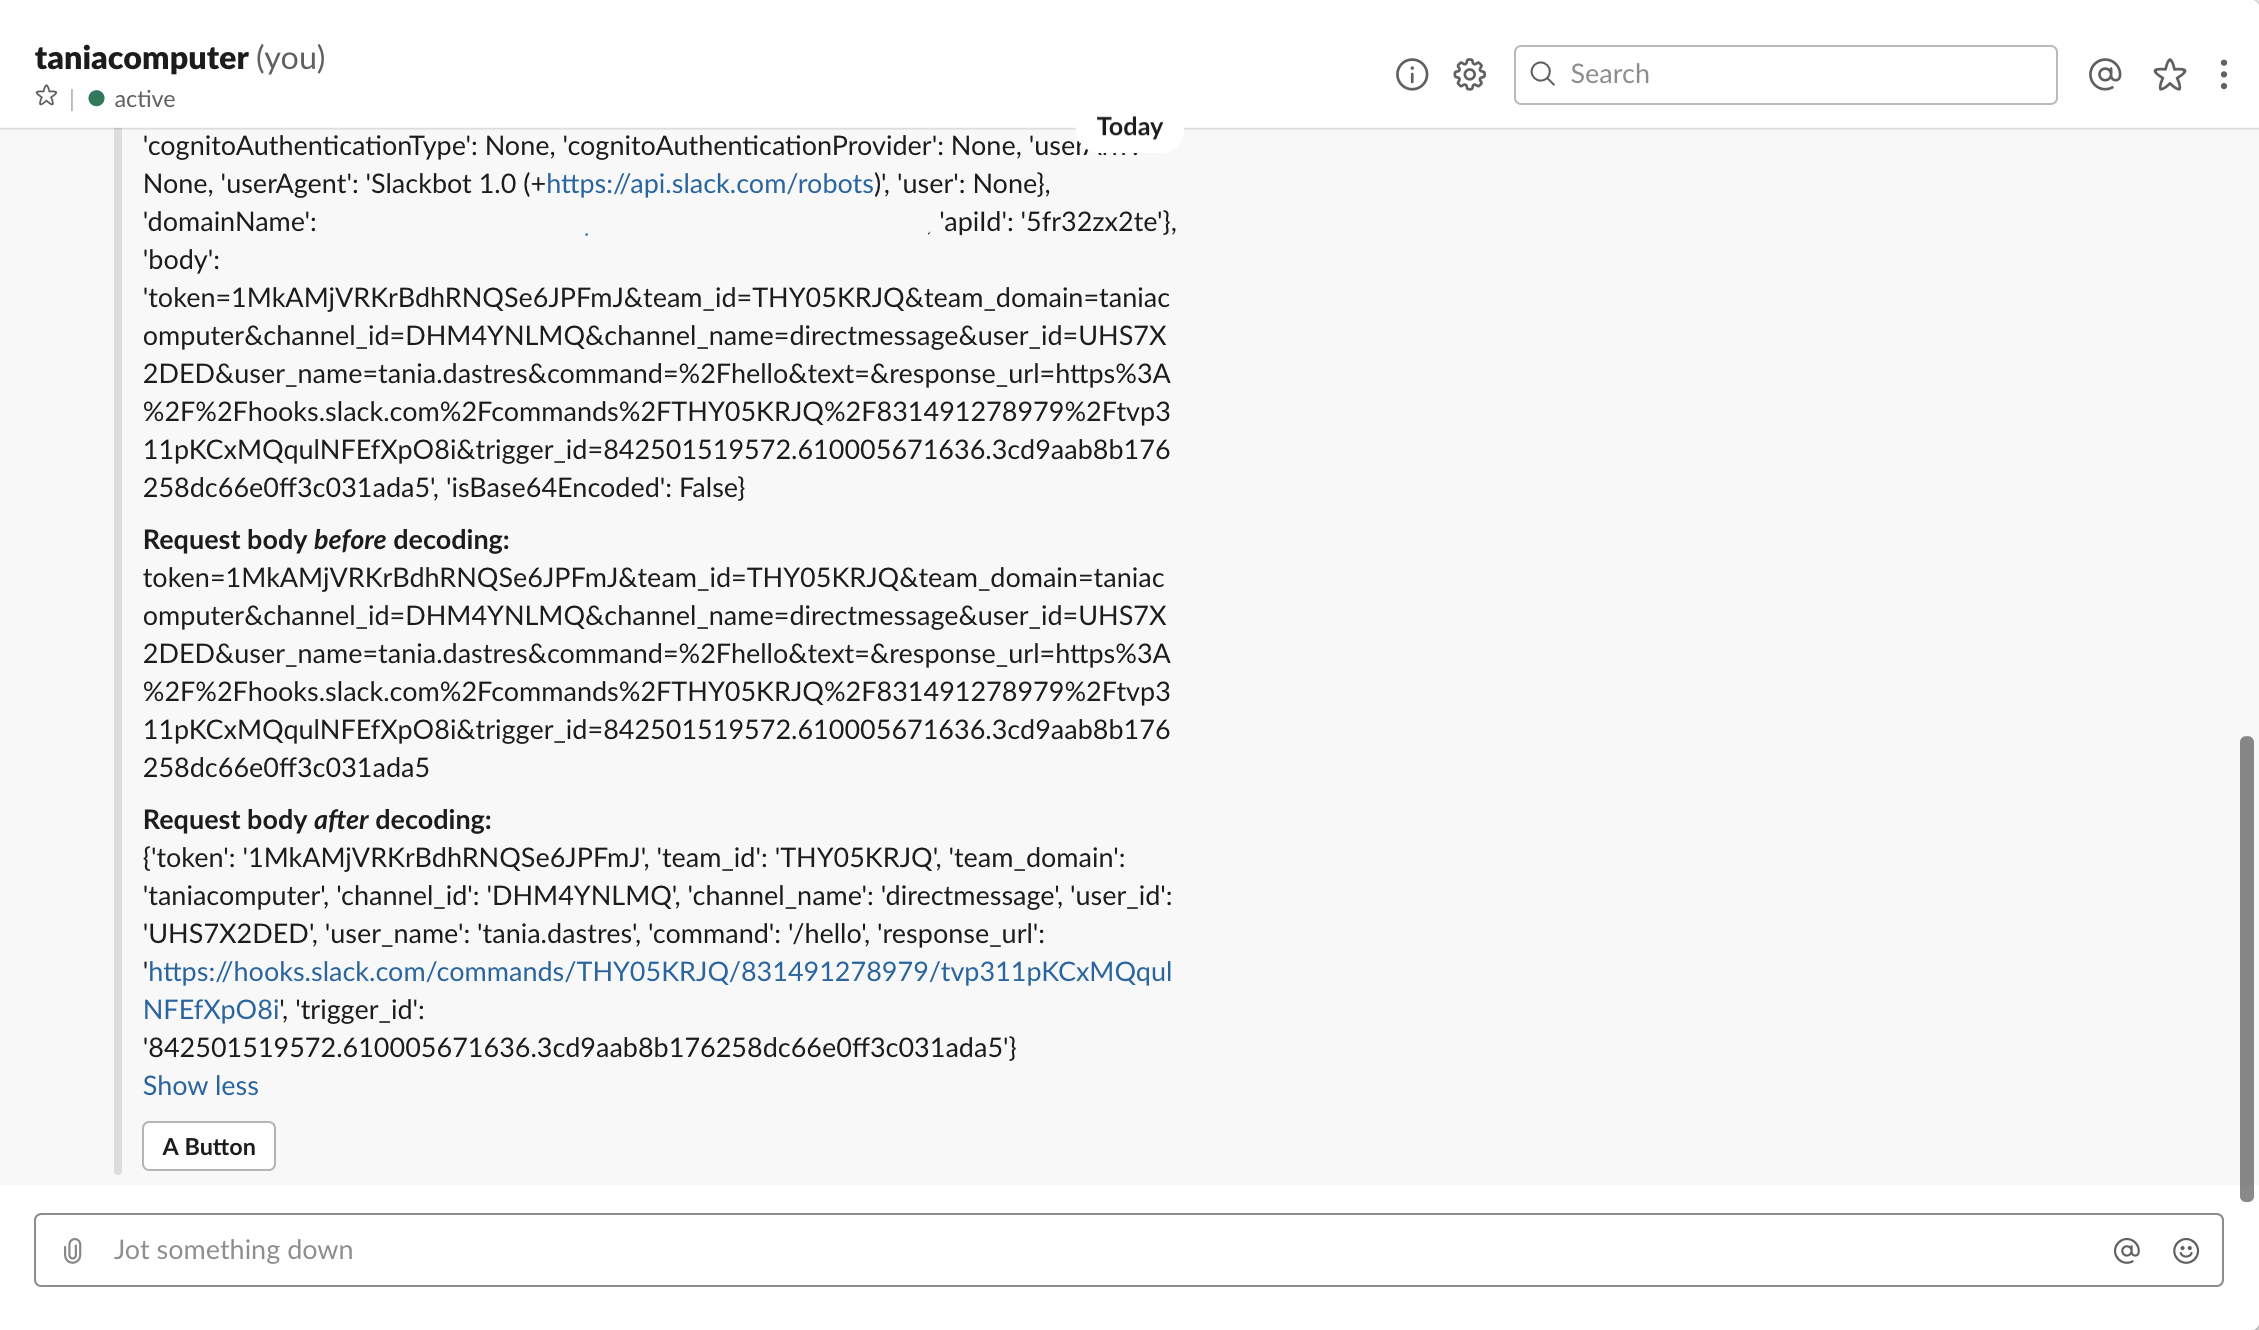
This function is going to simply receive the urlencoded payload from Slack, and return to it a summary of the event data and the event body both before and after decoding.
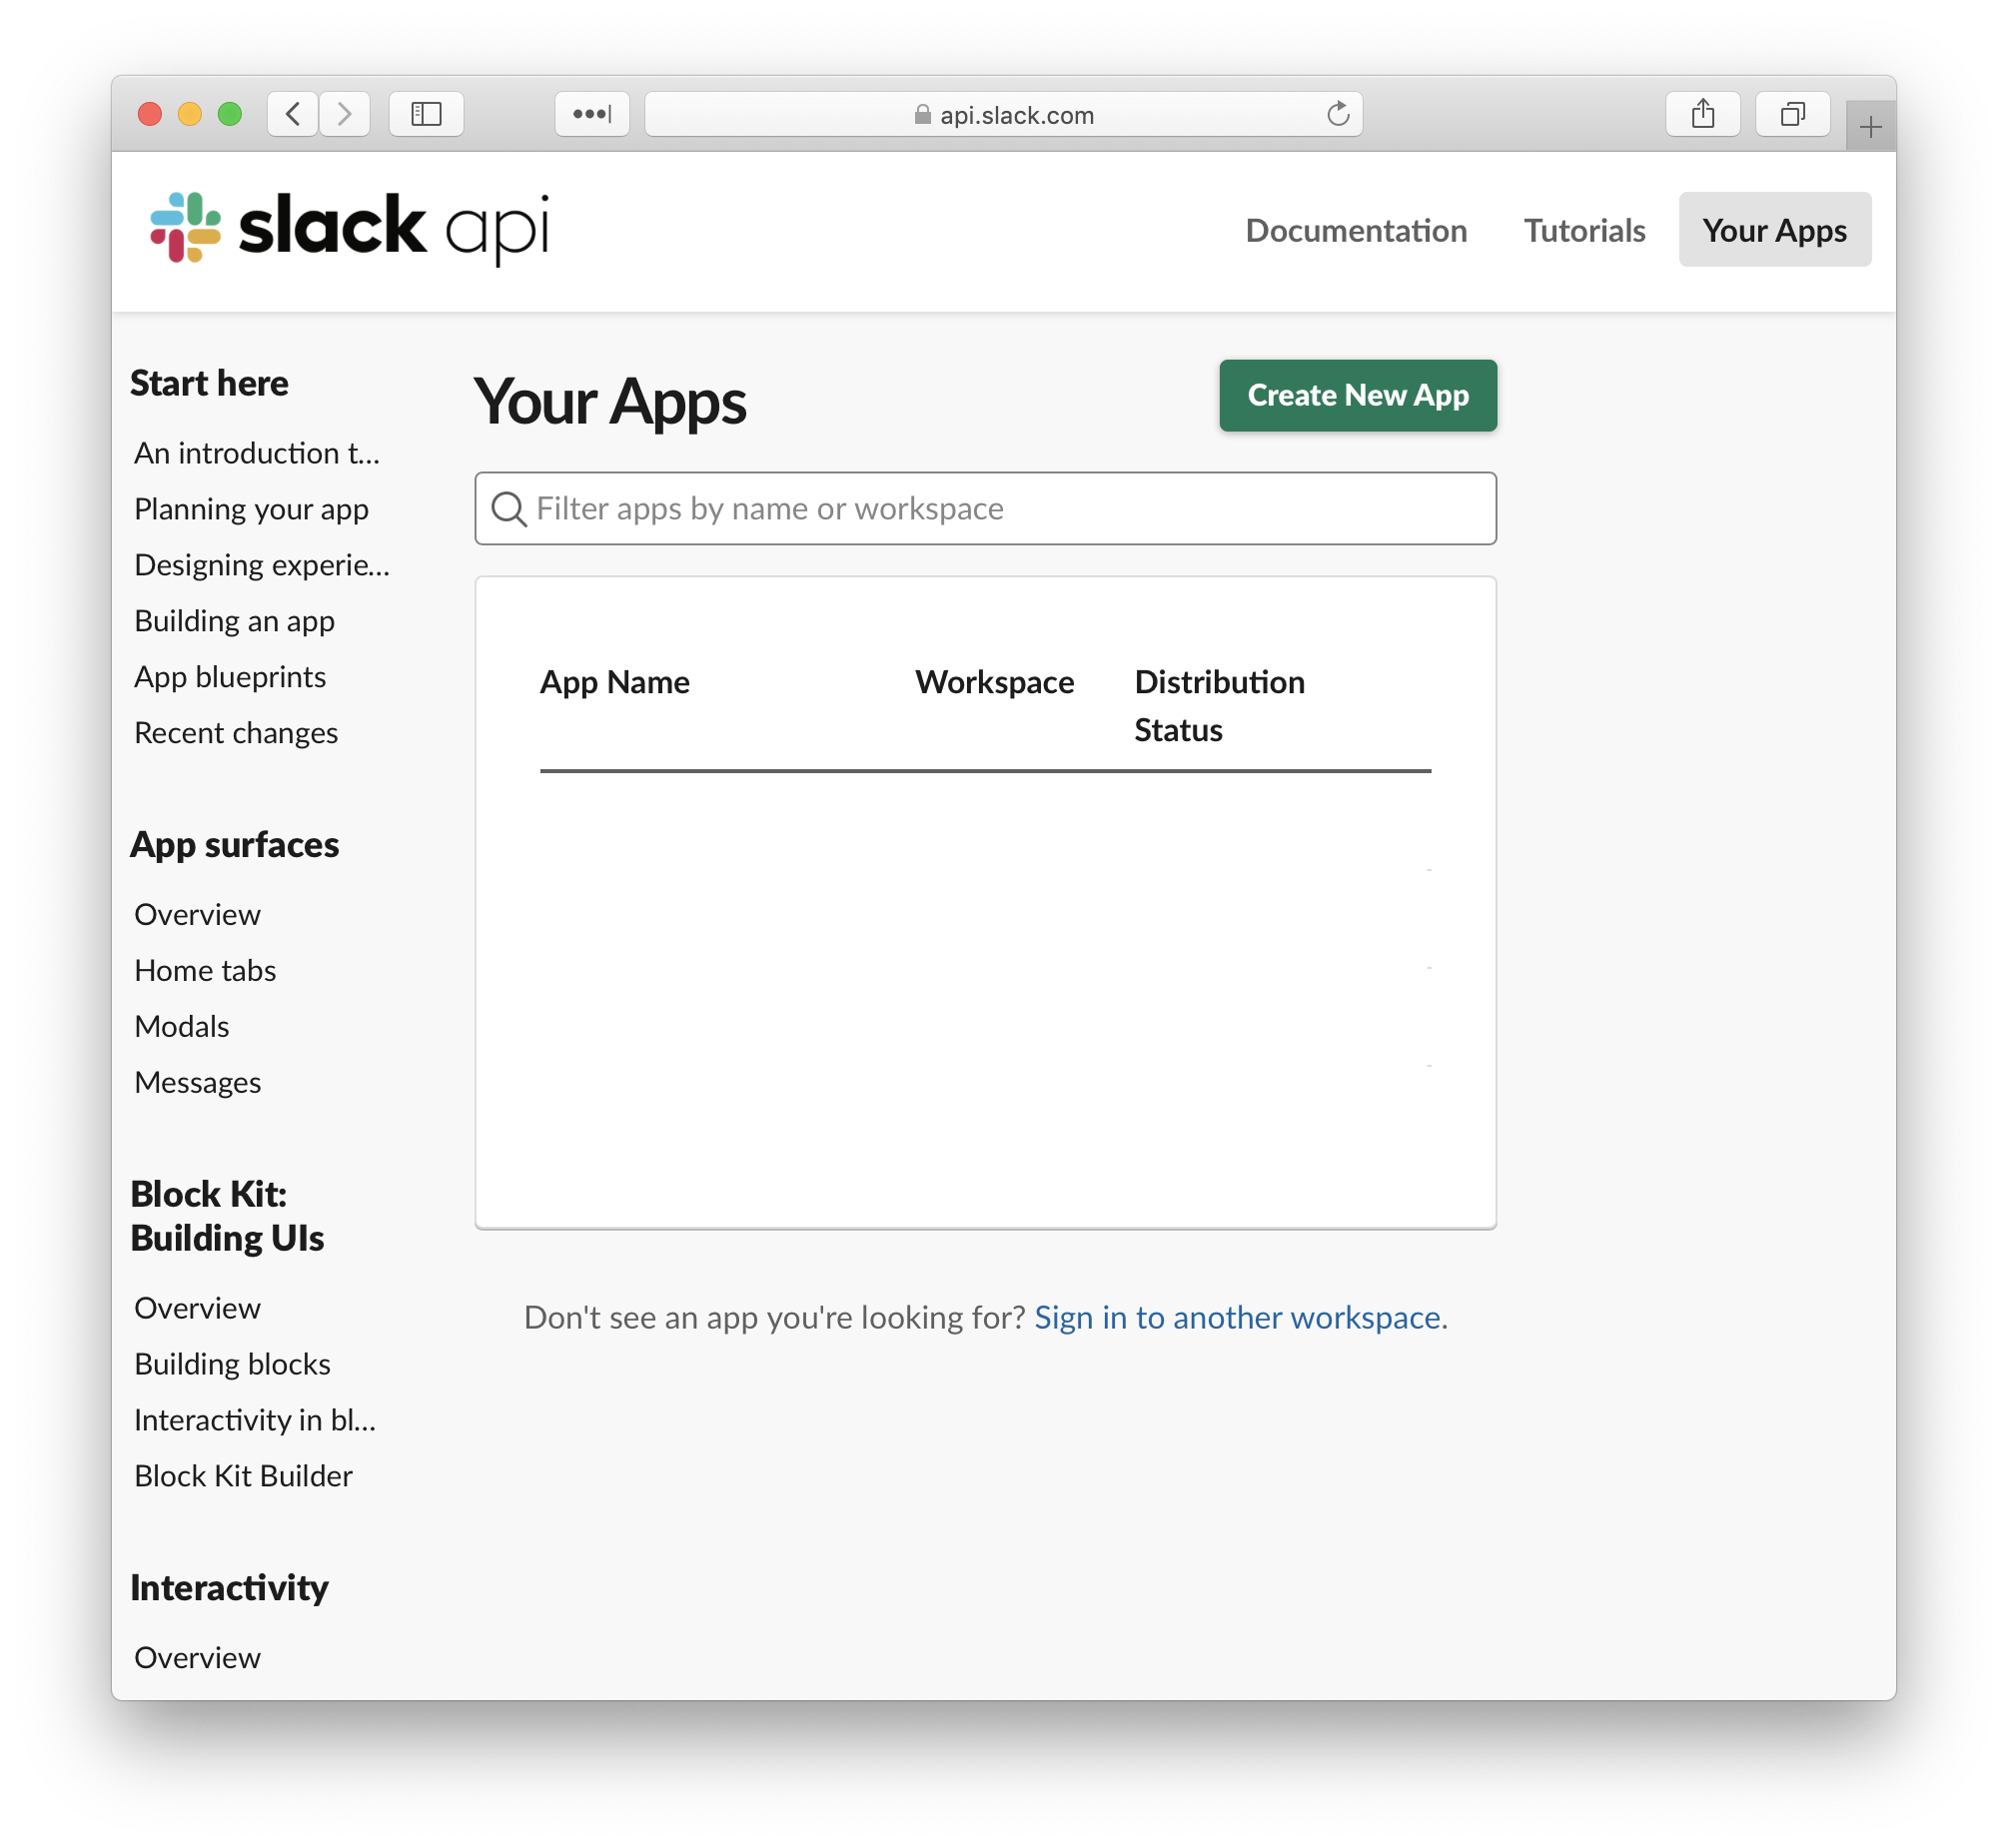
Step 4. Create the Slack app
Log in to Slack’s API portal and select Your Apps.
Click Create New App
Give your app a name and select the workspace that it will belong to.

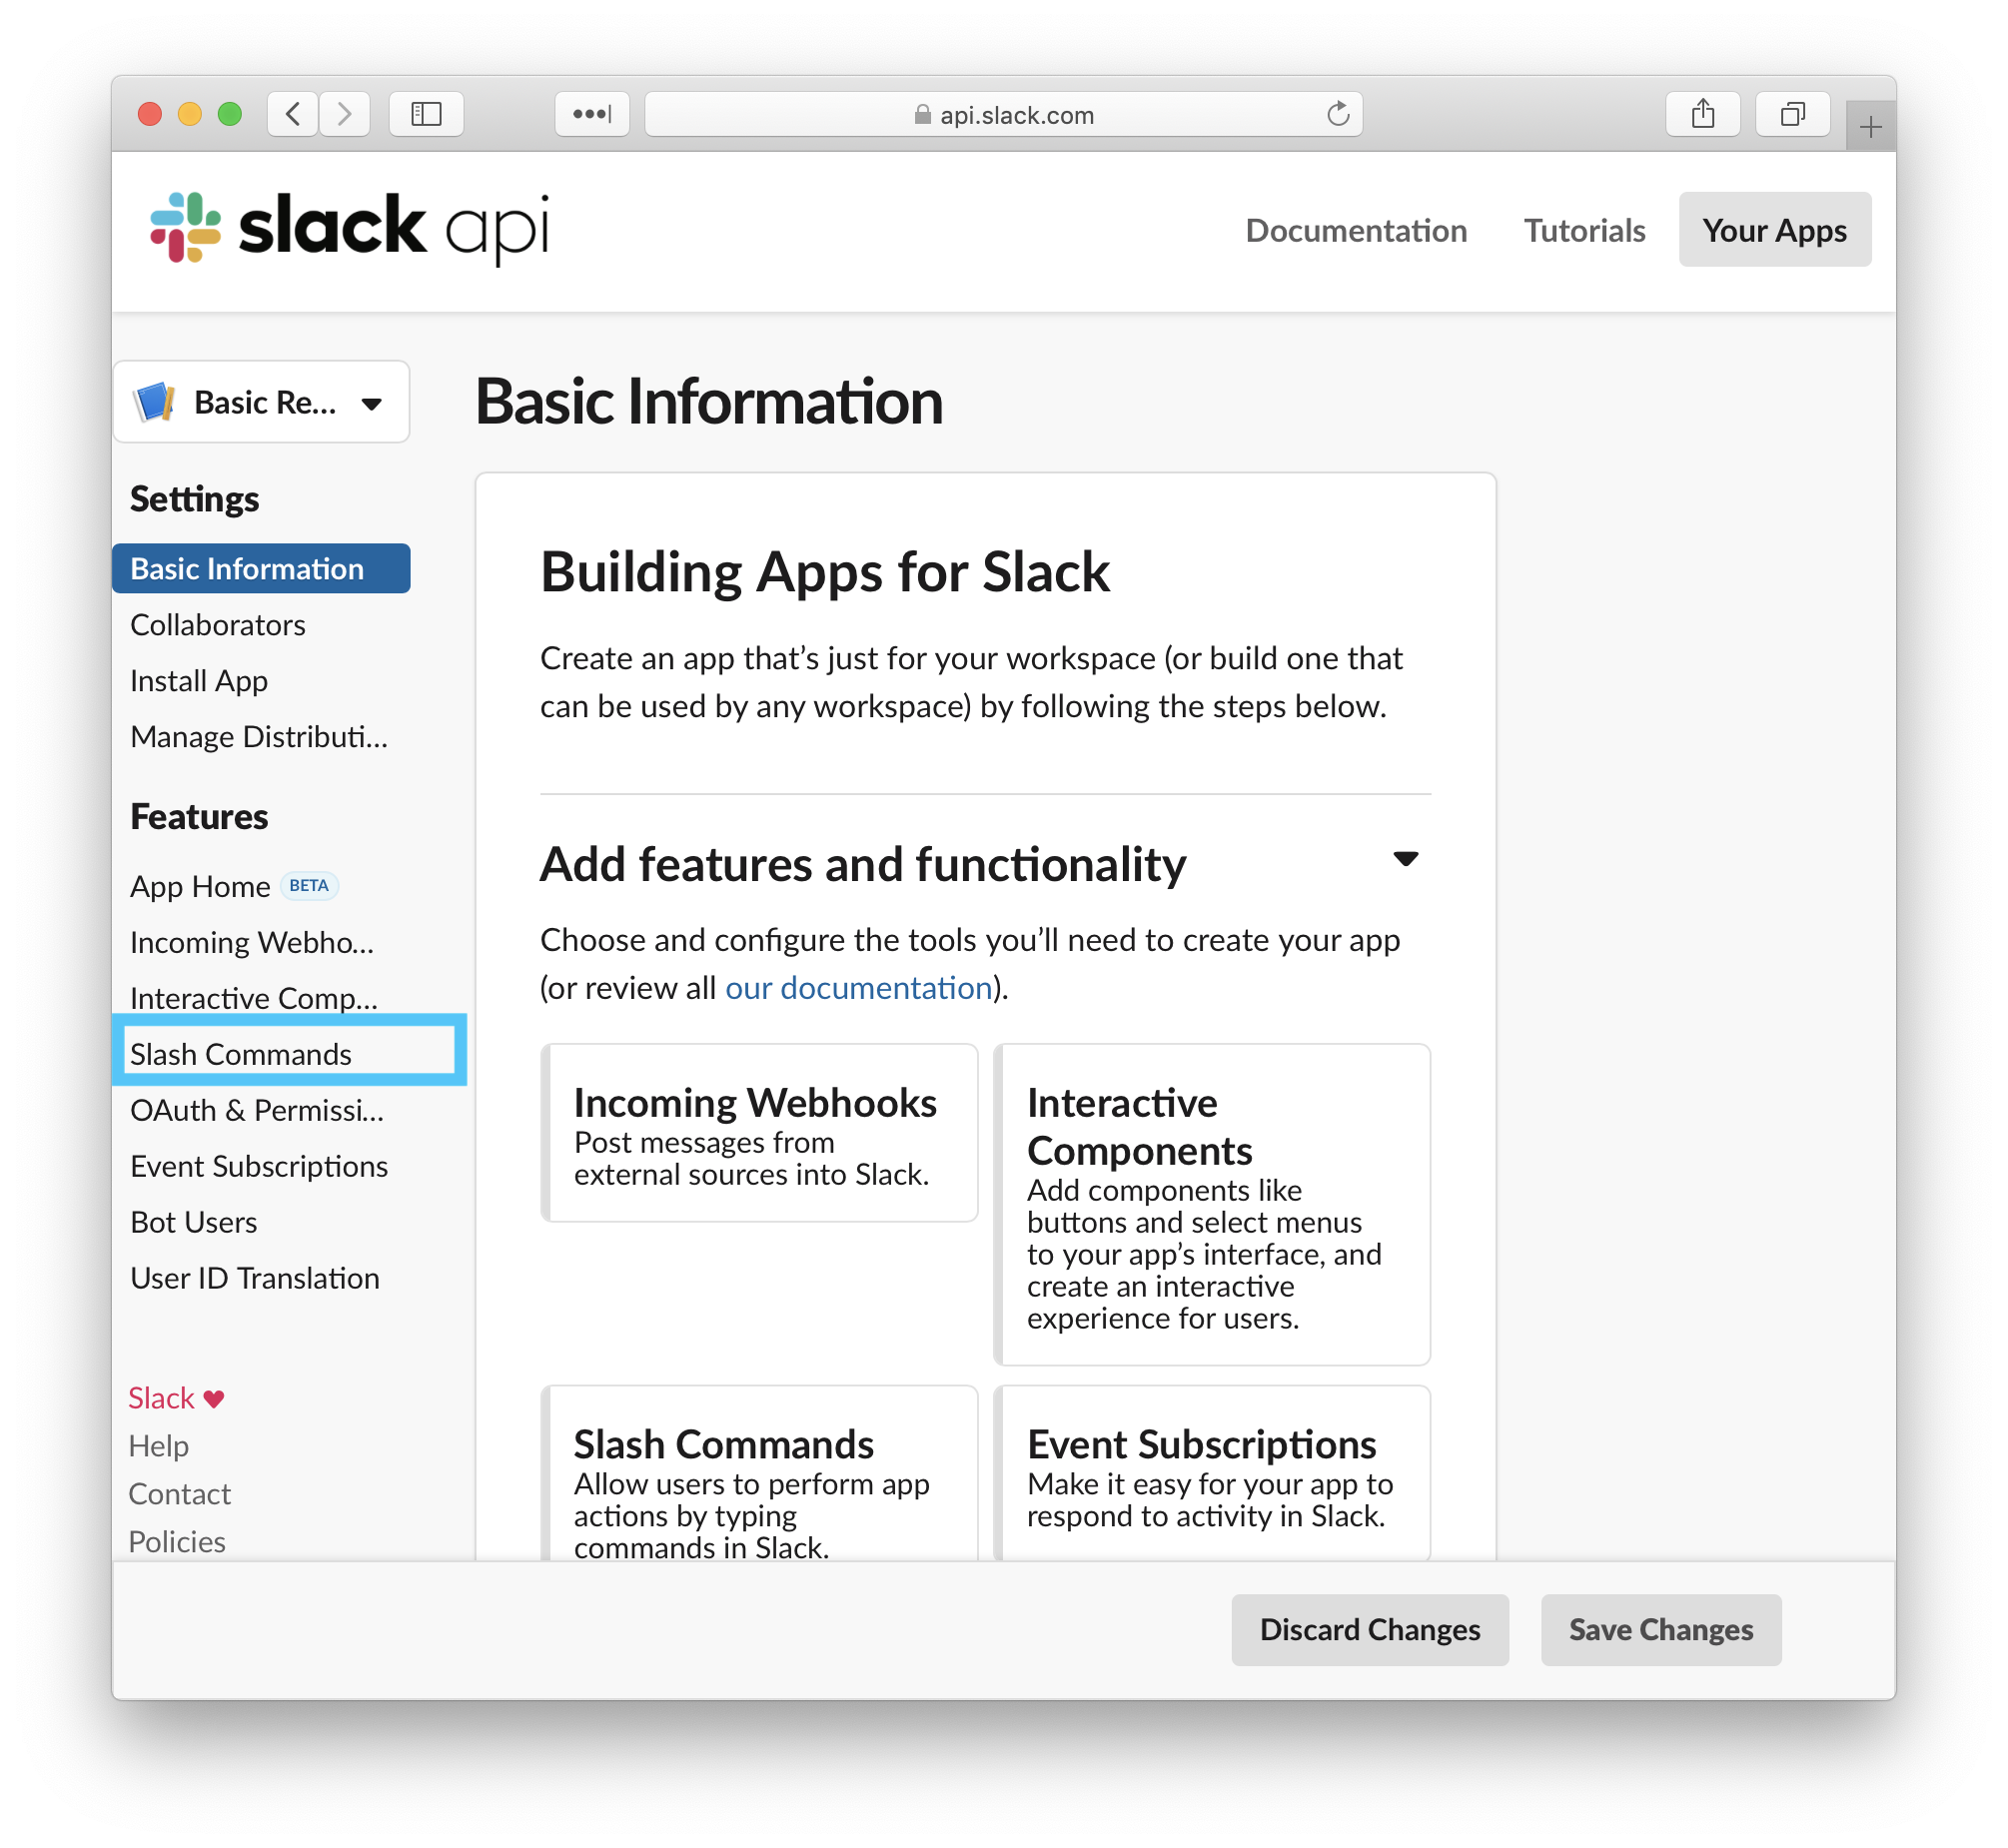
From the apps Features list, click Slash Commands
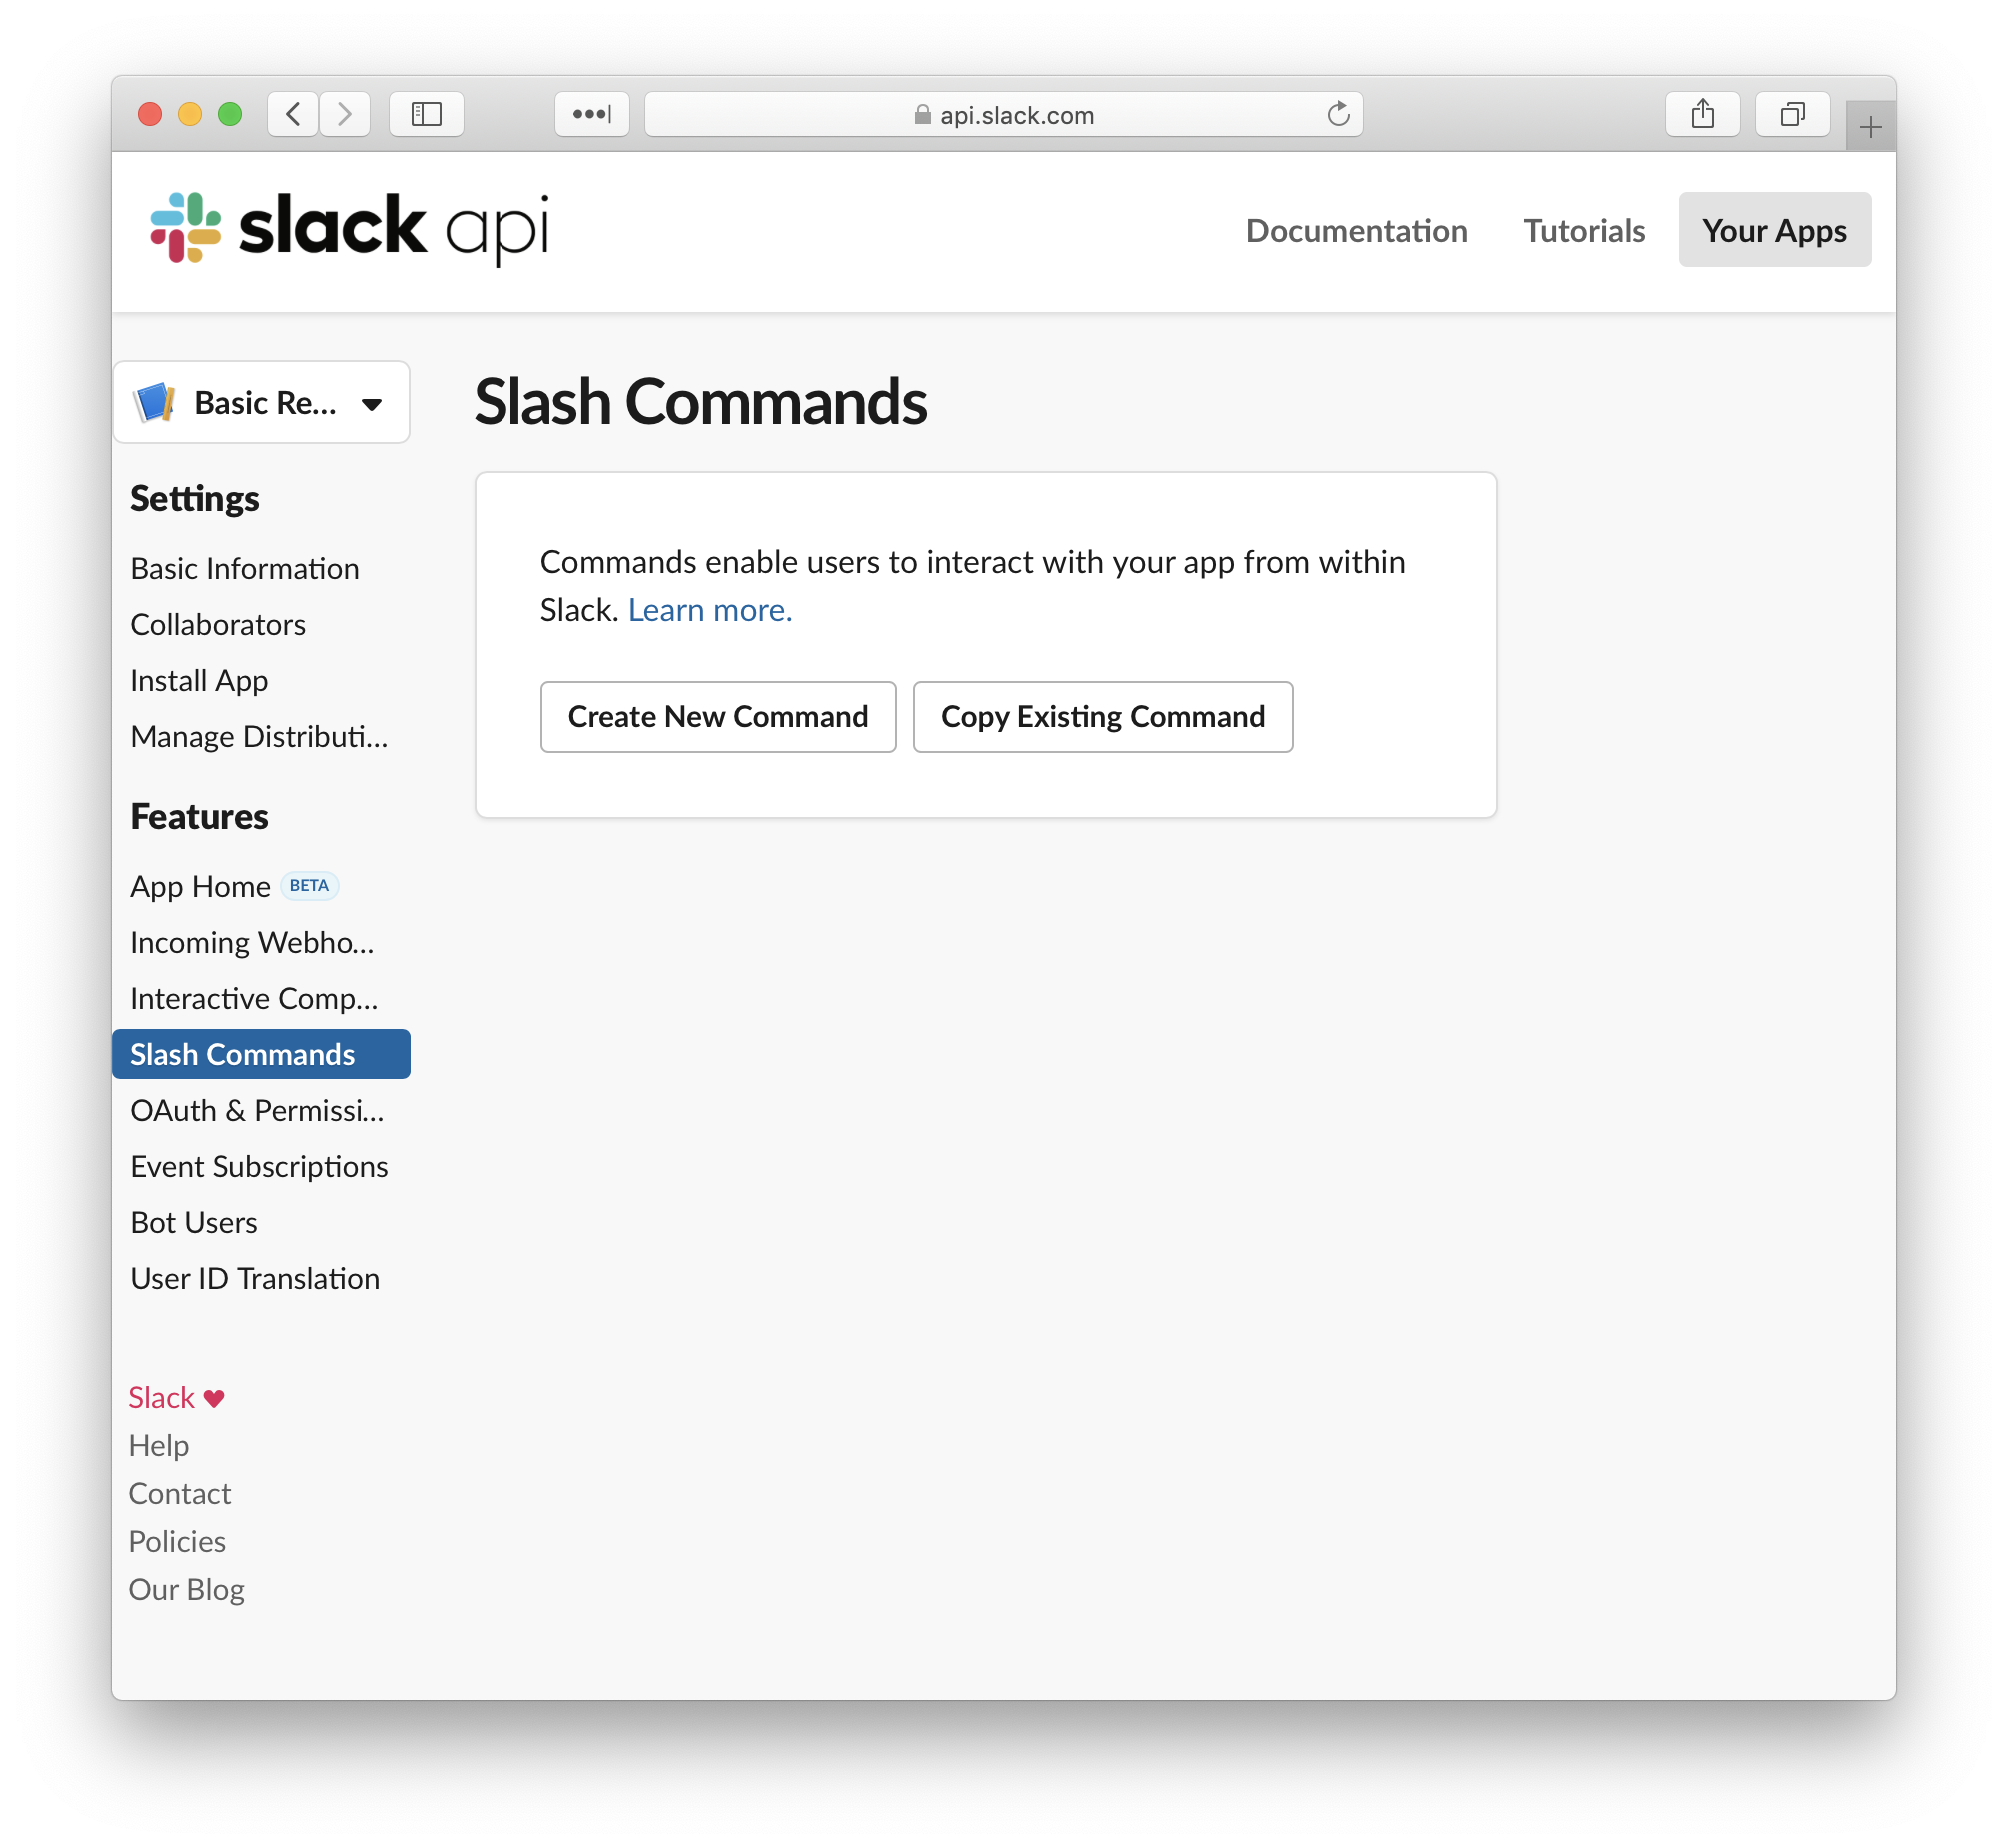
Give your slash command a meaningful name, description and usage hint, and set the Request URL to that API URL that we generated in Step 2 above. In this example we are making the slash command /hello.

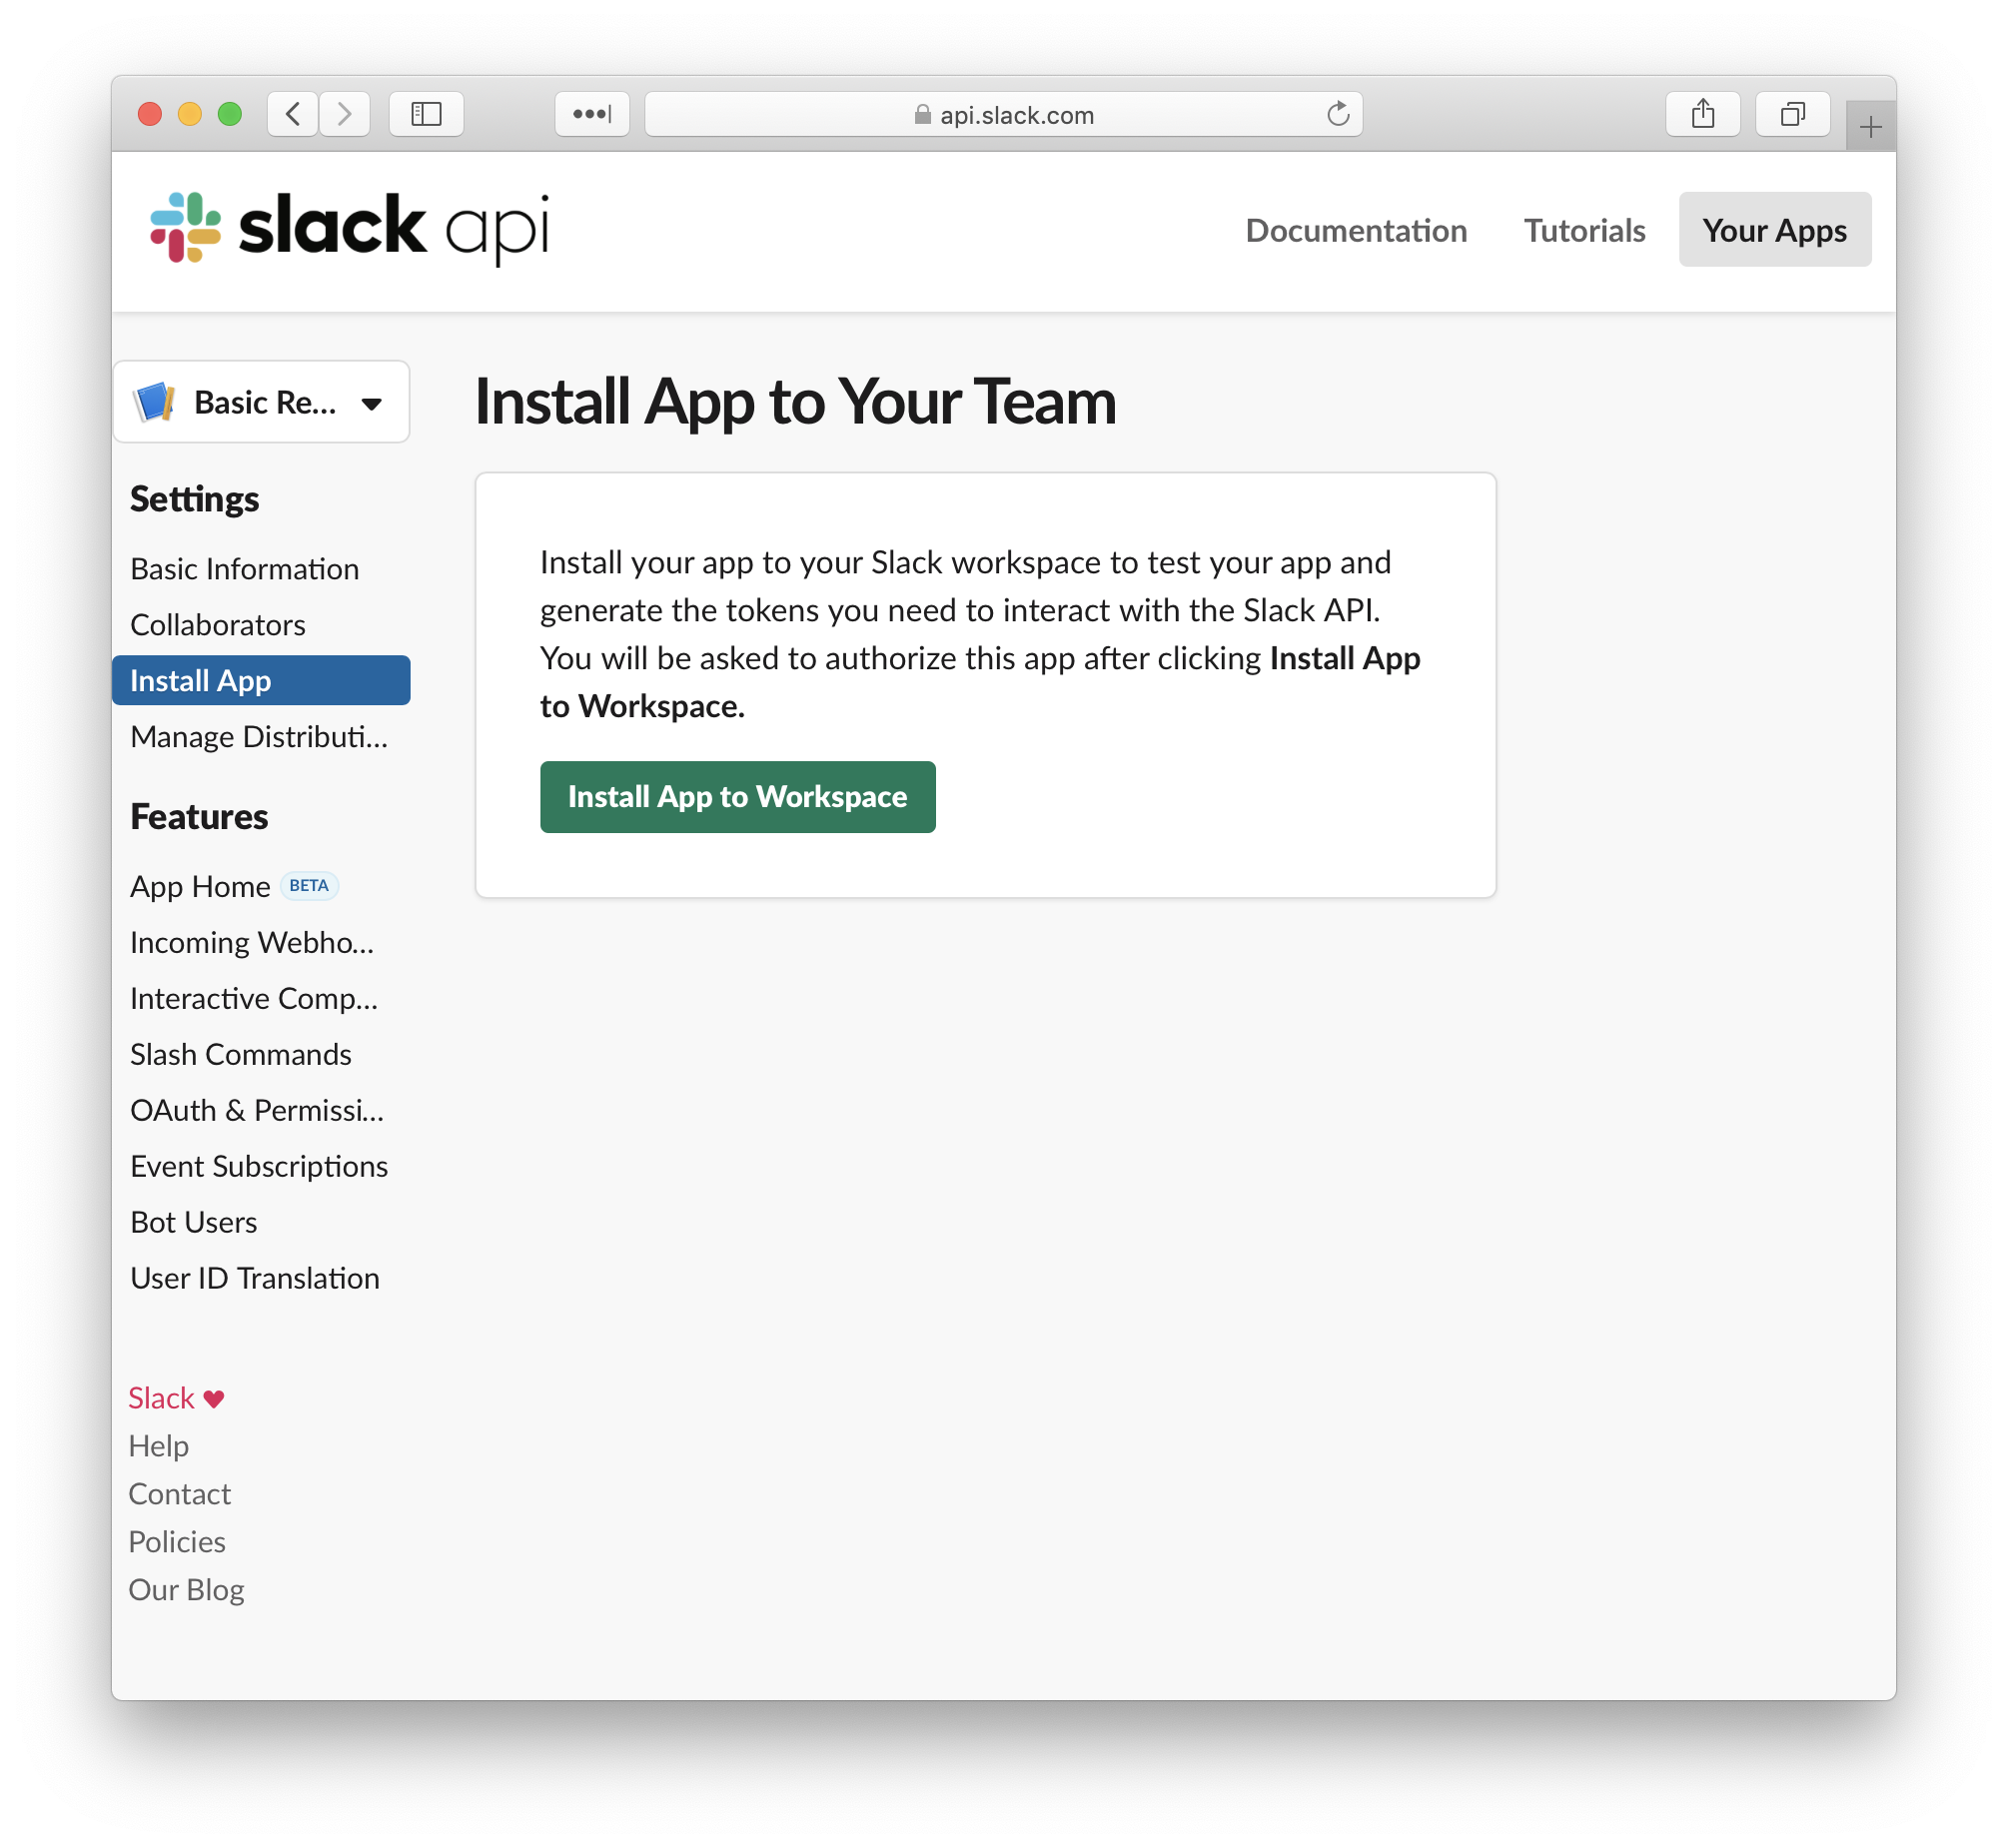
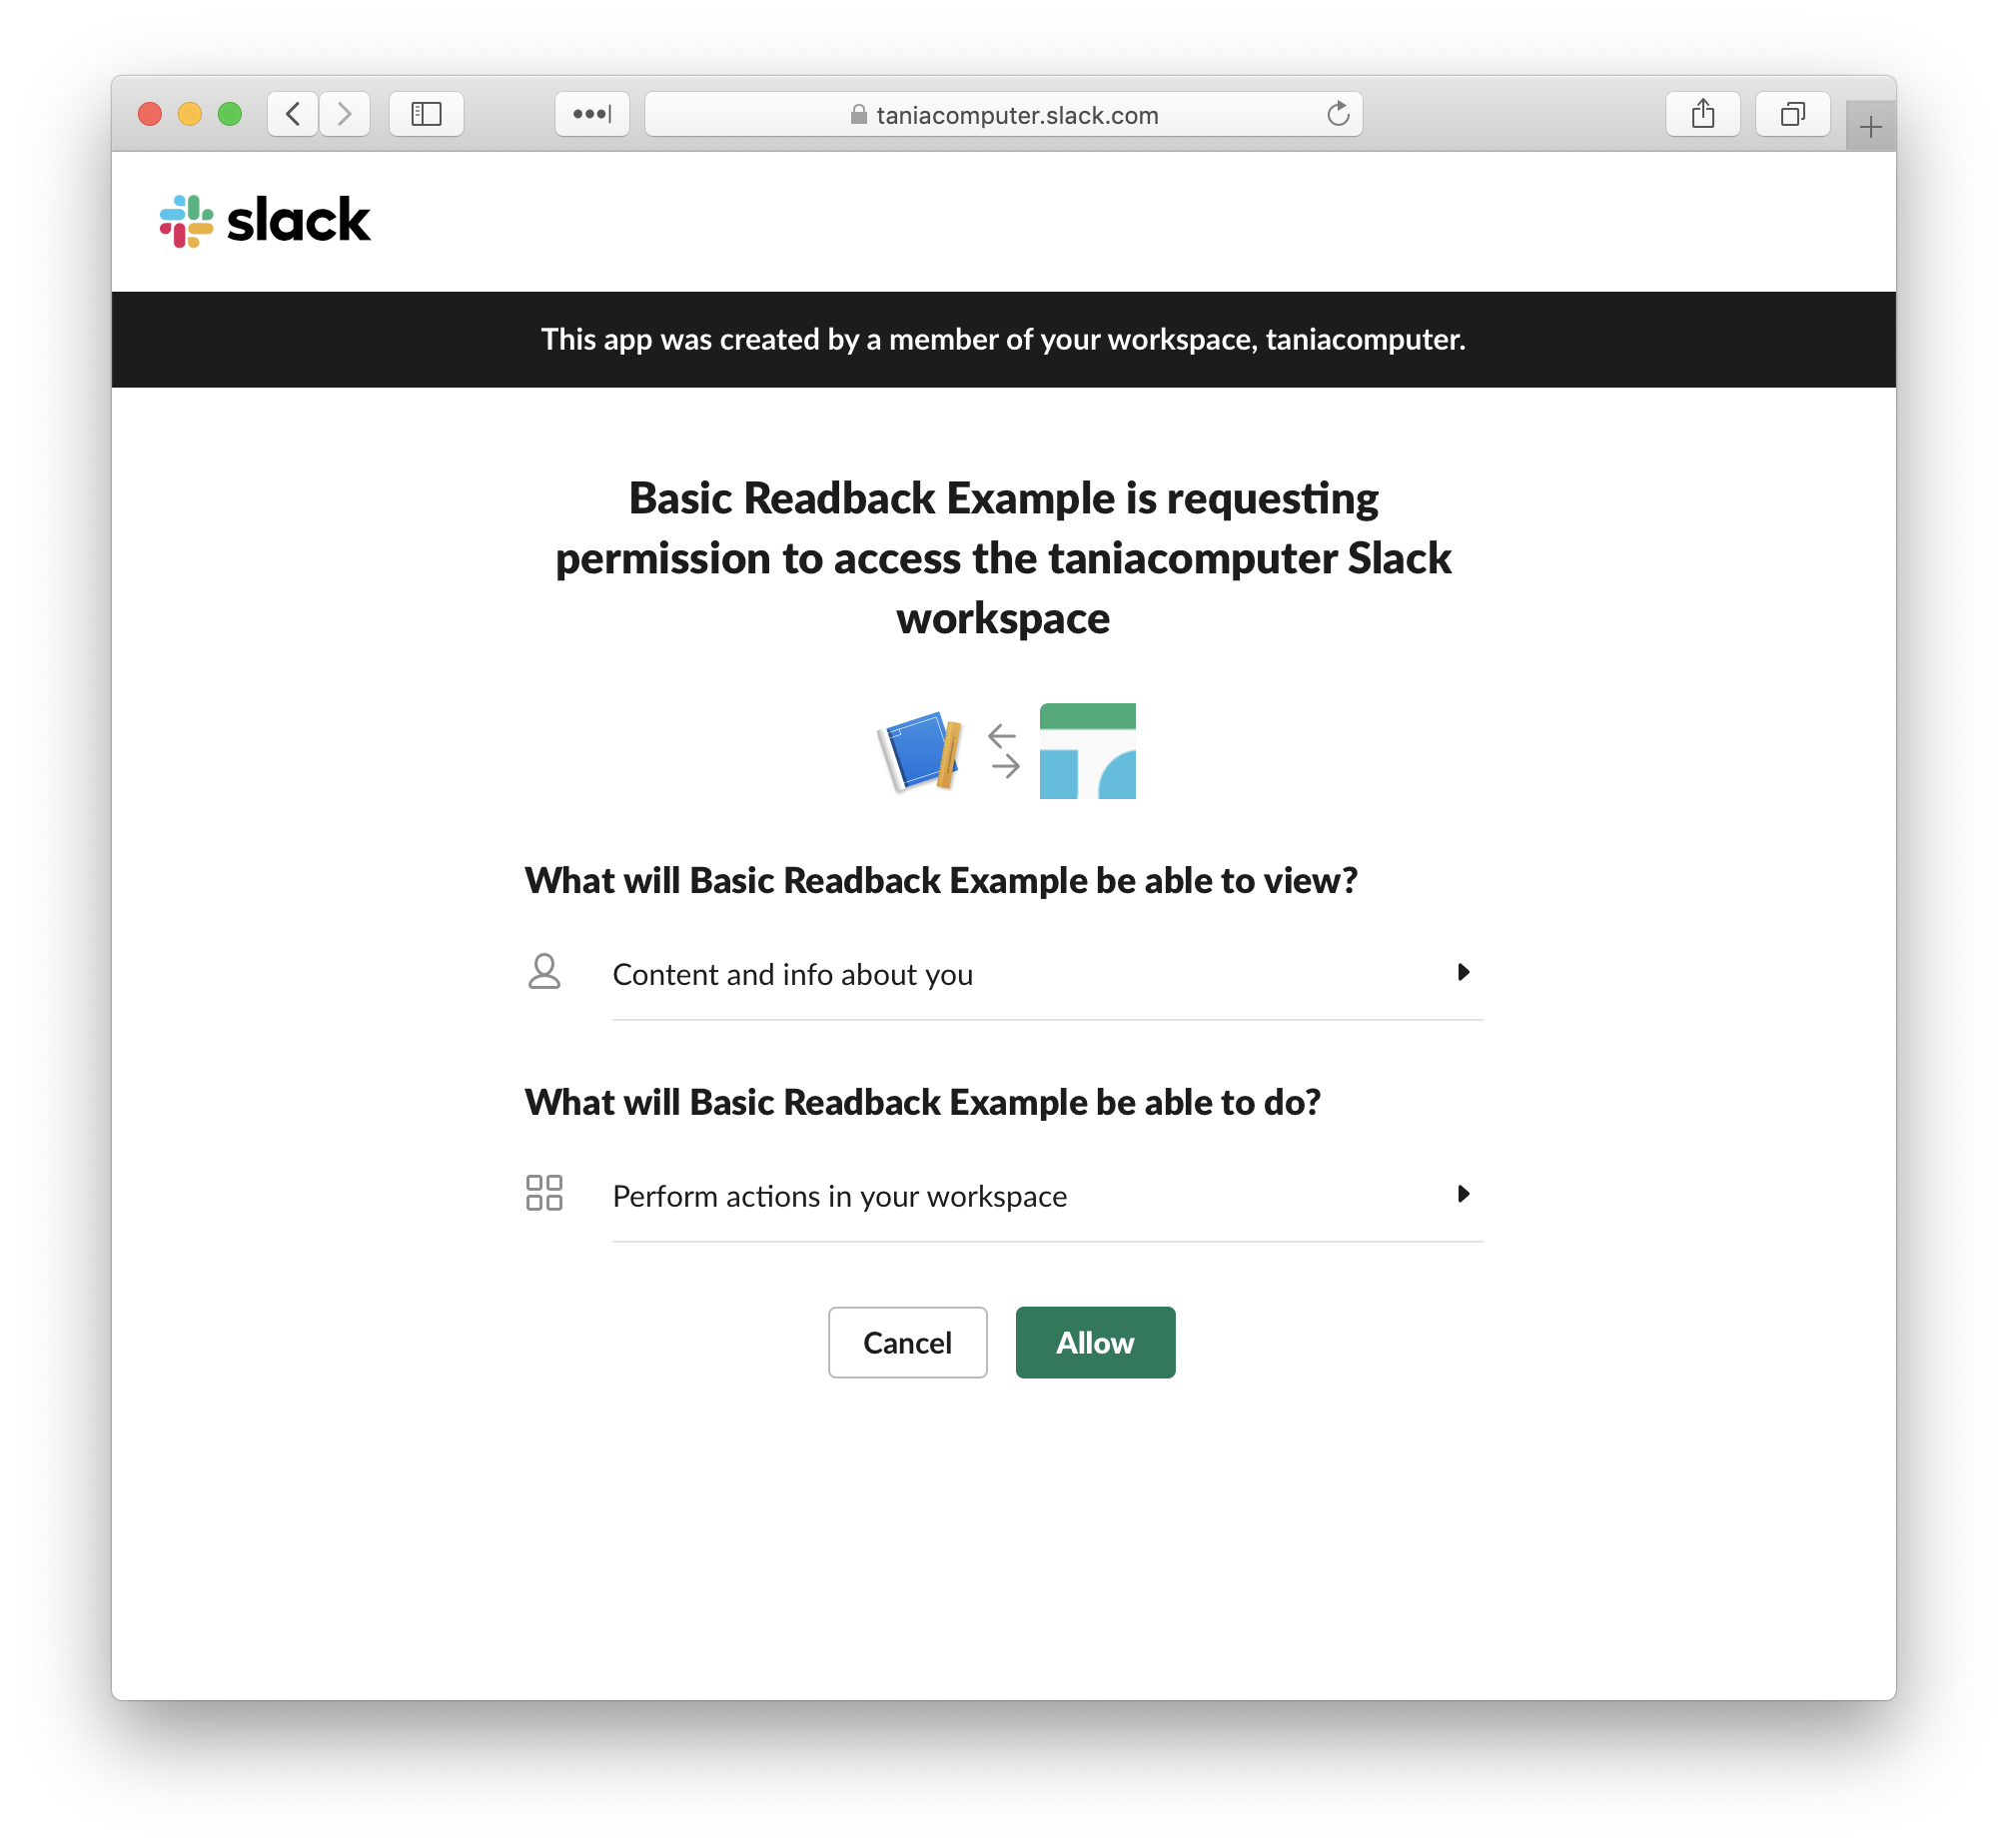
Under Settings, select to Install App into your workspace. Click Install App to Workspace and then Allow to provide it with the necessary workspace access.
In Slack, you should now be able to see your slash command appear as an option when you type / in a message box (in any channel). If you go ahead and enter /hello to invoke the slash command, you will get back the request body of your slash command in its original urlencoded format, as well as as the dictionary type that we converted it to in our Lambda function.

Step 5. Add the button component
Although our app is giving us the slash command payload, clicking that button that it comes with won’t do anything at this point. This is because we haven’t told Slack where to send that button click event data to.
Before we can do that, we have to create a new lambda function and generate a new API URL to it. This requires just following the exact same steps in steps 1 and 2 above, but obviously giving our second function a different name – in my example I named it slash_command_button_clicked.
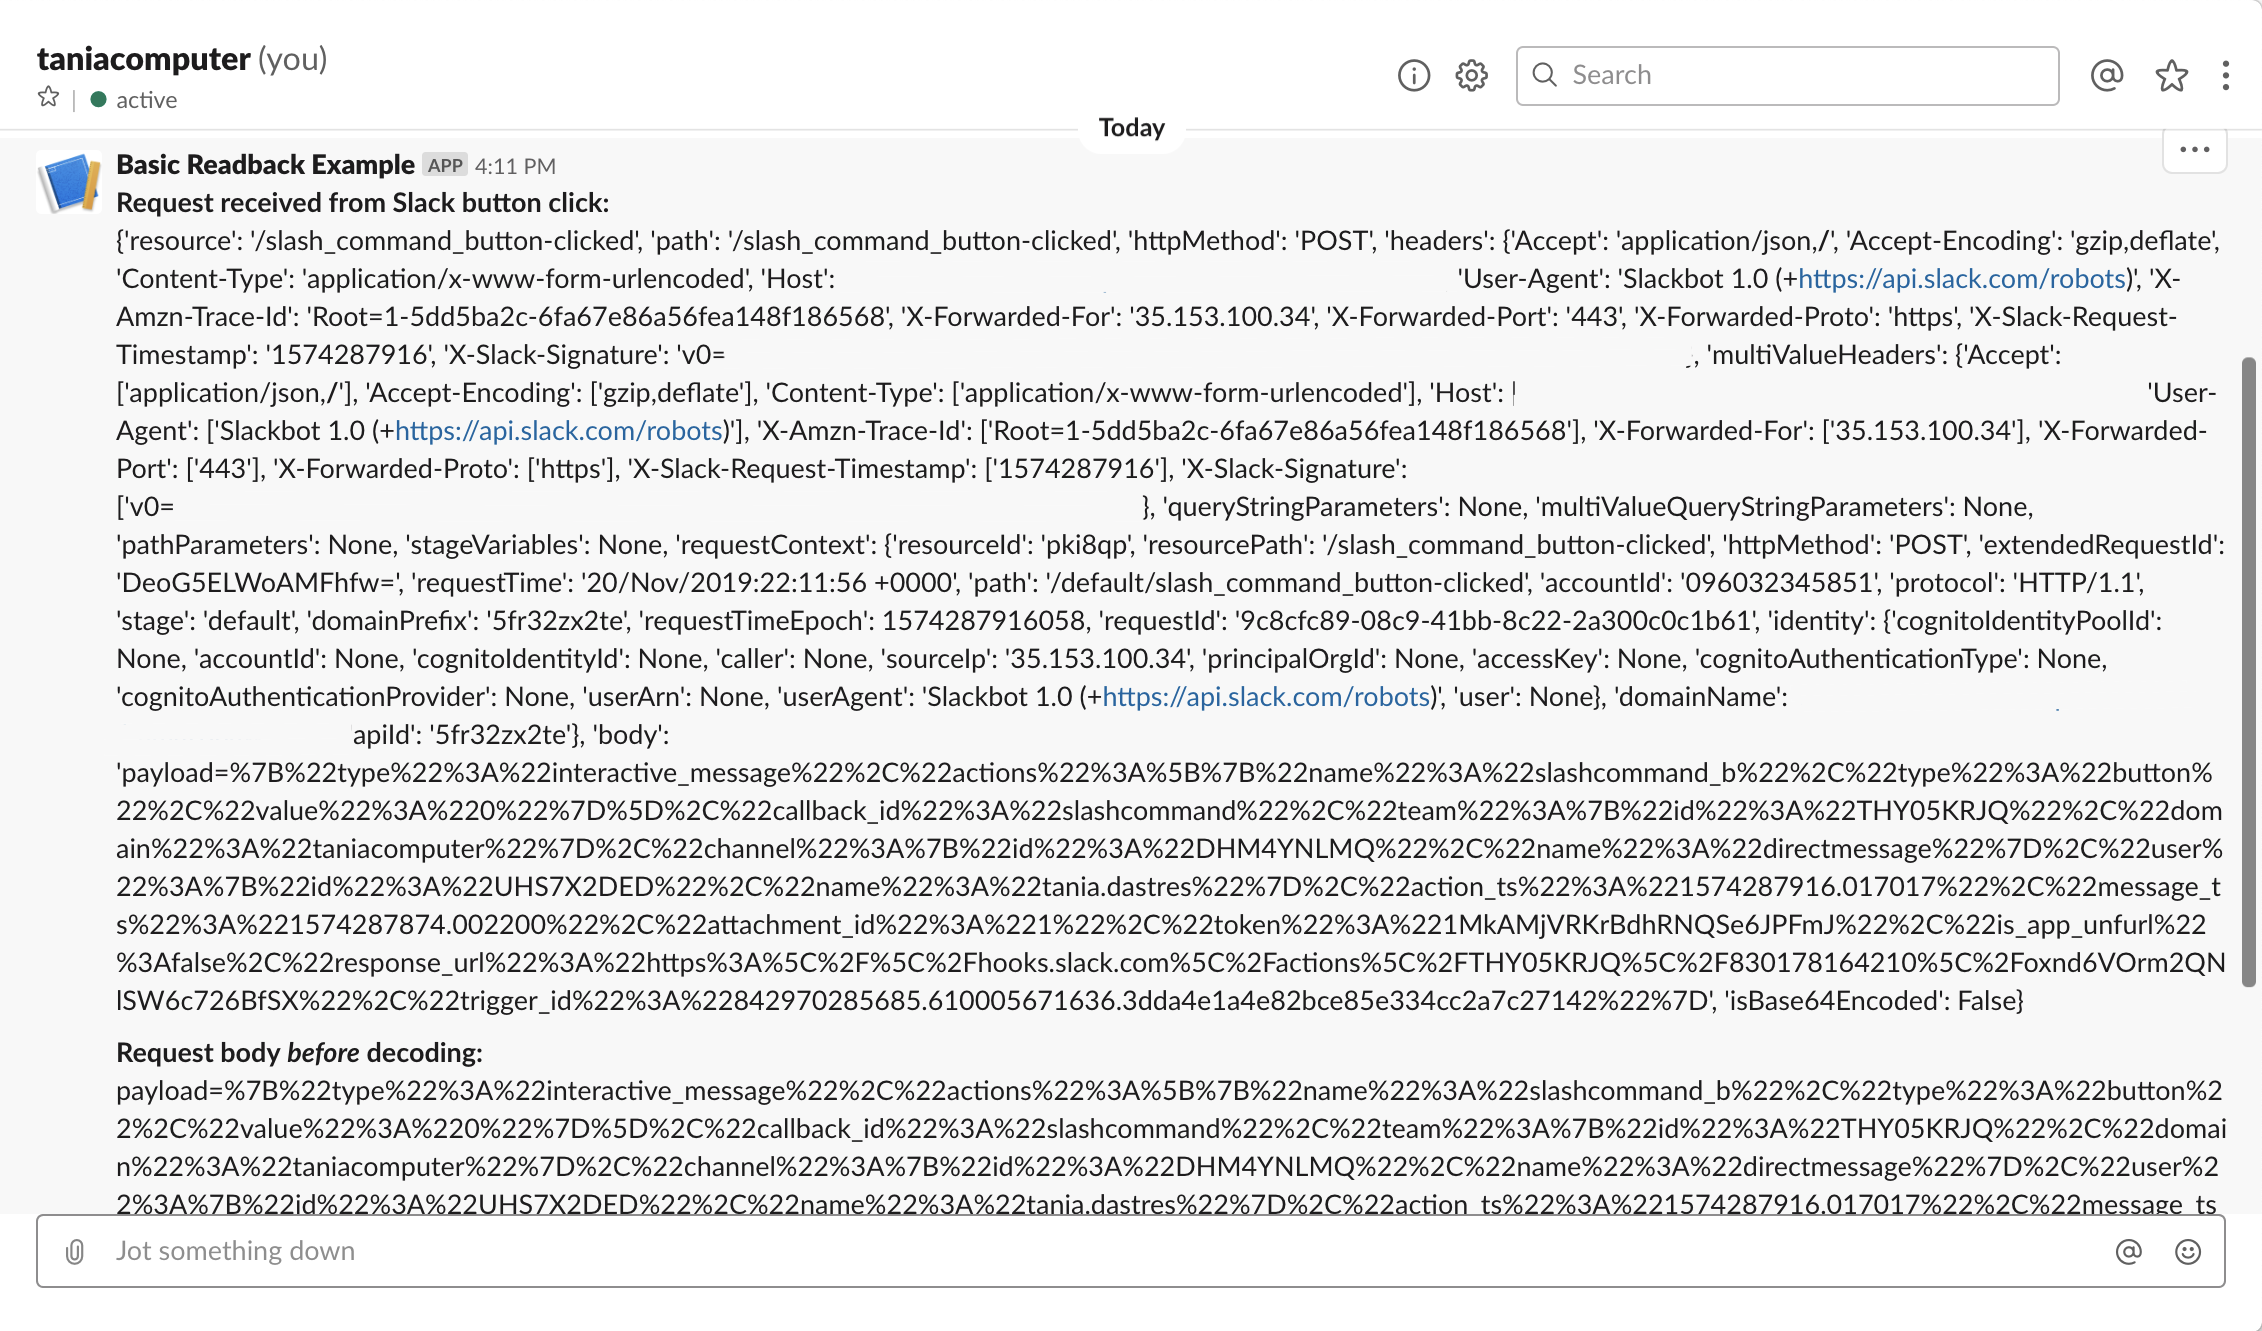
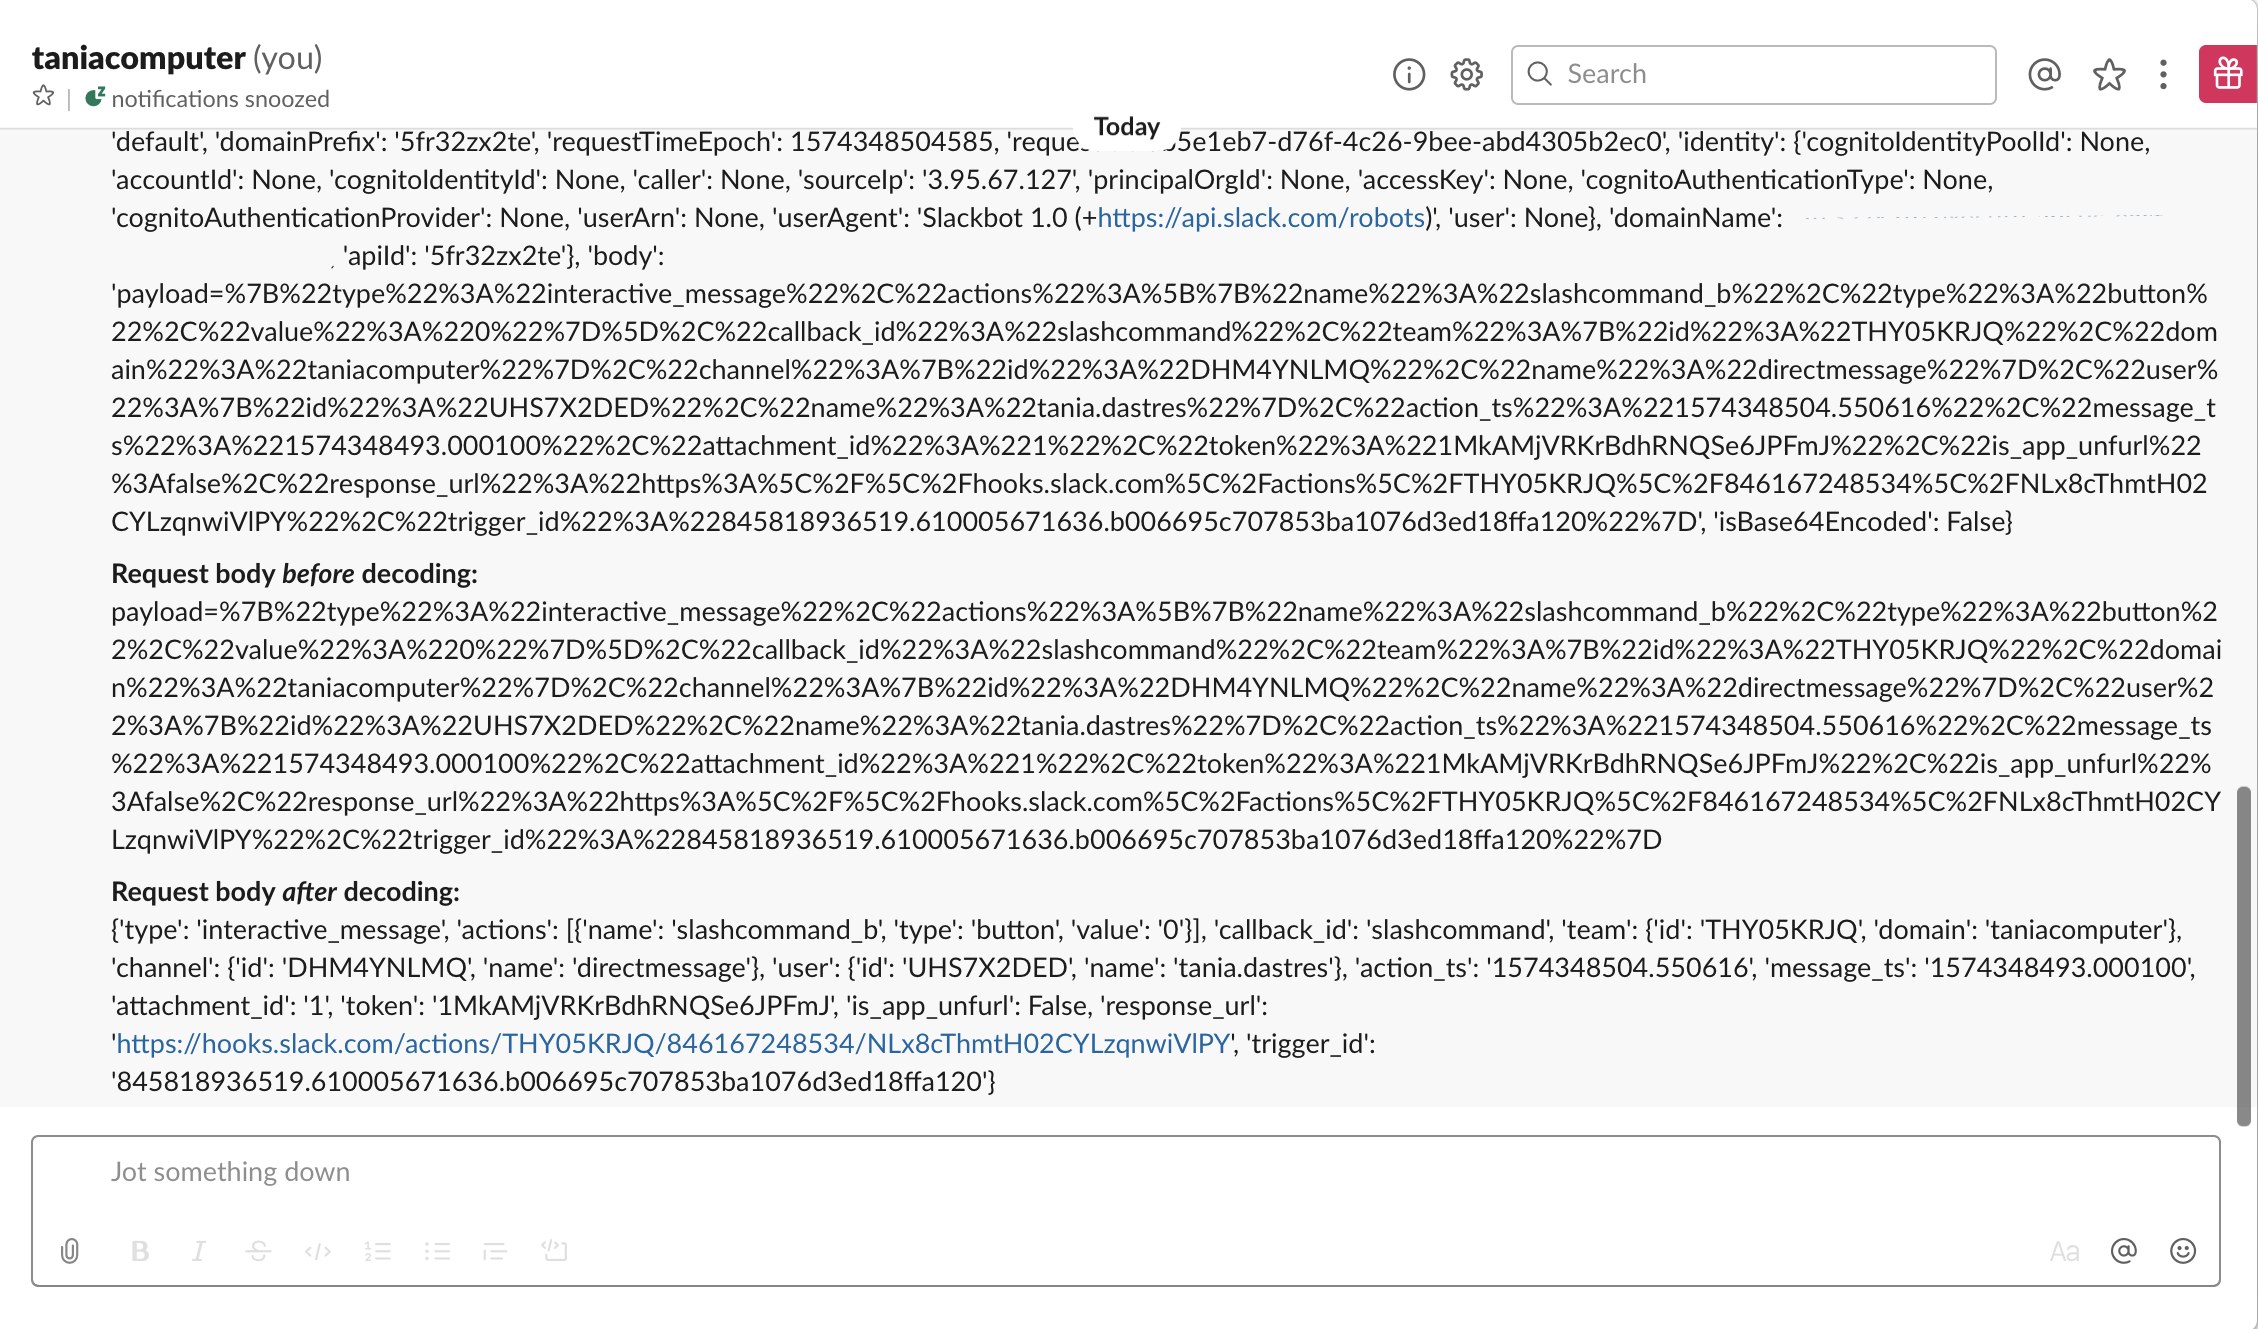
The function code is fairly straightforward. We are receiving the urlencoded payload from the button being clicked, and converting it into much friendlier json format. We are then returning back to Slack a summary of the event data and the event body both before and after decoding.
Step 6. Update the Slack app settings so that it knows where to send the button click request data to.
In the Slack API portal for your app, select Interactive Components, from the Features list. Toggle Interactivity On, and in the Request URL field provide the API URL that we generated for slash_command_button_clicked.

Save your changes and confirm that our /hello command now responds to the button being clicked. Clicking the button should now result in the additional payload summary being displayed.
Hope it helps – please reach out if there is anything that I’ve missed!
Sure is – what happens when the button is clicked all happens in slash_command_button_clicked.py
You’d send your json data using something like requests.post(recipient_url,data=json.dumps(data), headers=header)
Is there a way to send a JSON-formatted content after the user clicks the button?